Einleitung
The following guide will teach you how to examine the wind screen, power cord, jack, and diaphragm.
Werkzeuge
-
-
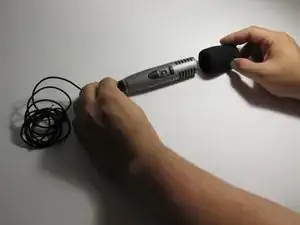
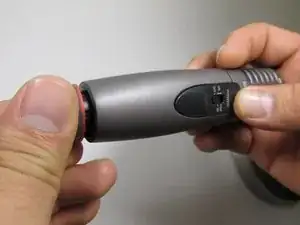
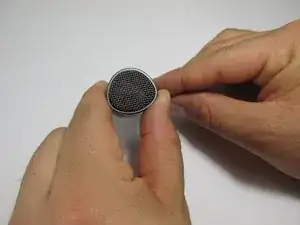
Remove the windscreen from the top of the microphone.
-
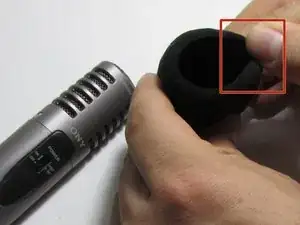
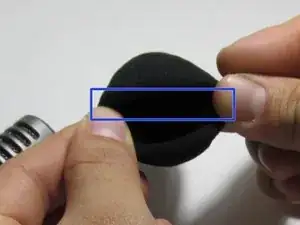
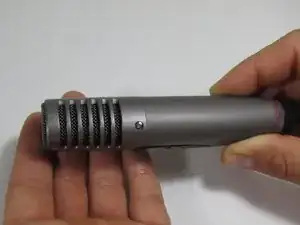
Once the foam windscreen is removed, examine the windscreen looking for thinning, holes, tears, or discoloration. Any of these issues may be the cause of the sound distortion.
-
-
-
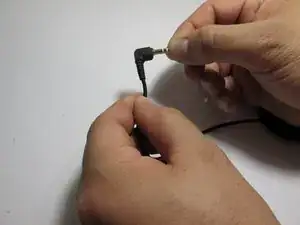
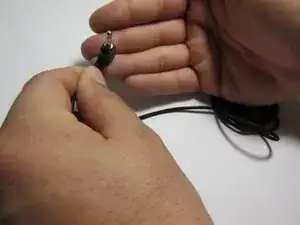
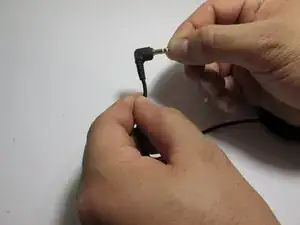
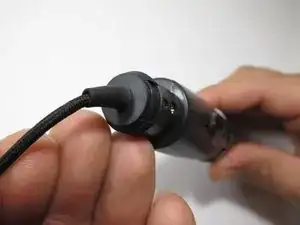
Locate the jack of the microphone and look for: discoloration, rust, breaks in the piece, as well as making sure the jack is not bent or torn from the power cord.
-
-
-
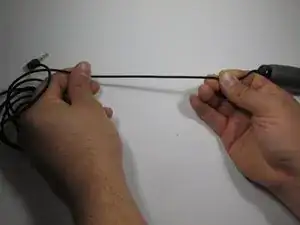
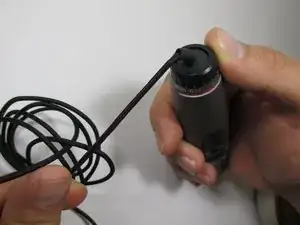
Inspect the cord for splits, breaks, or loose wires. Check the cord from one end to the other, making sure the cord is attached to the microphone.
-
-
-
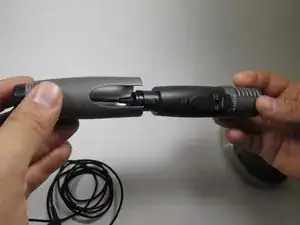
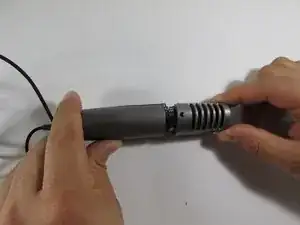
To check the cord further by unscrewing the bottom piece of the microphone from the top. Rotate clockwise to unscrew the bottom and examine.
-
-
-
Another to assessing distortion is to inspect the diaphragm. For further information, see the Diaphragm Examination Guide
-
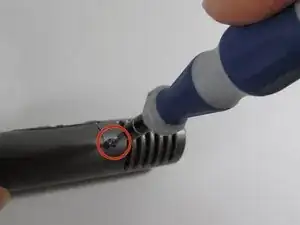
Use a Phillips head (#00) screwdriver, to remove the diaphragm and separate the diaphragm from the base of the microphone.
-
-
-
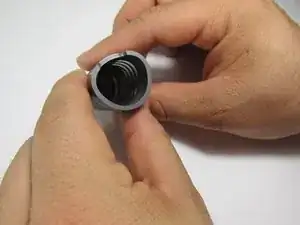
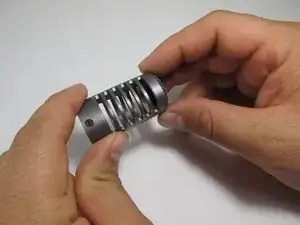
Inspect the diaphragm checking to see if the piece is dirty, bent, or has holes. If it is bent or has holes, it may need to be replaced.
-
If the diaphragm is dirty, clean it with a dry towel or cotton swab by gently brushing dirt and/or rust off the piece.
-
To reassemble your device, follow these instructions in reverse order.
