Einleitung
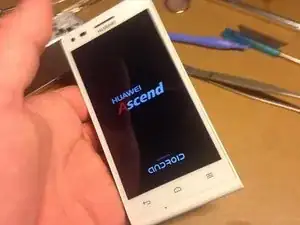
Since I couldn't find a single guide or even a teardown of Huawei G6, I decided to just try it on my own. I have occasionally dabbled with screen replacements but never before without a guide...
So, here it is - a novice-made guide to replacing the front panel of Huawei Ascend G6!
If you have any decent pictures for the process, do add them, as mine are not that good, or contact me. Also, don't take everything presented in this guide at face value - use common sense and enough time.
Werkzeuge
-
-
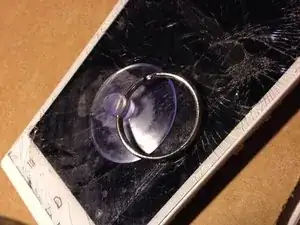
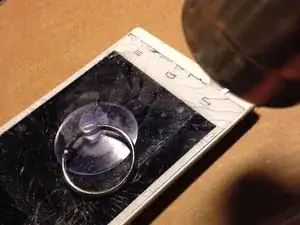
If your display is badly cracked, it is recommended to apply tape to keep the shards of glass contained. It will also help using a suction cup later on in the process.
-
-
-
Turn off your device and remove the SIM-card. Unscrew all of the ten screws on the back of the phone.
-
Don't worry about mixing up the screws as they are all identical. Even the 11th and final screw you'll be unscrewing is identical to the ones on the back cover.
-
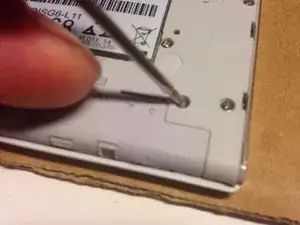
The screw pointed out in the picture is covered by the warranty seal, which is a small black sticker. Remove the seal, and if you want, replace it when reassembling the phone.
-
-
-
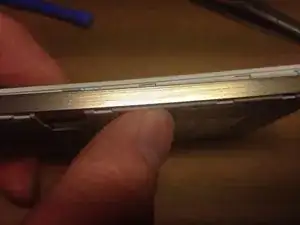
Insert a spudger between the aluminium back cover and the front panel and pry the back cover loose.
-
Move around the phone with the spudger. You will hear clicks as you proceed detacting the clips around the phone.
-
-
-
To remove the motherboard, start off by undoing the battery flex cable to avoid any possible short circuits when undoing the rest of the flex cables.
-
Carefully pry loose the camera flex cable and the camera should then come off easily.
-
Undo the five remaining flex cables from the motherboard.
-
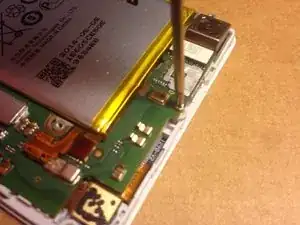
Unscrew the screw holding down the motherboard at the bottom near the USB-port.
-
The motherboard can now be carefully lifted up, but don't let any of the flex cables get stuck to it to prevent any possible damage to the flex cables or the motherboard.
-
-
-
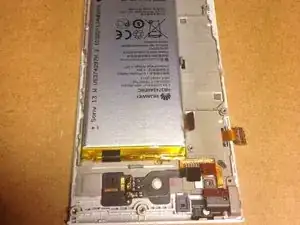
The battery is held down with two small pieces of double-sided tape. Just casefully pry under it and it should come off easily.
-
-
-
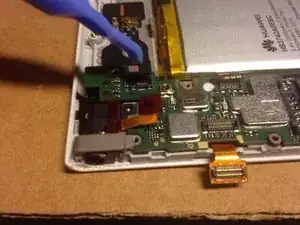
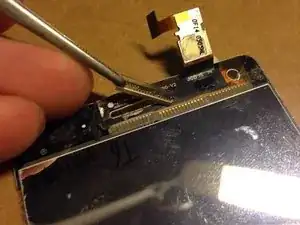
Remember to peel up the digitizer flex cable, as it is glued to the proximity sensor, and might cause damage when removing the front panel, should you forget it.
-
The flex cable is held down with a bit of adhesive, just use your spudger to carefully peel it up.
-
-
-
Using a heat gun or a hairdryer heat up the front of the phone a bit to soften the glue on the double sided tape. You might need to heat up the front several times in the process.
-
Do not heat up the glass too much as you might cause some damage under the front panel, even though most of the most heat-sensitive parts have been removed. If it's too hot to touch, you have heated the glass too much.
-
This process will likely ruin the rest of the screen, but if you're careful, and possibly first remove the glass pieces with a razor while reheating the glass frequently, it is possible to save the LCD and digitizer for front glass replacement.
-
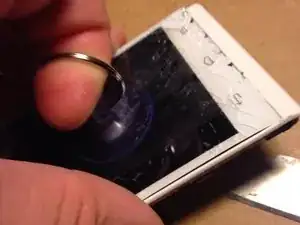
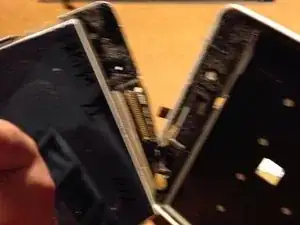
Go around the edges with the razor blade, separating the glass and with it the LCD and digitizer off the frame. Using a suction cup might help a little. Remember to help the flex cables fit out of their gaps.
-
-
-
Remove all of the old double-sided tape and with it any remaining pieces of glass. Apply a new layer of double-sided tape to the frame, remembering to keep the front facing camera and the proximity sensor unobstructed.
-
Remove the front speaker protective grill from the old screen assembly and make sure to place it in your new part.
-
You will not need to remove anything else from the old front panel assembly.
-
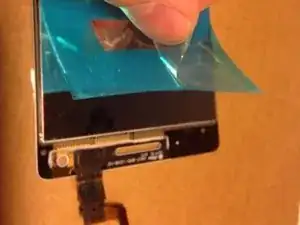
Remove the protective cover and fit the new front panel into place, routing the flex cables through the gaps, making sure they are not bent or stuck in any way.
-
-
-
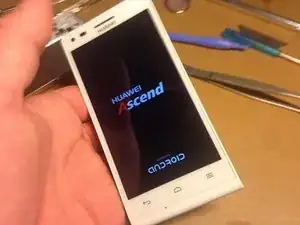
You can now follow the instructions in reverse order to reassemble the phone. After clipping down all seven of the flex cables you can turn on the phone to check that everything works.
-
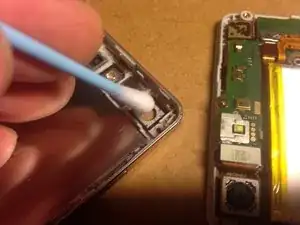
You can also take time to clean dust off the insides of the phone with a can of compressed air and if necessary, clean the camera lens with isoprophyl alcohol and a cotton swab.
-
To reassemble your device, follow the instructions in steps 1-6 reverse order.
16 Kommentare
i have only bought the glass lens, can i just follow the same steps?
Alem -
Yes, the procedure to remove the screen assembly is the same, you will just have to use a heat gun or a hot plate and some cutting wire to separate the old glass lens. Then glue the new glass into place with some LOCA, or OCA, etc.. I remommend watching a couple videos of the procedure for other screens like say, P6, on youtube before attempting it, as replacing the front glass digitizer can be difficult and the LCD can crack very easily. Using a heat plate makes it easier, but still, if it's your first digitizer replacement, it can be difficult. Best of luck.
It's really difficult to remove the battery. There aren't just é small pieces of tape, its like its glued down entirely
Ben -
Where did you buy the replacement screen? I found some on Ebay (mostly from china) and they are around 30$. I have my doubts about the quality (of the display aswel as the glass) because of the low price, or do you think it will be (almost) the same as the original and nothing to worry about?
David -
Here is the part that's installed in the guide. The cheaper screens don't usually have very good anti-fingerprint coating, so I would recommend getting a quality screen protector to go with the cheaper screen.
But in terms of pixel density, brightness and viewing angles you would say it is the same? And also touch sensitivity?
Cheers
David -
Usually it is close enough, but of course there are differences. This screen was relatively good quality, though.
Hey, first of all, much thanks for writing down this guide. I have a problem with the same phone. i bought an original front panel and replaced it following this guide. now that i exchanged the panel, the phone turns on, but the touchscreen doesnt work. I tried it 3 times now, looked for something i forgot, but its all done. it just doesnt react if i touch the display after turning the phone on. can u give me some advices or help me? im so down.. thanks in advance.
and sorry for my bad english.
salvadordani -
I have the same problem. My touchscreen doesn't work after replacing the front panel. However it does react a little bit. I can shut down my phone, for that part my touchscreen is working. Not perfectly, it's slow and it doesn't react at all on the right side. How did you solve this problem?
rinkedewilde -
I have same problem, did you solve it?
Andrey Lunyov -
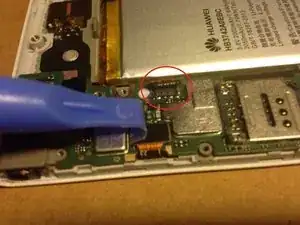
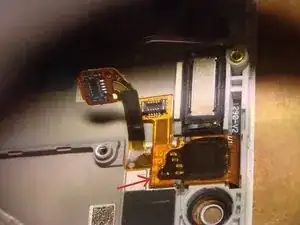
SOLUTION: Transfer yellow kapton tape from the touchscreen flex from the old display to the new touchscreen flex. Otherwise the flex makes contact with motherboard and touchscreen doesnt respond. BAZINGAAA!
Maxim Trofimov -
Can you post a photo please?
George Katsogiannos -