Einleitung
It is a straightforward guide showing the steps towards removing the front camera. Remember to be careful during the disassembling. The parts can break easily.
Werkzeuge
-
-
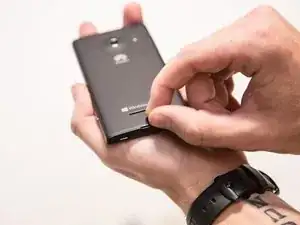
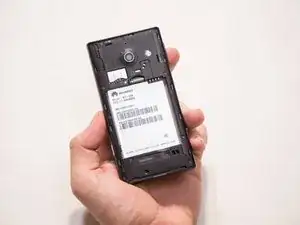
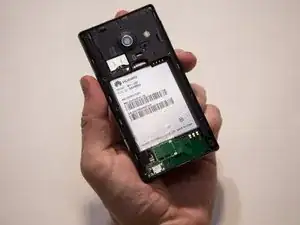
Flip the device over so that the back of the phone is facing you and the screen is against your palm.
-
-
-
Locate the slit at the bottom of the back cover.
-
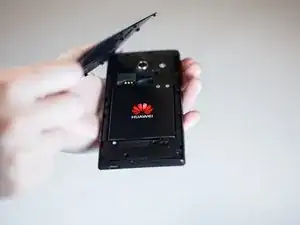
Using your fingernail, lift up on the back cover to expose the battery.
-
-
-
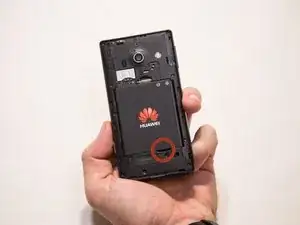
Find the indented notch at the base of the battery.
-
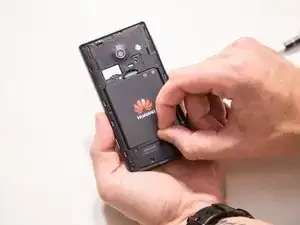
Lift the battery out of the phone with your fingers by pressing forward and lifting upward.
-
-
-
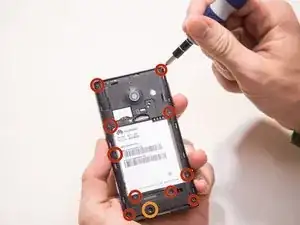
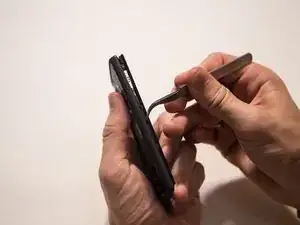
After removing the battery, remove the screws using a T6 screwdriver.
-
There are eleven screws that hold the middle cover to the rest of the phone.
-
The screw that is marked by the orange circle is covered by a white dot.
-
-
-
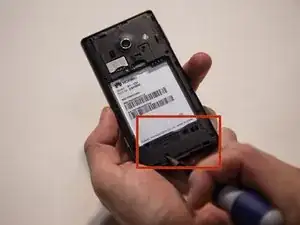
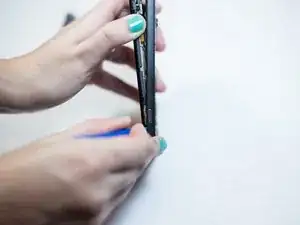
After all the screws are removed, use your fingers to remove the lower section of the middle cover.
-
Pull the lower section of the middle cover outward towards you, exposing the circuit board underneath.
-
-
-
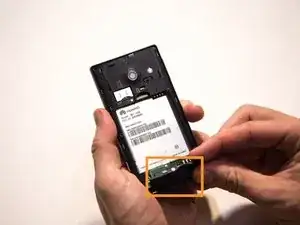
Begin working your way around the sides of the cover plate, unsnapping it gently.
-
The middle cover is a thin piece of plastic with the external speaker inside of it.
-
-
-
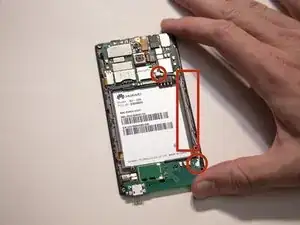
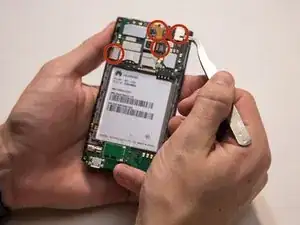
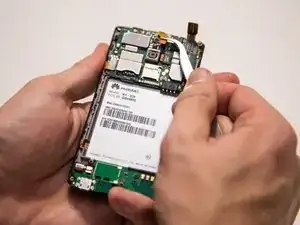
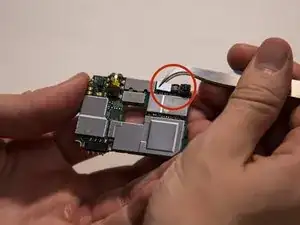
Use a plastic spudger or your fingers to gently pry up the four flex cables from the main board.
-
-
-
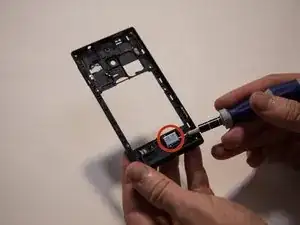
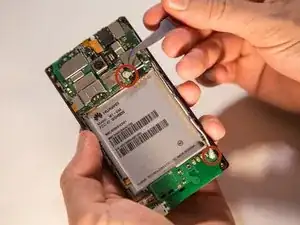
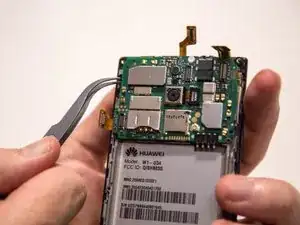
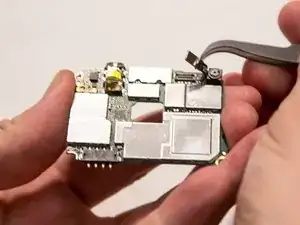
Gently pry up near the small black clip with your fingers or a plastic spudger to detach the main board.
-
-
-
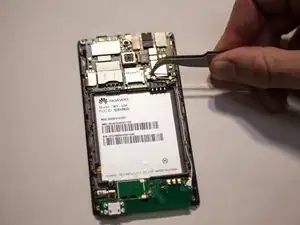
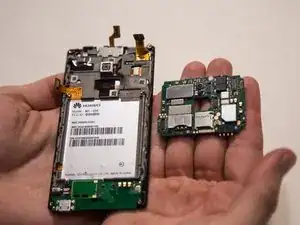
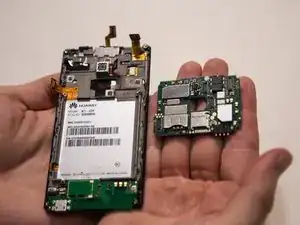
With the main board facing away from you, the front camera is on the top right corner.
-
There is a silver connector and a black flex cable attached to the front camera.
-
-
-
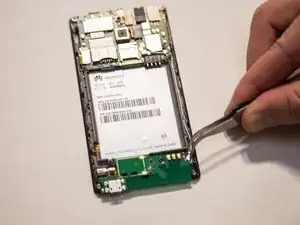
Once the flex cable is disconnected, completely remove the front camera off the main board.
-


To reassemble your device, follow these instructions in reverse order.