Einleitung
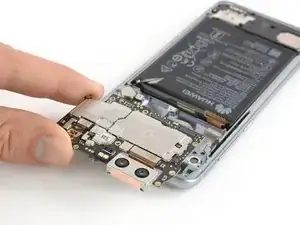
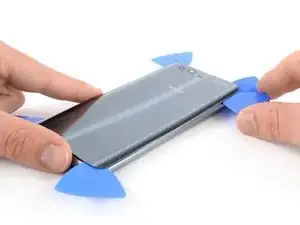
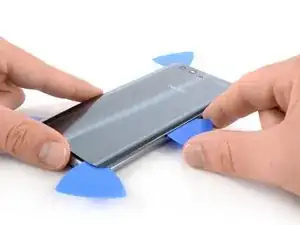
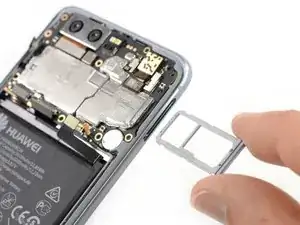
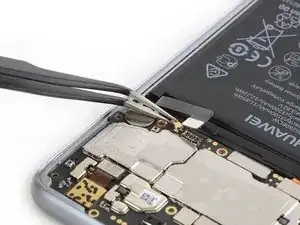
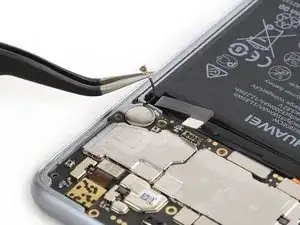
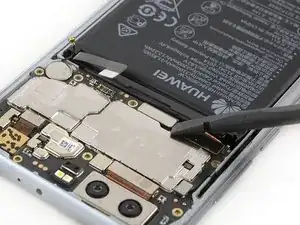
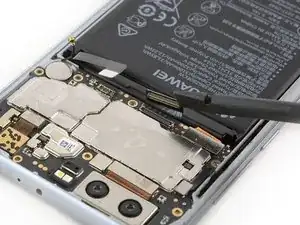
Use this guide to remove the motherboard assembly in the Huawei Honor 9.
You’ll need replacement adhesive to reattach components when reassembling the device.
Werkzeuge
-
-
Switch off your phone.
-
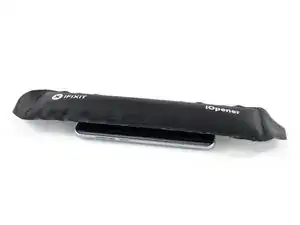
Heat an iOpener and apply it to the back of the phone for around two minutes. This will help soften the adhesive securing the rear glass.
-
You might need to reheat and reapply the iOpener several times during the rear glass removal.
-
-
-
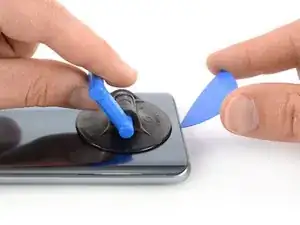
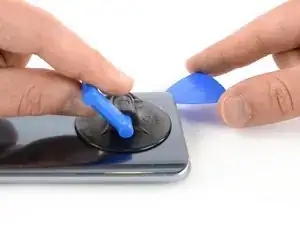
Secure a suction handle to the lower edge of the rear glass, as close to the edge as possible.
-
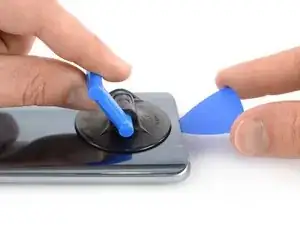
Lift the rear glass with the suction cup to create a gap between the glass and the frame.
-
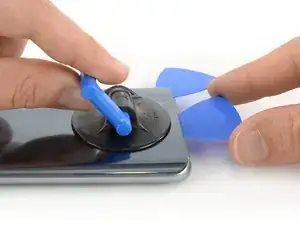
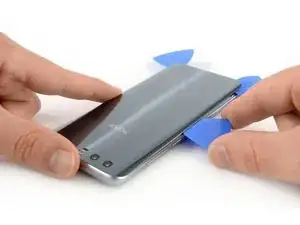
Insert an opening pick into the gap.
-
-
-
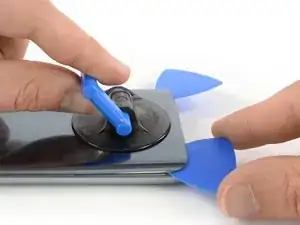
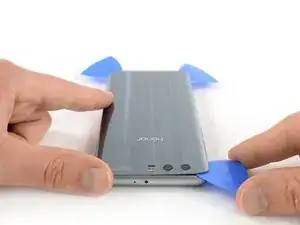
Slide the opening pick to the bottom right corner.
-
Insert a second opening pick and slide it to the bottom left corner.
-
Leave the opening picks in place to prevent the adhesive from resealing.
-
-
-
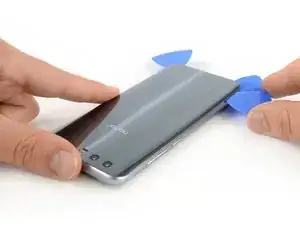
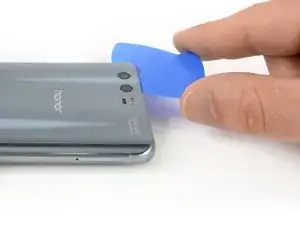
Insert a third opening pick at the bottom left corner.
-
Start to slide the tip of the opening pick from the bottom left corner along the side of the Huawei Honor 9 to cut the adhesive.
-
Leave the opening pick in its place at the top left corner to prevent the adhesive from resealing.
-
-
-
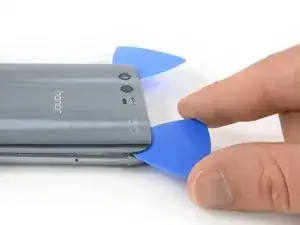
Insert a fourth opening pick under the top left corner of the rear glass.
-
Slide the opening pick along the top edge of the phone to cut the adhesive.
-
Leave the opening pick in the top right corner to prevent the adhesive from resealing.
-
-
-
Insert a fifth opening pick at the top right corner of the phone.
-
Slide the opening pick along the right side to cut the remaining adhesive.
-
-
-
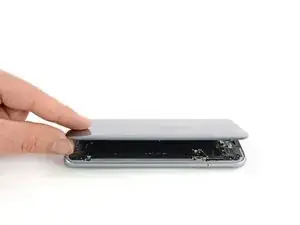
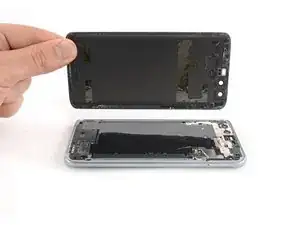
Carefully lift the rear glass and remove it.
-
Secure the new rear glass with pre-cut adhesive or double-sided adhesive tape.
-
After installing the rear glass, apply strong, steady pressure to your phone for several minutes to help the adhesive form a good bond, such as by placing it under a stack of heavy books.
-
-
-
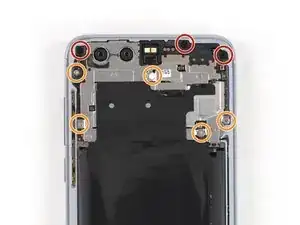
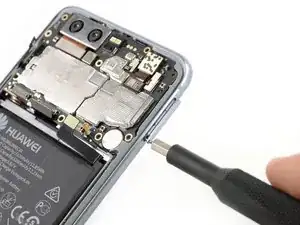
Remove the three Phillips #00 screws (3.45 mm length).
-
Remove the five Phillips #00 screws (2.9 mm length).
-
-
-
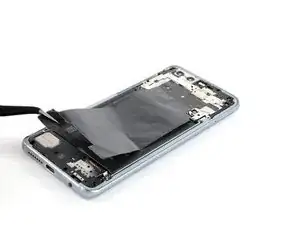
Carefully peel up the black thermal foil and remove it completely.
-
Remove the Phillips #00 screw that is located underneath the thermal foil at the bottom center of the motherboard.
-
-
-
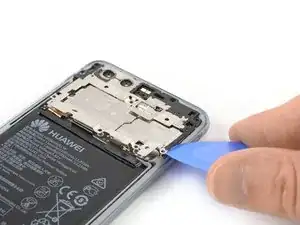
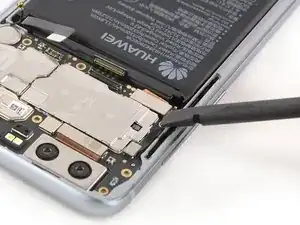
Slide an opening pick under the right side of the motherboard shield.
-
Twist the opening pick sideways to release the clips that hold the shield in place.
-
Repeat the previous process and work your way around the motherboard shield until it pops out.
-
-
-
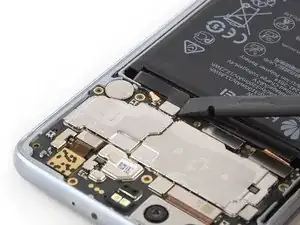
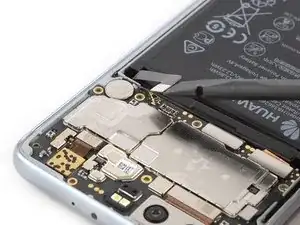
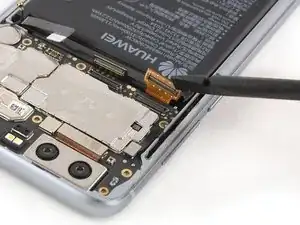
Use a pair of tweezers to pry up and disconnect the antenna coax cable located next to the battery connector.
-
-
-
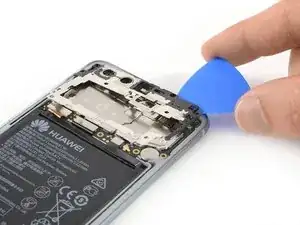
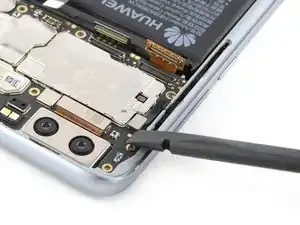
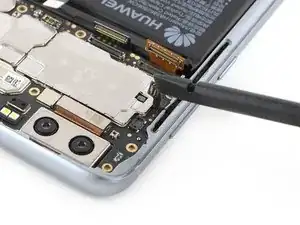
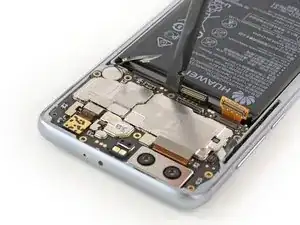
Insert a spudger in the gap between the battery and the motherboard.
-
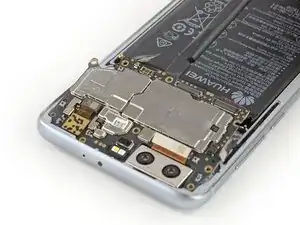
Carefully pry up the motherboard until you can get a good grip.
-
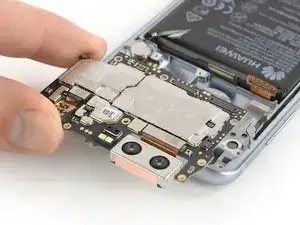
Make sure the previously unplugged connectors are out of the way and avoid damaging any close components while lifting the motherboard.
-
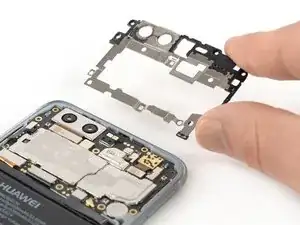
Remove the motherboard assembly.
-
To reassemble your device, follow these instructions in reverse order.
Take your e-waste to an R2 or e-Stewards certified recycler.
Repair didn’t go as planned? Check out our Answers community for troubleshooting help.
