Einleitung

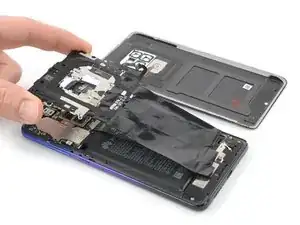
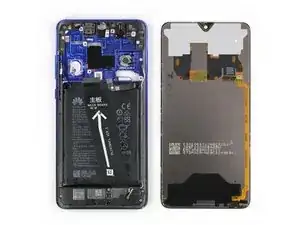
Use this guide to replace a broken or defective LCD Screen & Digitizer in your Huawei Mate 20.

Note: This guide instructs you to replace only the screen while leaving the original frame and motherboard in place. However, some replacement screens for this phone come pre-installed in a new frame (a.k.a. chassis), which requires a very different procedure. Make sure you have the correct part before starting this guide.

Opening the Huawei Mate 20 will damage the waterproof sealing on the device. If you do not replace the adhesive seals, your phone will function normally but will lose its water-protection.

Before disassembling your phone, discharge the battery below 25%. The battery can catch fire and/or explode if accidentally punctured, but the chances of that happening are much lower if discharged.

You’ll need replacement adhesive to reattach components when reassembling the device.

  1. qwXNA1MhAw1VSRMZ
    • Before you begin, switch off your phone.

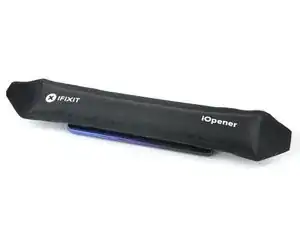
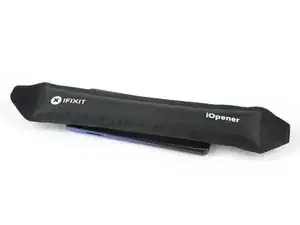
    • Apply a heated iOpener to the back of the phone to loosen the adhesive beneath the back cover. Apply the iOpener for at least two minutes.

  2. mTFXZ3RRJGARyiEN
    mTFXZ3RRJGARyiEN
    OmLGGJTiEhAGSosC
    6NkcNAVXNBIPJj6K
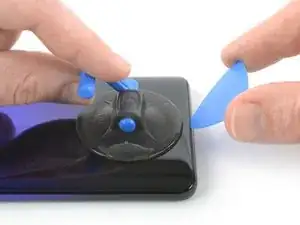
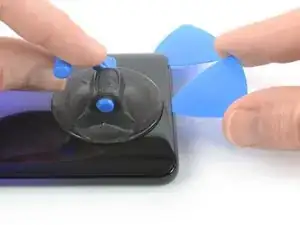
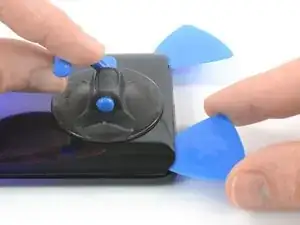
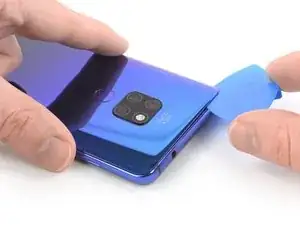
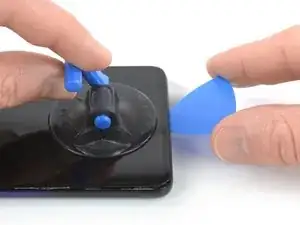
    • Secure a suction handle to the bottom of the back cover, as close to the edge as possible.

    • If the phone's rear glass is cracked, the suction handle may not stick. Try lifting it with strong tape, or superglue the suction handle in place and allow it to cure so you can proceed.

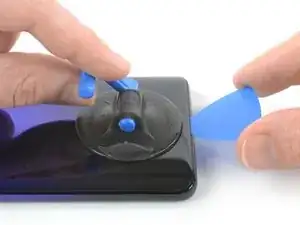
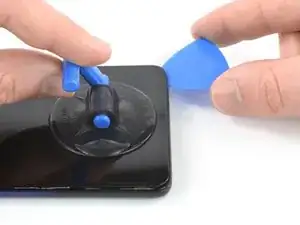
    • Lift the back cover with the suction handle to create a small gap between the cover and the frame.

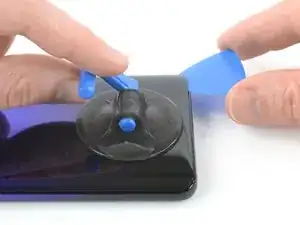
    • Insert an opening pick into the gap.

    • If you have trouble, apply more heat to further soften the adhesive. Follow the iOpener instructions to avoid overheating.

    • Slide the opening pick to the bottom right corner.

  3. MqGdJWcFRTX5v1yI
    MqGdJWcFRTX5v1yI
    XvHLUBRVfDEIpWVC
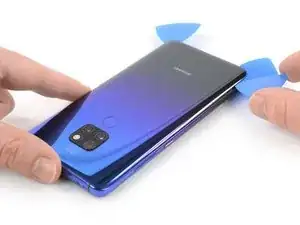
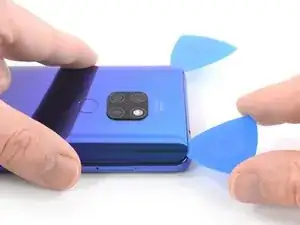
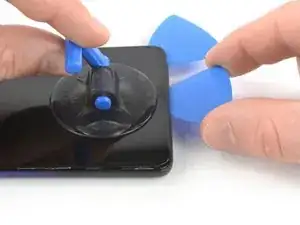
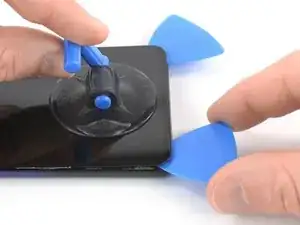
    • Insert a second opening pick and slide it to the bottom left corner to cut the adhesive.

    • Leave the opening picks in place to prevent the adhesive from resealing.

  4. MYGudmLpZVRyyevh
    MYGudmLpZVRyyevh
    QsvPdgM6NtuBlUYJ
    O6Orfl2mNo2CDECq
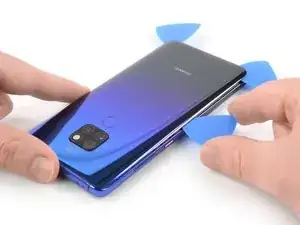
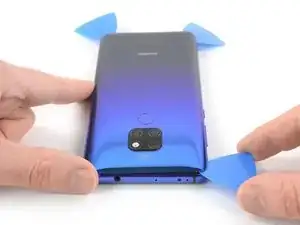
    • Insert a third opening pick at the bottom left corner.

    • Slide the tip of the opening pick from the bottom left corner along the side of the phone to cut the adhesive.

    • Leave the opening pick in its place at the top left corner to prevent the adhesive from resealing.

  5. ygOWsPkFLZERuBBg
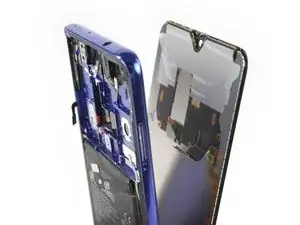
    ygOWsPkFLZERuBBg
    l3piimICjBGYdPAO
    • If the adhesive becomes hard to cut, it has most likely cooled down. Use your iOpener to reheat it.

    • Insert a fourth opening pick under the top left corner of the back cover.

    • Slide the opening pick along the top edge of the phone to cut the adhesive.

    • Leave the opening pick in the top right corner to prevent the adhesive from resealing.

  6. aSURFWMKGDXNq55u
    aSURFWMKGDXNq55u
    gYLHUV5LeaTbBtCW
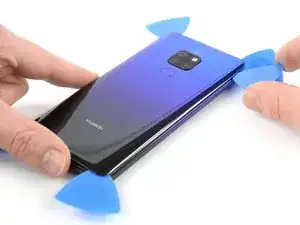
    • Insert a fifth opening pick at the top right corner of the phone.

    • Slide the opening pick along the right side to cut the remaining adhesive.

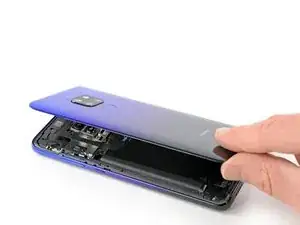
    • Try not to remove the rear glass all the way yet, the fingerprint cable is still connected to the motherboard and rips easily if not handled with care.

  7. XtAbHuVYvZLJdKl2
    XtAbHuVYvZLJdKl2
    YqIgjx3WsVLeMZ4U
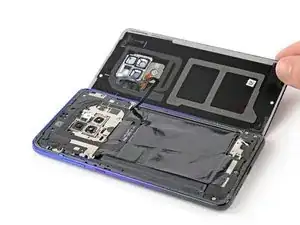
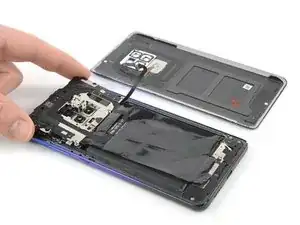
    • Carefully fold the back cover to the right side of the phone assembly. Avoid tension to the fingerprint cable during this procedure.

  8. PHfgkCMuWVkNFFJK
    PHfgkCMuWVkNFFJK
    OSKVxIR6ooBGpyRS
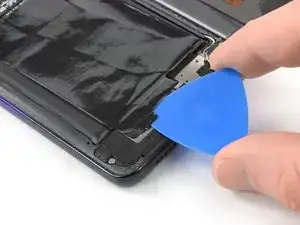
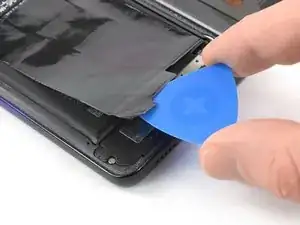
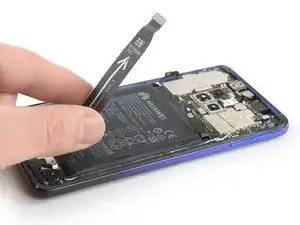
    • Slide an opening pick under the bottom end of the black protective foil that covers the battery. Use the opening pick to loosen the adhesive that attaches the foil to the loudspeaker.

  9. tHqAMcSxcIZc2SHC
    tHqAMcSxcIZc2SHC
    vHSNku3PICTSwxlA
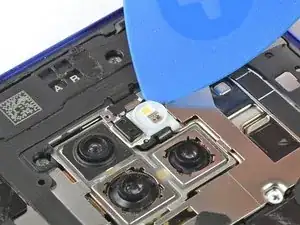
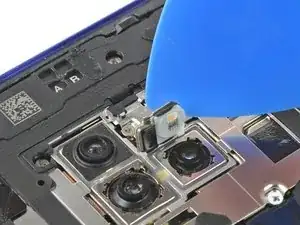
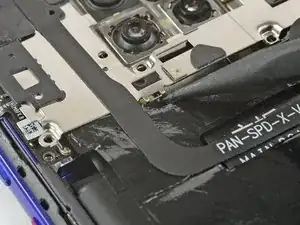
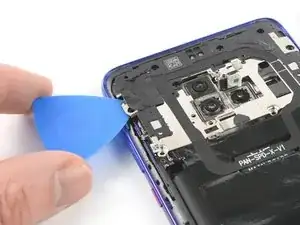
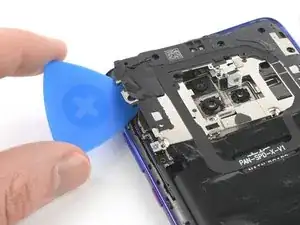
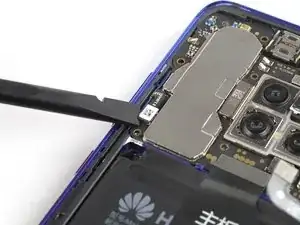
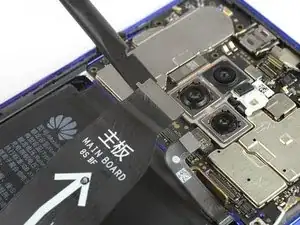
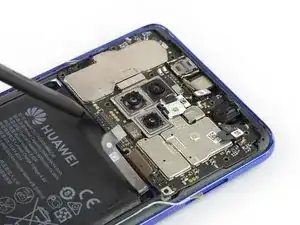
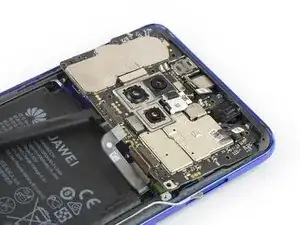
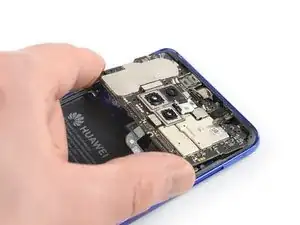
    • Use an opening pick to carefully pry the flash assembly off the motherboard cover and fold it into the direction of the battery. Avoid damaging the flash assembly flex cable.

    I found this step difficult: it is super thin and difficult to pry. I found that pulling next to the top camera sensor worke best.

    anonymous 5209 -

  10. DJPKAiUtlrYuZrqG
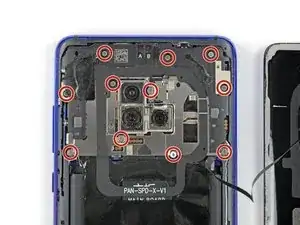
    • Remove the eleven Phillips #00 screws (2.8 mm length).

  11. lUNSvYNpxVqeJJEK
    lUNSvYNpxVqeJJEK
    ej1jTSQ2fVyQA2qb
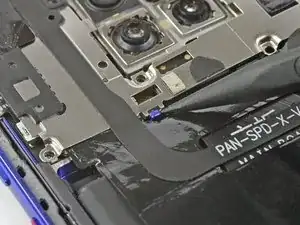
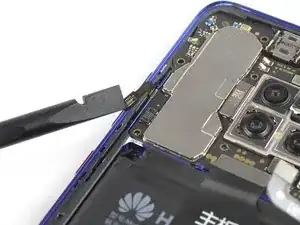
    • Use the pointed end of a spudger to unhinge the motherboard cover from the small hook above the left side of the battery.

    I couldn't do that. Instead I released the cover first (#12) and moved the whole cover around to release the latch

    anonymous 5209 -

  12. EHZPJdGEKw1fZNLQ
    EHZPJdGEKw1fZNLQ
    fAmPAIFcFZG3earV
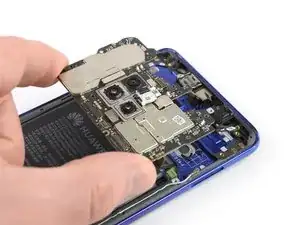
    • Slide an opening pick underneath the left side of the motherboard cover.

    • Use the opening pick to pry up the motherboard cover.

  13. ZjbXxmxCnSJRlSQo
    ZjbXxmxCnSJRlSQo
    c4sAwY5qHUAYub2P
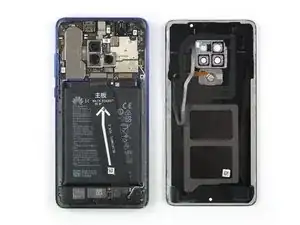
    • Remove the motherboard cover including the NFC and the black protective foil. Avoid damaging the flash assembly during this procedure.

  14. rVeMGdjkCPONXjFo
    rVeMGdjkCPONXjFo
    nHreeRwEixrnjCnA
    OSvNooUHiAGwbXMs
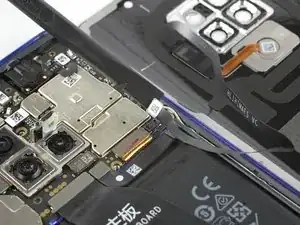
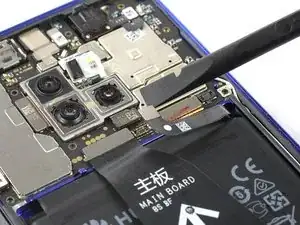
    • Use a spudger to pry up and disconnect the fingerprint flex cable.

    • Before installing fresh adhesive and reassembling, remove any remaining adhesive from the phone, and clean the glued areas with isopropyl alcohol (>90%) and a lint-free cloth.

    • During reassembly, this is a good point to power on your phone and test all functions before sealing it up. Be sure to power your phone back down completely before you continue working.

    • Secure the new back cover with pre-cut adhesive or double-sided adhesive tape. After installing the rear glass, apply pressure for several minutes to help the adhesive form a good bond, such as by placing it under a stack of heavy books.

  15. GPUVkPGbeQDZZ1gY
    GPUVkPGbeQDZZ1gY
    MYFwyRoRINhFJKgA
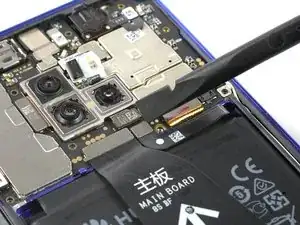
    • Use a spudger to pry up and disconnect the battery connector.

  16. rBqVDX4PMjdJDhbs
    rBqVDX4PMjdJDhbs
    kSGYQb6LdEnBj3BR
    KUHRkgxdHtXwENZn
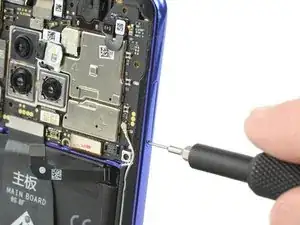
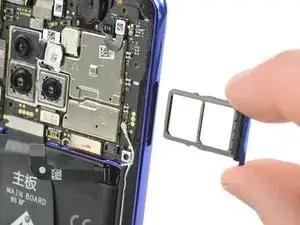
    • Remove the SIM card tray.

  17. 2XKvu26IWPjPSOac
    2XKvu26IWPjPSOac
    IMrMOdQABigVguO6
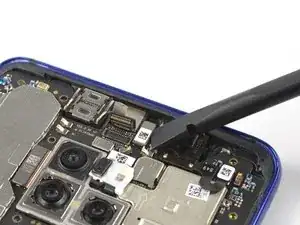
    • Use a spudger to pry up and disconnect the power and volume button flex cable.

  18. R4hN2WlEWrpivffC
    R4hN2WlEWrpivffC
    buLEWQ5WAHHrYOBZ
    MnNp6wvierK4LKRx
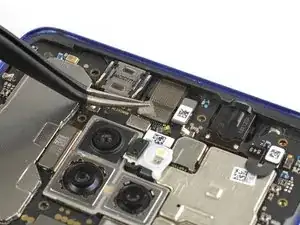
    • Use a pair of tweezers to peel the silver protective tape off the front facing camera’s flex connector.

    • Use a spudger to pry up and disconnect the front facing camera flex cable.

  19. FEpVPMMOfu1GhiVI
    FEpVPMMOfu1GhiVI
    CBjcQGtPIyhnOrW3
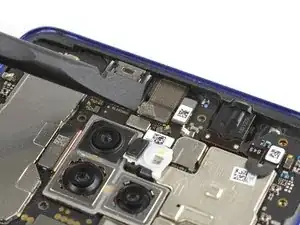
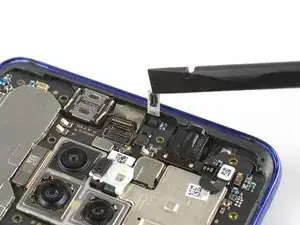
    • Use a spudger to pry up and disconnect the sensor assembly flex cable.

  20. vfFJ3tZDdeV11qvK
    vfFJ3tZDdeV11qvK
    XygMmWWVlDNRLEJ6
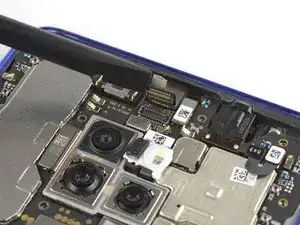
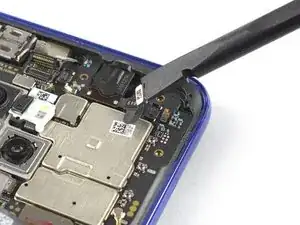
    • Use a spudger to pry up and disconnect the headphone jack flex cable.

  21. bQbMfZ1f1Qs2CfUC
    bQbMfZ1f1Qs2CfUC
    MnNwXZD533ChUJhD
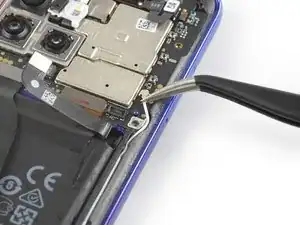
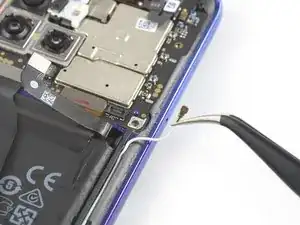
    • Use a pair of tweezers to carefully pry up and disconnect the antenna cable.

  22. XLJMSvGVrOfXnTXF
    XLJMSvGVrOfXnTXF
    3wSyE4ep26Sq1WV6
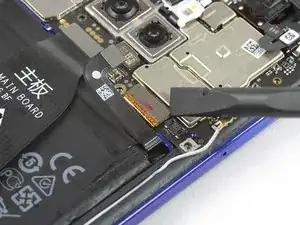
    • Use a spudger to pry up and disconnect the display flex cable.

  23. 1BgCKtdbbVYZIiCW
    1BgCKtdbbVYZIiCW
    BpEjXJNaNnr51USd
    TZK5DhdZQIT166Hl
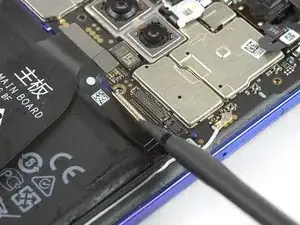
    • Use a spudger to pry up and disconnect the main flex cable.

    • Carefully fold the main flex cable back and out of the way so you have enough space to work on the bottom edge of the motherboard assembly.

  24. jAdyLEbUZiXNLEMq
    jAdyLEbUZiXNLEMq
    kYZsoOAfIZXelQ2B
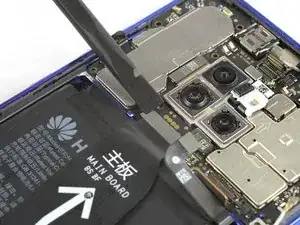
    • Insert a spudger into the gap between the motherboard assembly and the midframe at the bottom edge of the motherboard.

    • Use the spudger to pry up the motherboard assembly.

  25. I6bw1LoH1ORXg1vr
    I6bw1LoH1ORXg1vr
    ObxJPCrHwtuYaXng
    • Carefully remove the motherboard assembly. Avoid damaging surrounding components such as the battery or the headphone jack flex cable during this process.

  26. cUyxHftN1wXdAk1w
    cUyxHftN1wXdAk1w
    1gSBNKBAISJfUheo
    • Apply a heated iOpener to the screen and all edges of the phone for at least two minutes, to loosen the adhesive.

    • In the following step make sure you get in the right gap between the display and the plastic bezel. Do not pry between the bezel and the midframe.

  27. pYZRCB5rDOGMnxeg
    pYZRCB5rDOGMnxeg
    wKxbWMXkFggGokVL
    1qUOXqYH3GFs4lL6
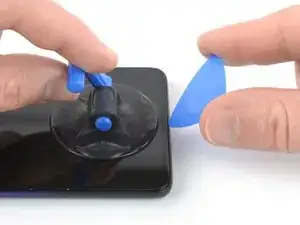
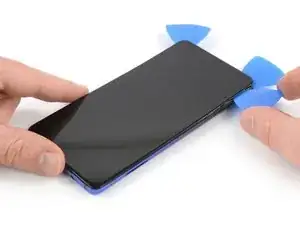
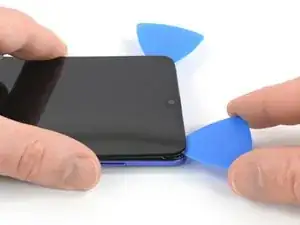
    • Once the screen is warm to the touch, apply a suction cup to the bottom edge of the phone.

    • Pull the suction cup upwards and insert an opening pick in the gap between the display glass and the midframe. Start to cut the adhesive by sliding the opening pick to the bottom right corner.

  28. Yi4H5Muc6ZqEXD1F
    Yi4H5Muc6ZqEXD1F
    vqsVGBTdkZEGZWsO
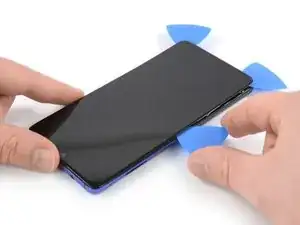
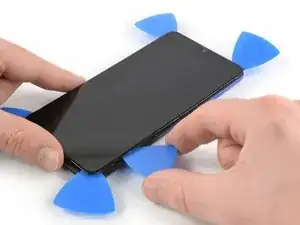
    • Insert a second opening pick and slide it to the bottom left corner of the phone to cut the adhesive.

    • Leave the picks in their place to prevent the adhesive from resealing.

  29. cdaQvMpZpEOkHbLY
    cdaQvMpZpEOkHbLY
    EuCCbkmkXn5cXTCs
    HSSphACr1bkpZB3H
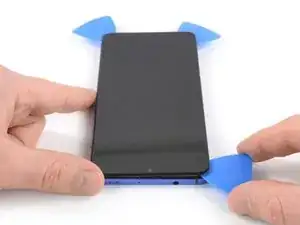
    • Insert a third opening pick under the bottom left corner of the phone.

    • Slide the opening pick up to the top left corner to cut the adhesive. Leave it there to prevent the adhesive from resealing.

    • If cutting becomes too difficult, reheat and reapply the iOpener.

  30. HT1DGkLxBtxS6tFt
    HT1DGkLxBtxS6tFt
    sHJcOmmsHBtv3OCK
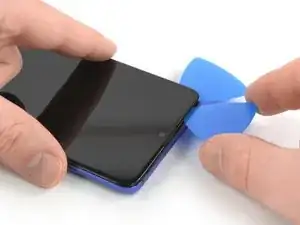
    • Insert a fourth opening pick at the top left corner.

    • When nearing the front facing camera, only work with the tip of the opening pick to avoid damaging or smearing the camera.

    • Slide the opening pick along the top edge of the phone to cut the adhesive. Leave the pick in the top right corner of the screen to prevent the adhesive from resealing.

  31. CGurNP1DHGZD2FHJ
    CGurNP1DHGZD2FHJ
    XtAbsBcJSNjup15A
    • Insert a fifth opening pick and slide it along the right edge of the phone to cut the remaining adhesive.

    • Try not to remove the display all the way yet, the display cable is still threaded through the frame and possible adhered on the inner side of the midframe.

  32. SfTs4iokDOYvmUK5
    SfTs4iokDOYvmUK5
    fwNe2CgUVQrF4Pw1
    FfUcvrvIJASDmxBr
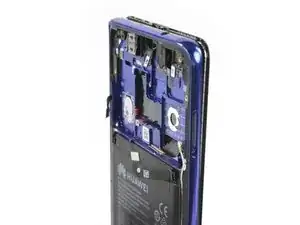
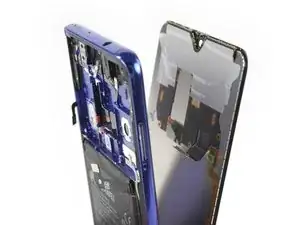
    • Thread the display flex cable through the gap in the midframe and remove the display.

    • Before installing a new display, remove all traces of the old adhesive from the frame, and clean the glued areas with isopropyl alcohol (>90%) and a lint-free cloth.

    • The best way to secure the new screen is with a sheet of custom-cut double-sided tape. Apply the tape to the back of the screen, then carefully feed the display cable through the frame. Align the screen and press it into place.

Abschluss

To reassemble your device, follow these instructions in reverse order.

Take your e-waste to an R2 or e-Stewards certified recycler.

Repair didn’t go as planned? Check out our Answers community for troubleshooting help.
Dominik Schnabelrauch

Mitglied seit: 23/11/16

167812 Reputation

0 Kommentare