Einleitung
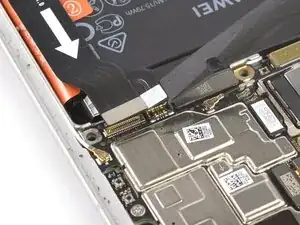
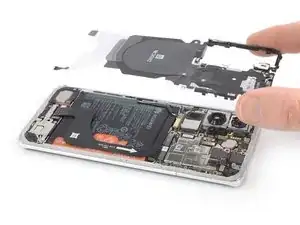
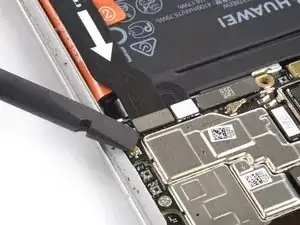
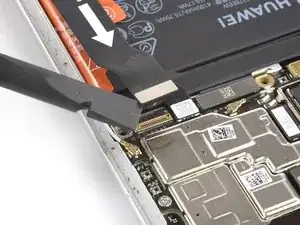
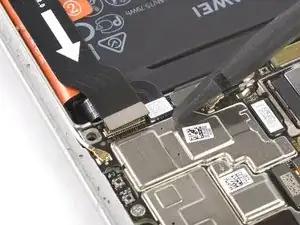
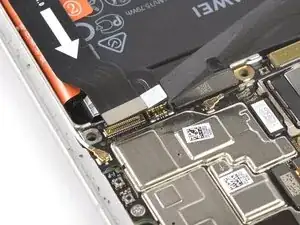
This is a prerequisite-only guide! This guide is part of another procedure and is not meant to be used alone. Use this guide to disconnect the battery in your Huawei P40 Pro.
Werkzeuge
-
-
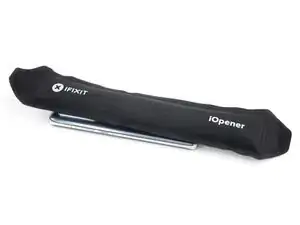
Apply a heated iOpener to the rear glass to loosen the adhesive underneath. Apply the iOpener for at least two minutes.
-
-
-
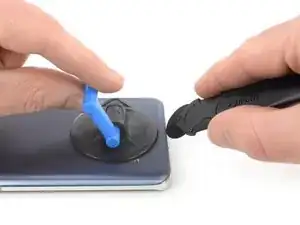
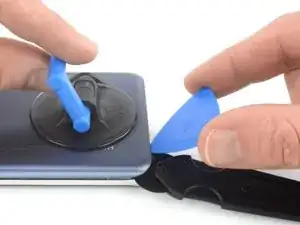
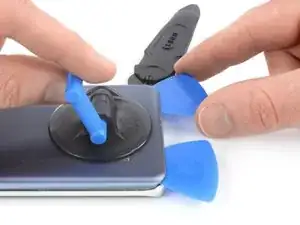
Secure a suction handle to the bottom edge of the rear glass, as close to the curved edge as possible.
-
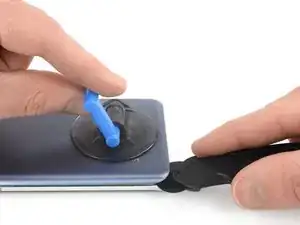
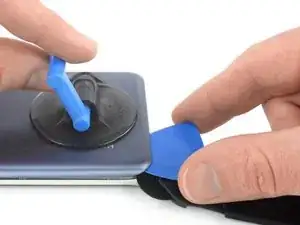
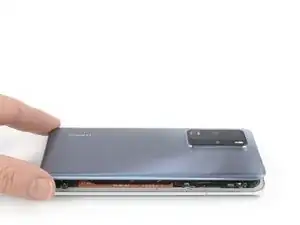
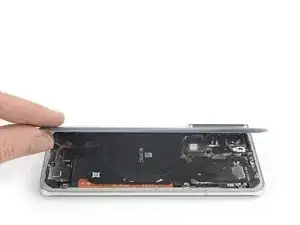
Lift the back cover with the suction handle to create a small gap between the back cover and the frame.
-
Insert an iMac opening wheel into the gap.
-
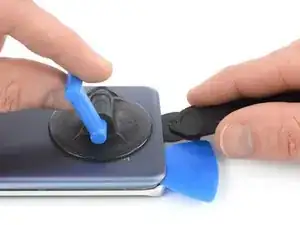
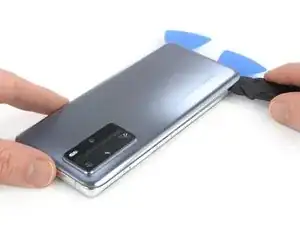
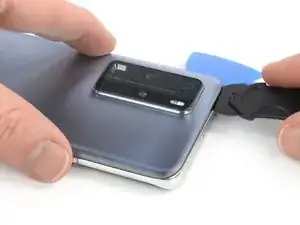
Slide the opening wheel to the bottom left corner to slice the adhesive.
-
-
-
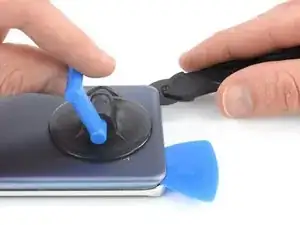
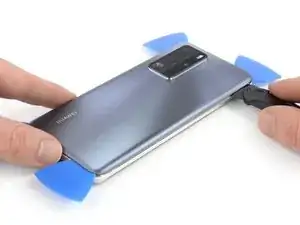
Insert an opening pick into the gap between rear glass and frame at the bottom left corner of your phone to prevent the adhesive from resealing.
-
-
-
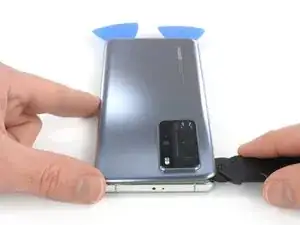
Reinsert the opening wheel at the bottom edge of the rear glass.
-
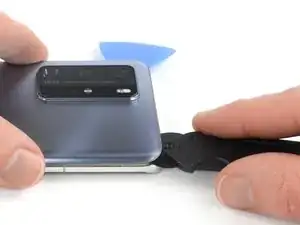
Slide the opening wheel to the bottom right corner to slice the adhesive.
-
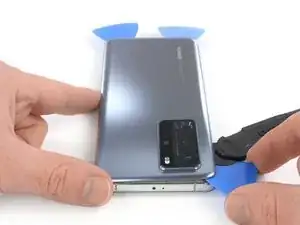
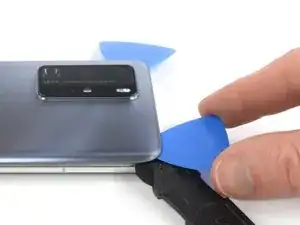
Insert an opening pick underneath the bottom right corner of the rear glass, next to the opening wheel to prevent the adhesive from resealing.
-
-
-
Insert the opening wheel underneath the bottom left corner of the rear glass.
-
Slide the opening wheel along the left edge of your Huawei P40 Pro to cut the adhesive.
-
Insert an opening pick underneath the top left corner of the rear glass, next to the opening wheel to prevent the adhesive from resealing.
-
-
-
Insert the opening wheel underneath the top left corner of the rear glass.
-
Slide the opening wheel along the top edge of your phone to cut the adhesive.
-
Insert an opening pick underneath the top right corner of the rear glass, next to the opening wheel to prevent the adhesive from resealing
-
-
-
Insert the opening wheel underneath the top right corner of the rear glass.
-
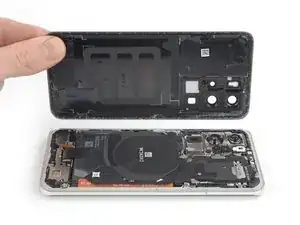
Slide the opening wheel along the right edge of your phone to cut the remaining adhesive.
-
-
-
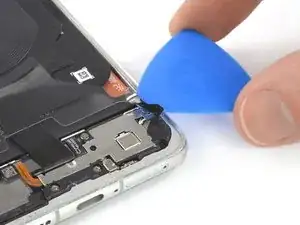
Slide an opening pick underneath the bottom right corner of the protective foil.
-
Use the opening pick to gently peel the protective foil off the daughterboard cover.
-
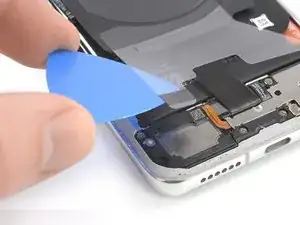
Repeat the previous procedure to peel the bottom left protective foil corner off the speaker.
-
-
-
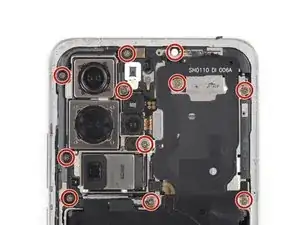
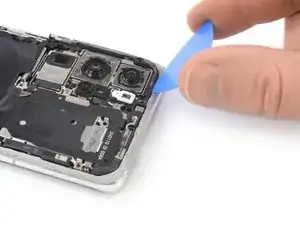
Slide an opening pick underneath the bottom left corner of the plastic midframe.
-
Slide the opening pick along the left edge of the midframe to release the plastic clips holding it in place.
-
-
-
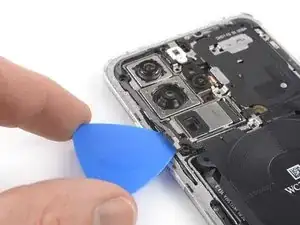
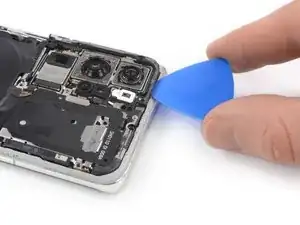
Insert the tip of an opening pick at the top edge of the midframe next to the top left corner.
-
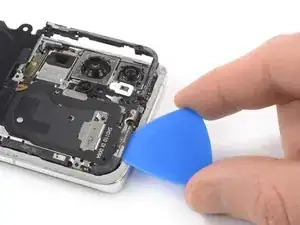
Tilt the opening pick downwards to pop the plastic clips out of their sockets.
-
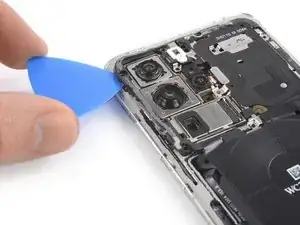
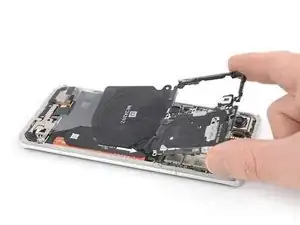
Slide the opening pick along the top edge of the midframe to release the remaining plastic clips.
-
To reassemble your device, follow these instructions in reverse order.
