Einleitung
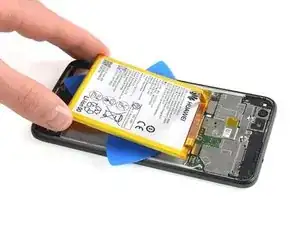
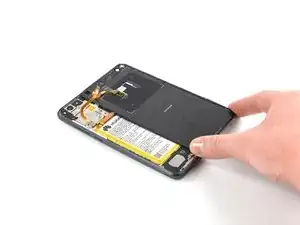
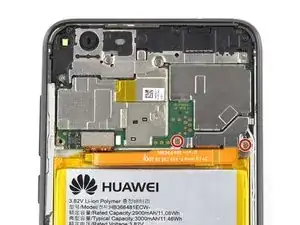
Use this guide to replace a worn-out or dead battery in your Huawei P8 Lite (2017).
If your battery is swollen, take appropriate precautions. For your safety, discharge your battery below 25% before disassembling your phone. This reduces the risk of a dangerous thermal event if the battery is accidentally damaged during the repair.
You’ll need replacement adhesive to reattach components when reassembling the device.
Werkzeuge
Ersatzteile
-
-
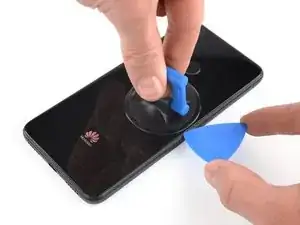
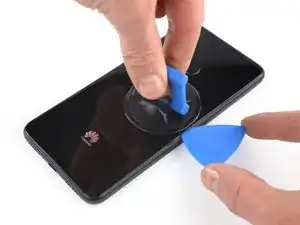
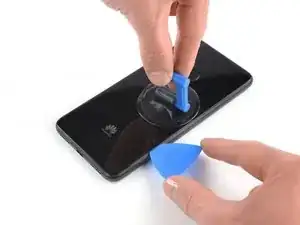
Apply a suction cup to the rear glass, as close to the right edge as possible.
-
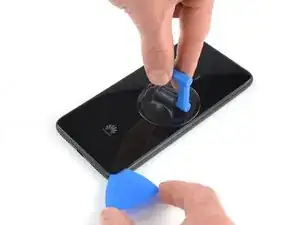
Pull up on the suction up with strong, steady force to create a gap.
-
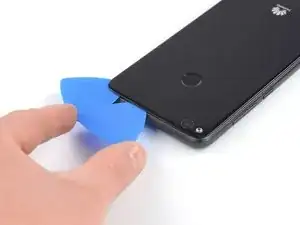
Insert the tip of an opening pick into the gap between the rear glass and frame.
-
-
-
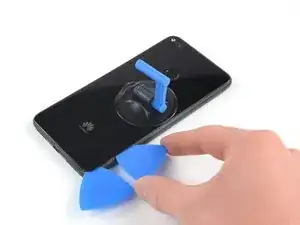
Slide the tip of the opening pick to the bottom right corner to cut the adhesive.
-
Leave it there to prevent the adhesive from resealing.
-
-
-
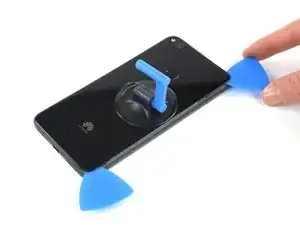
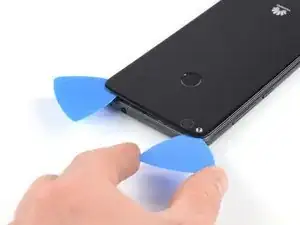
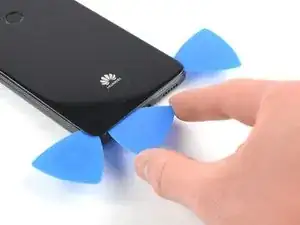
Insert a second opening pick at the bottom right corner.
-
Slide the tip of the opening pick to the top right corner to slice the adhesive.
-
Leave the opening pick at its place to prevent the adhesive from resealing.
-
-
-
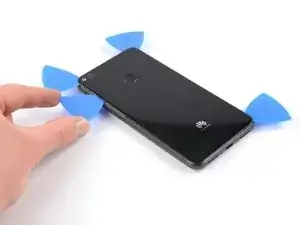
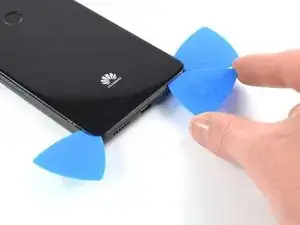
Insert a third opening pick at the top right corner.
-
Slide it to the top left corner to cut the adhesive.
-
Leave the opening pick at its place to prevent the adhesive from resealing.
-
-
-
Insert a fourth opening pick at the top left corner.
-
Slide the tip of the opening pick to the bottom left corner to cut the adhesive.
-
Leave the opening pick in its place to prevent the adhesive from resealing.
-
-
-
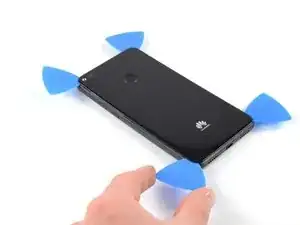
Insert a fifth opening pick at the bottom left corner.
-
Slide it to the bottom right corner to cut the remaining adhesive.
-
-
-
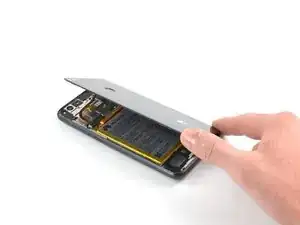
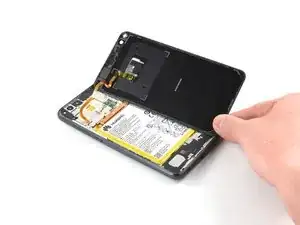
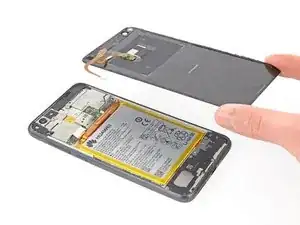
Open the P8 Lite by swinging the rear glass up from the left side, like the back cover of a book.
-
Place the rear glass on the top of the battery.
-
-
-
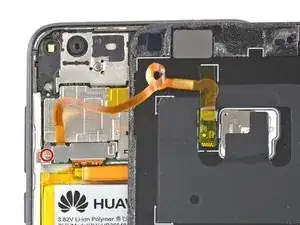
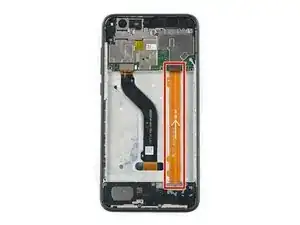
Use a Phillips #00 screwdriver to remove the two 2.9 mm-long screws securing the battery connector shield.
-
-
-
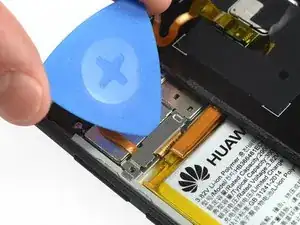
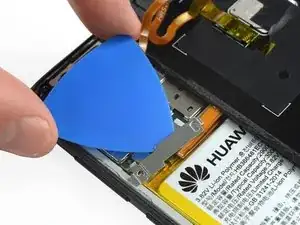
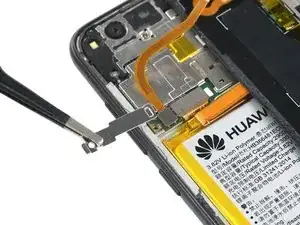
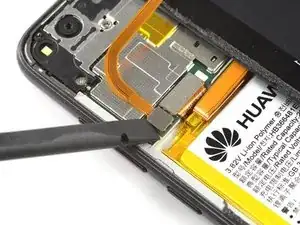
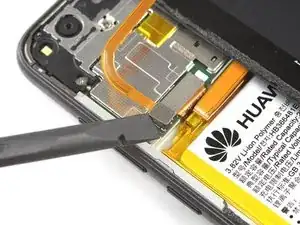
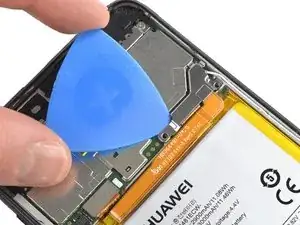
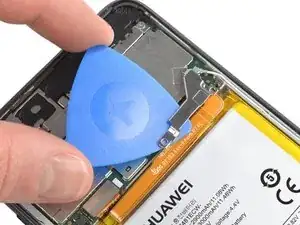
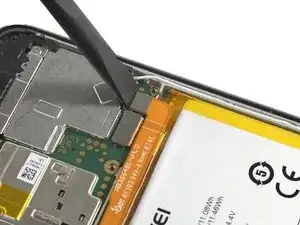
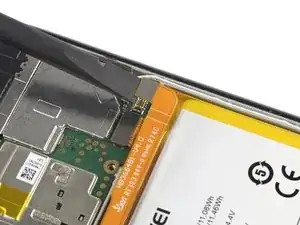
Use the tip of an opening pick to pry up the battery connector shield.
-
Remove the metal shield.
-
-
-
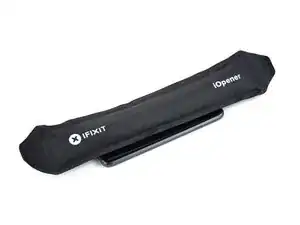
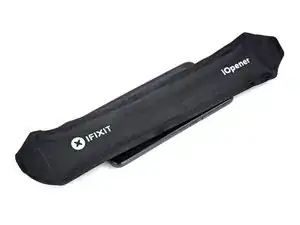
Heat an iOpener and apply it to the display to loosen the adhesive beneath the battery for two minutes.
-
-
-
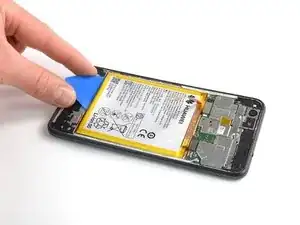
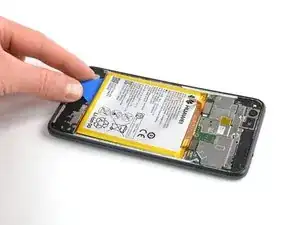
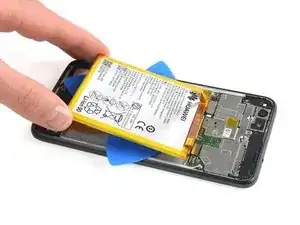
Insert the wide edge of an opening pick on the bottom left corner into the gap between the battery and the frame.
-
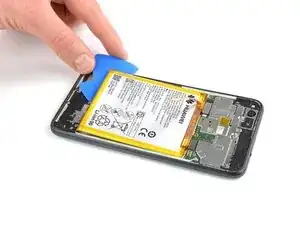
Slide the opening pick at a flat angle as far under the battery as possible. Be careful not to deform the battery.
-
-
-
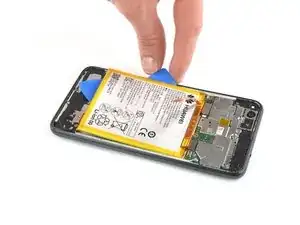
Once the battery has slightly lifted, insert a second opening pick at the bottom left corner.
-
Slide the opening pick along the edge to the left center and slide it under the battery.
-
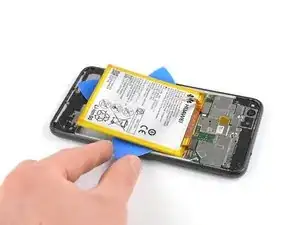
Insert a third opening in the center of the right edge and slide it under the battery to cut the remaining adhesive.
-
If possible, turn on your device and test your repair before installing new adhesive and resealing.
To reassemble your device, follow these instructions in reverse order. Apply new adhesive where necessary after cleaning the relevant areas with isopropyl alcohol (>90%).
For optimal performance, calibrate your newly installed battery: Charge it to 100% and keep charging it for at least 2 more hours. Then use your device until it shuts off due to low battery. Finally, charge it uninterrupted to 100%.
Take your e-waste to an R2 or e-Stewards certified recycler.
Repair didn’t go as planned? Try some basic troubleshooting, or ask our Answers community for help.
4 Kommentare
Hi there, thank you for this guide. I was just wondering what adhesive/ adhesive tape to use when re assembling the phone as I’m not familiar with what is suitable? Also, is there a particular brand of isopropyl alcohol to get? All the best, Ruari.
Hi Ruari, take a look at our store. You will find a range of different adhesives there. For the attachment of your battery I recommend these stretch battery adhesive. For the reassembly you can use this tape or another thin double-sided tape. For removing any remaining adhesive you can use this adhesive remover or remove large chunks of adhesives with your fingers, spudger, plastic opening tool, or tweezers. Good luck and have fun with your repair!
Hi ! Thanks for this really good tutorial. I changed my battery and everything seems to work until now, I hope it will continue for a long time! My only trouble is maybe that I have the double-sided adhesive tape from iFixit and only this material to "glue" the new battery. So, I hope this one will stick like the original one, we will see (:
Thanks a lot again, and have a good day. Tested on Huawei P8 Lite 2017, Model: PRA-LX1 Avril 2022
Rai -
Hi @Rai, thanks for sharing your experience! We're glad to hear that your repair was successful. Normally the battery should be held in place with double sided tape.
