Einleitung
This guide will aid you in replacing (or cleaning) the Injector Nozzle, Injector Throat, and Injector Screen in a Hydrotech 89-series Control Valve used on water softeners and iron filters.
You may need to do this if your equipment is malfunctioning in the following ways:
- Not drawing brine correctly or efficiently
- Not drawing brine at all
- Sending water to the brine tank during the brine draw cycle
Werkzeuge
Ersatzteile
-
-
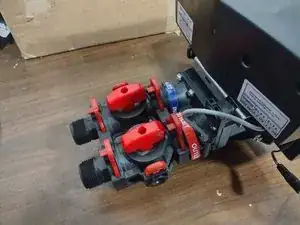
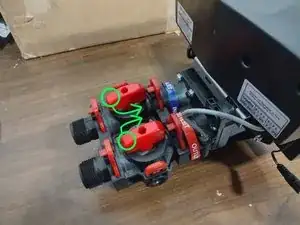
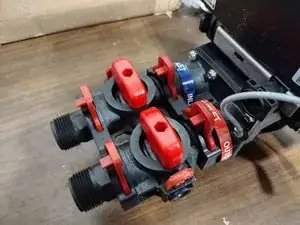
Locate the RED bypass knobs.
-
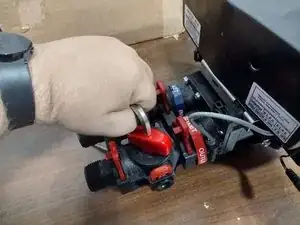
Using an allan key or a pair of pliers, turn the knobs so the stamped arrows are facing each other.
-
CAUTION: The bypass knobs may become detached, if this happens take note of the position of the knob and return the knob to that position and press down to reseat it.
-
-
-
Unlock the valve.
-
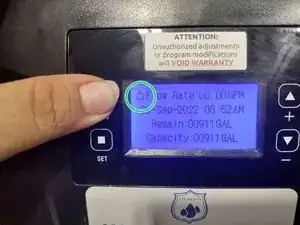
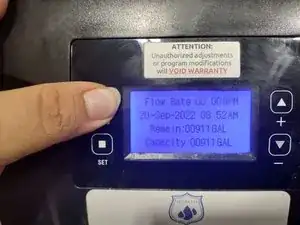
Press and hold the {MENU} key until the valve beeps/the padlock icon disappears.
-
-
-
Activate manual regeneration
-
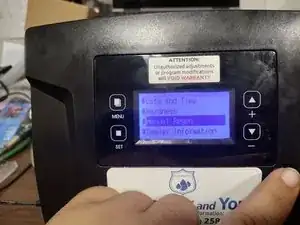
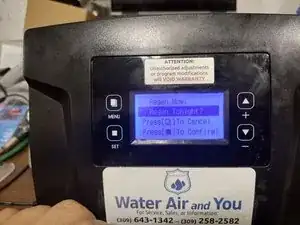
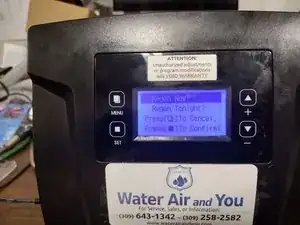
After the valve is unlcoked, press the [MENU] button once more to bring up a menu prompt.
-
Repeatedly press the {DOWN] button until "Manual Regen" is selected.
-
Press Set
-
Use the [UP} arrow to select "Regen Now" and press {SET} to begin the regeneration process.
-
-
-
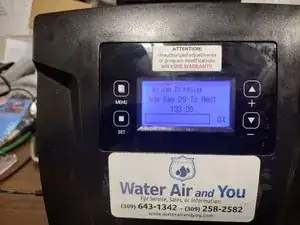
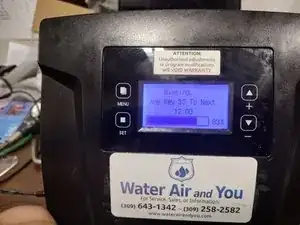
Press and hold any button for approximately 3 seconds to skip ahead, do this until the valve is in either BACKWASH or RINSE.
-
Wait until the time begins to count down to ensure it is has relieved pressure
-
Note: If you have a Downflow valve or are using this valve on a filter your first regeneration cycle will be BACKWASH, you won't need to skip ahead.
-
Note: The valve may take a couple of minutes to move between cycles, please be patient with it.
-
-
-
Finally, disconnect the valve from the power supply by unplugging the 12v A/C adapter from the wall.
-
-
-
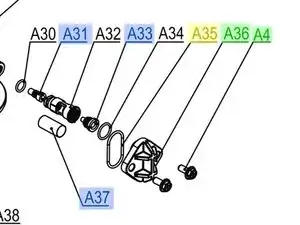
Removing the Injector Cover (A36)
-
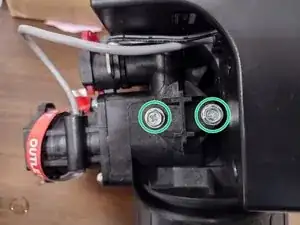
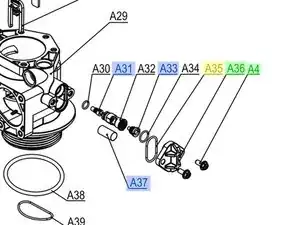
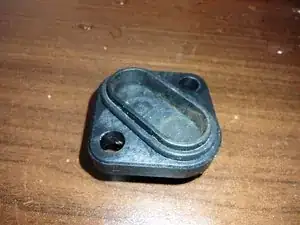
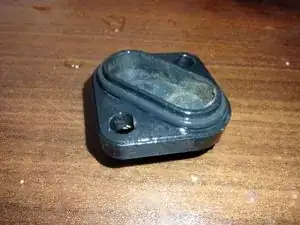
Remove the two #2 Phillips screws (A4) from the injector cover (A36) and remove with your fingers.
-
-
-
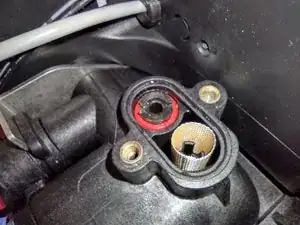
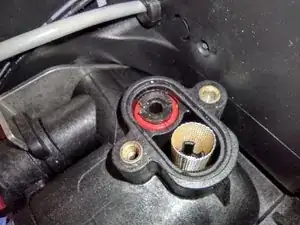
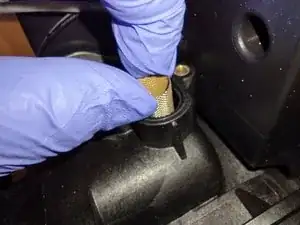
Remove the Injector Screen (A37) using your fingers or a pair of tweezers.
-
Note: In most cases this part may be gently cleaned rather than replaced.
-
-
-
Remove Injector Nozzle (A33)
-
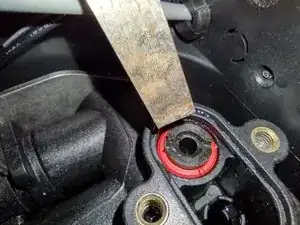
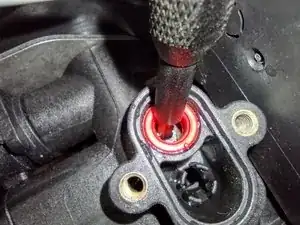
Using a 1/4" flat blade screwdriver, turn the Injector Nozzle counterclockwise to unscrew.
-
-
-
Remove Injector Throat (A31)
-
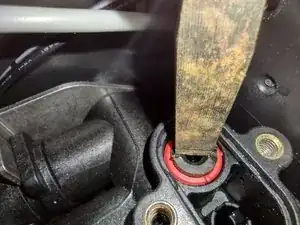
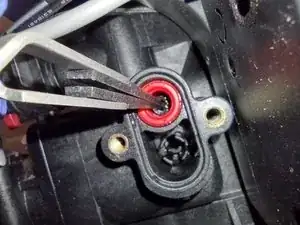
Using a 3/16 Flat Blade screwdriver (or iFixit #4 flat blade bit) turn the injector throat counterclockwise to unscrew.
-
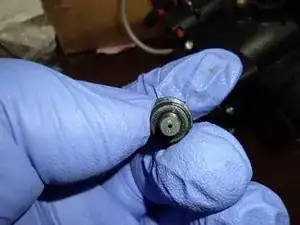
Using a pair of reverse tweezers, remove the injector throat.
-
-
-
REASSEMBLY
-
To reassemble, insert the injector throat, injector nozzle and injector screen in reverse order of removal.
-
Prior to reinstalling the Injector Cover (A36) and reinstalling the screws, apply a layer of silicone grease to the o-ring (A35), this will allow the o-ring to reseal to the valve body properly.
-
You have successfully replaced (or cleaned) the Injectors in your Hydrotech 89-series Control Valve.
You may now party on!
