Einleitung
Werkzeuge
-
-
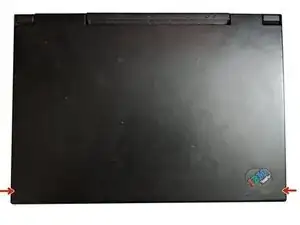
Using both latches on the left and right side of the Thinkpad, lift up the screen.
-
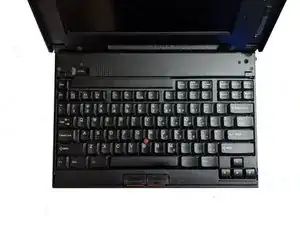
Again using both latches, push them back while pushing the keyboard up till it pops up, then lift the keyboard up. You may need to use a little force.
-
-
-
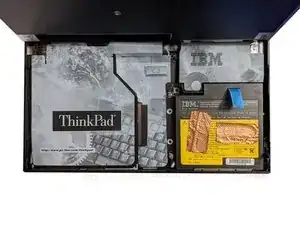
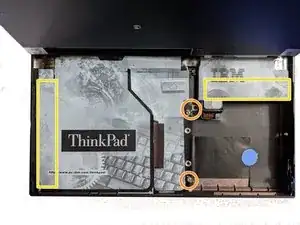
Remove the following screws, there should be 3. Two of the screw spots may be slightly different on yours.
-
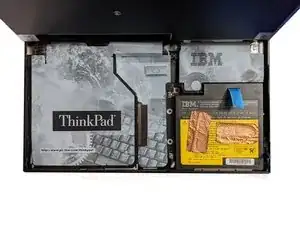
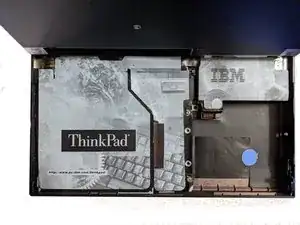
The cover has adhesive on it at these spots, pull it slowly till the adhesive releases. Then lift the cover up, you may need to hold it.
-
-
-
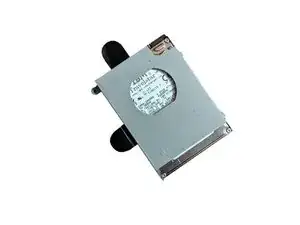
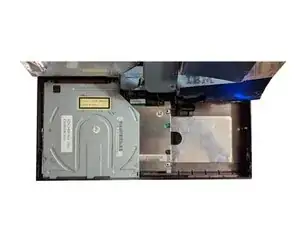
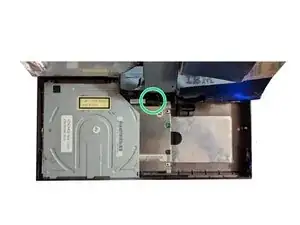
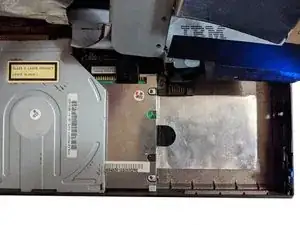
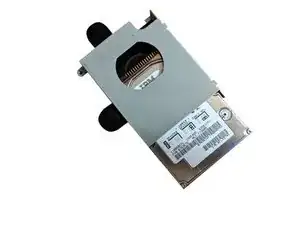
Using the top pull, pull the hard drive downwards till it detaches from the connector.
-
Next, use the pull on the right side, pull it to the right lightly while lifting the drive.
-
-
-
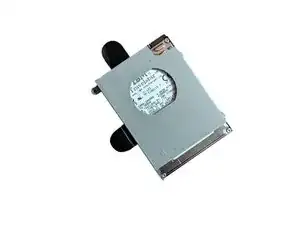
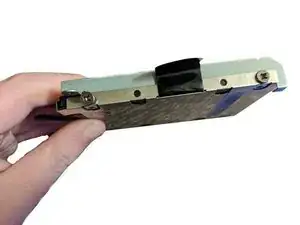
Remove the 4 screws holding the hard drive in it's caddy. (2 each side)
-
Put the drive face up and slide it down out of the caddy.
-
To reassemble your device, follow these instructions in reverse order.
