Einleitung

  1. JMTNDfqrXEwrTZH6
    JMTNDfqrXEwrTZH6
    1Wormr3FUP4VMm2Y
    DoruhuLy1sNeSxc2
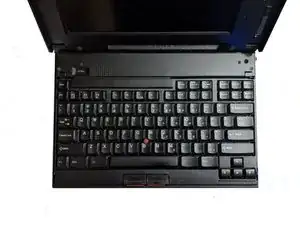
    • Using both latches on the left and right side of the Thinkpad, lift up the screen.

    • Again using both latches, push them back while pushing the keyboard up till it pops up, then lift the keyboard up. You may need to use a little force.

  2. 4Bv14kxuaufhkNNB
    4Bv14kxuaufhkNNB
    SfbAWS5X5vlZDf1l
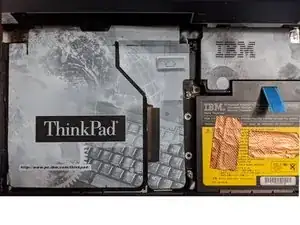
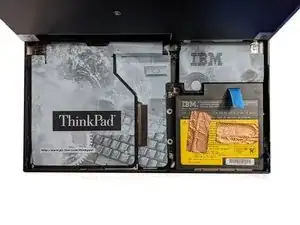
    • Lift the battery using it's cloth pull tab and lift it out of the ThinkPad. Set it aside.

  3. X2ieerpcMto2KhMO
    X2ieerpcMto2KhMO
    jQxZHNXri5cpkEII
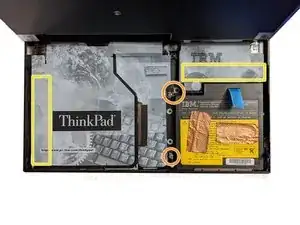
    • Remove the following screws, there should be 3. Two of the screw spots may be slightly different on yours.

    • The cover has adhesive on it at these spots, pull it slowly till the adhesive releases. Then lift the cover up, you may need to hold it.

    • Keep track of the screws, the one that holds the drive to the board and cover is small, so don't loose it!

  4. xxpmJEwDqrmBJRaH
    xxpmJEwDqrmBJRaH
    6cYId6FsdSxBV6cr
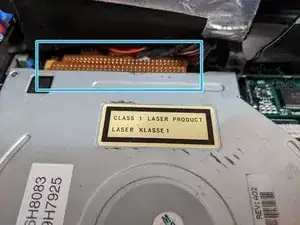
    • Disconnect or remove the cable located above the drive, be careful as the cable is fragile.

    • You may use a flat head screwdriver or plier to remove the cable easier. Lightly push/lift up both sides of cable then pull it off.

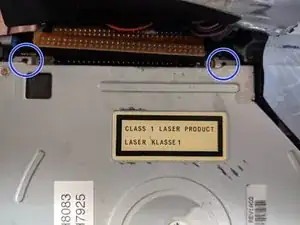
    • Your drive should have 2 screws holding it down, remove them. They are small so keep track of them!

  5. ipCUVcJLFsJdZYQj
    ipCUVcJLFsJdZYQj
    lS5MVuYBXBPGqAFc
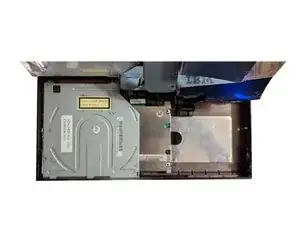
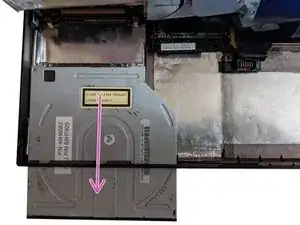
    • Slide the drive down till it is out of the ThinkPad.

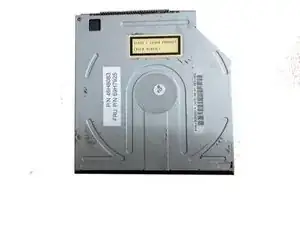
    • The ThinkPad uses a proprietary IDE connector, so not just any CD-Drive will work. Models that will work: Teac CD-44E, CD-46E, CD-48E.

Abschluss

To reassemble your device, follow these instructions in reverse order.
Olda1120

Mitglied seit: 04/07/18

399 Reputation

0 Kommentare