Einleitung

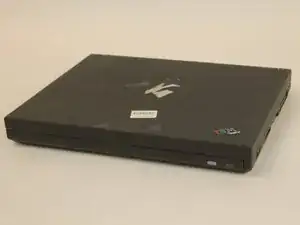
This guide will show you how to replace your display from your laptop. You would need to replace it if you break your display.

  1. 5AqLI2NZESuDxHXF
    5AqLI2NZESuDxHXF
    qx4bG5qeWKrLOkUg
    KbUVUwNHkcNlkFQO
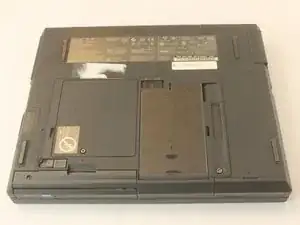
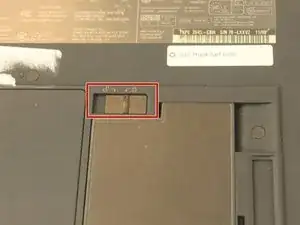
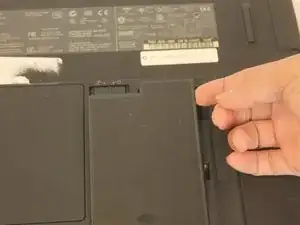
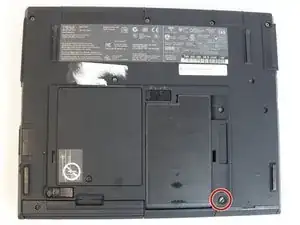
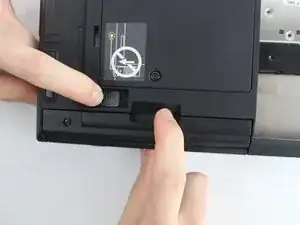
    • Flip the laptop over and find the battery latch.

  2. mjJfARTvHFCSHlRE
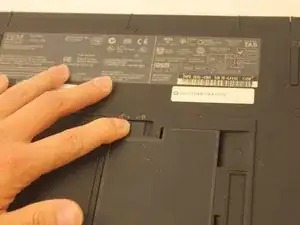
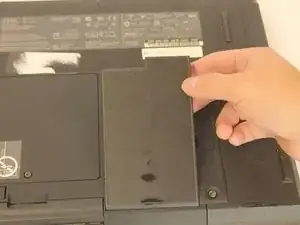
    • Move the latch to the side with the unlocked symbol.

  3. UjKm1OvEVSAjpATs
    UjKm1OvEVSAjpATs
    jRTQ2wbumwSfQVyo
    3AbDFDWh1en1YyO2
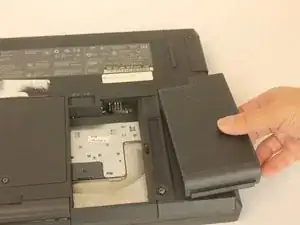
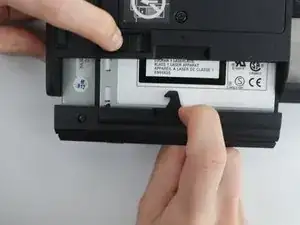
    • Pry the battery out using your fingers.

  4. 12odHDf6IZqNoD2N
    12odHDf6IZqNoD2N
    rwXQi5ZHIoMcjg1I
    tpjfXnXQQD1pMSha
    • Use an antistatic wrist strap to avoid the risk of electric shock.

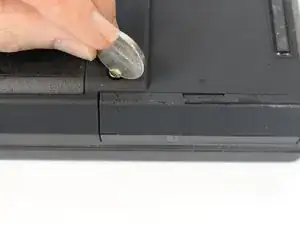
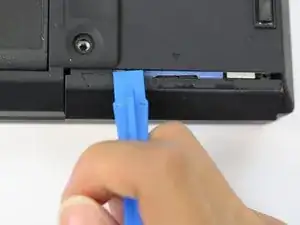
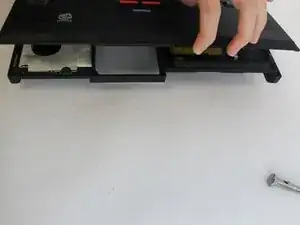
    • Unscrew the coin screw for the hard drive using a coin. Pry off the HDD cover.

    • It is easier to remove the coin screw using a thicker coin, such as a nickel.

  5. PQ5KPxjteKRsQhGn
    PQ5KPxjteKRsQhGn
    jIrKhBfBWqUABPIO
    XIpLvcU6aINiv3eX
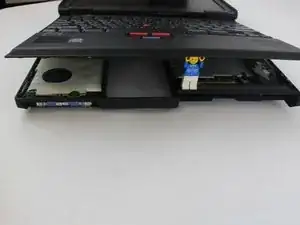
    • Unlock the highlighted latch and pull the disk drive out.

    • Remove the disk drive.

  6. exPK6YZxonfj5qGM
    exPK6YZxonfj5qGM
    s1VGVvE6L5jqOhNH
    OeqSPVrWpx2abLHp
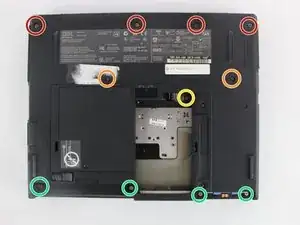
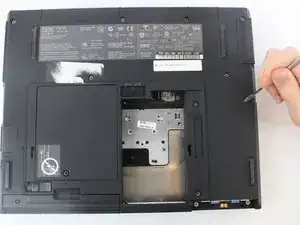
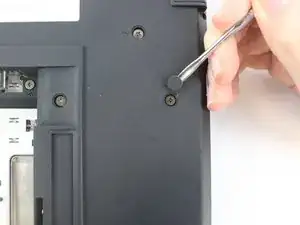
    • Most of the screws have a small, plastic covering attached with an adhesive. Use the metal spudger to pry it off. Make sure to note which screw came from which hole.

    • Four 18mm long M2.5 screws

    • Two 16mm long M2.5 screws

    • One 4.5mm long M2.5 screws

    • Four 3mm long M2.5 screws

  7. PBlogT6TtehcgFOu
    PBlogT6TtehcgFOu
    UyaWnJ2dDYUIJpEL
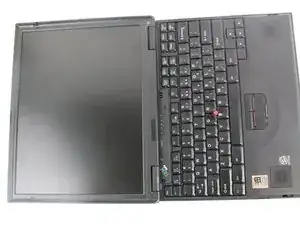
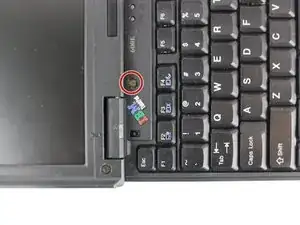
    • Open the laptop all the way until it is flat.

    • Take the black circle off and remove the screw.

    • One 4.5mm long M2.5 screw

  8. eNLAqmgkthnKHFUT
    eNLAqmgkthnKHFUT
    qOGeNpfsTg1Mu35U
    UO53lxHvB3ZiXOLa
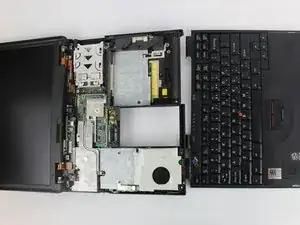
    • Pry the keyboard case up from the bottom and gently pry it up from all other edges.

    • Use caution when opening the case, as there are two ribbon cables attached to the keyboard case.

  9. yTHUfy3APvmCKplt
    yTHUfy3APvmCKplt
    lGWCnOQBQ14mId5f
    yA6acp1D6JlVLXgY
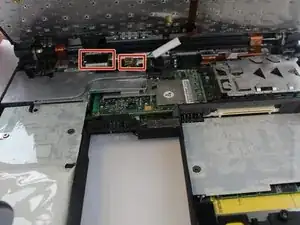
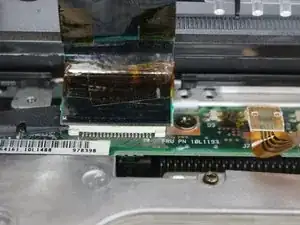
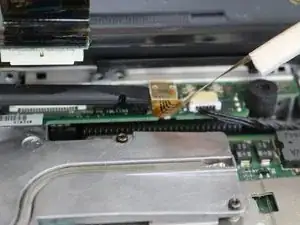
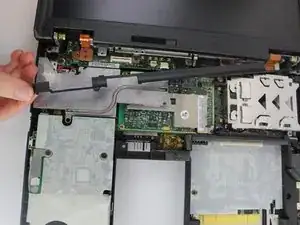
    • Pry the connectors of the ribbon cables off slowly, lifting straight up. Wiggle gently side to side if necessary.

  10. iTwmvcMAQAfKt3DS
    iTwmvcMAQAfKt3DS
    aan11w4xtmjj6Kmq
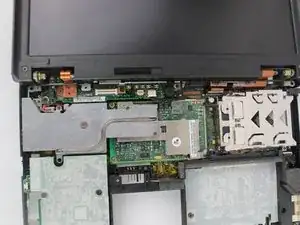
    • Remove the plastic part attached to the bottom of the screen.

    • Gently pull it from one side and then from another.

  11. ma6ocuqOWEAhG3XY
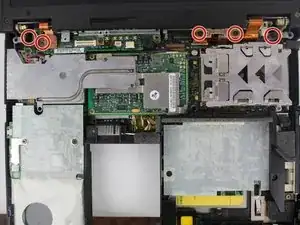
    • Remove the highlighted screws.

    • Five 4.8mm long M2.5 screws

  12. ilwbXIpH2nR1EUoG
    ilwbXIpH2nR1EUoG
    PsYxLCnomwuPilJK
    NjXSqo42G4FgJEWk
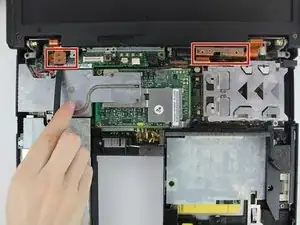
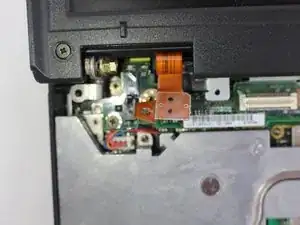
    • Pry the connectors of the ribbon cables off slowly, lifting straight up. Wiggle gently side to side if necessary.

  13. ncI2y5CmBG3BsKWY
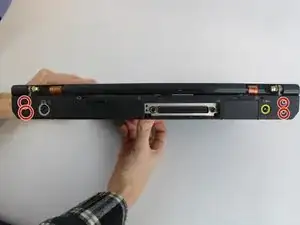
    • Close the laptop and turn it around. There you will see 4 more screws.

    • Unscrew highlighted screws.

    • Four 4.8mm long M2.5 screws

  14. Js6WPFZIfDYLETZq
    Js6WPFZIfDYLETZq
    KBqMAmKdCkNg1Eru
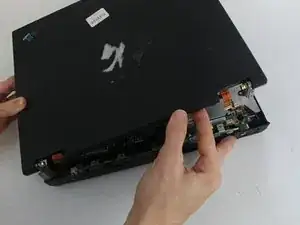
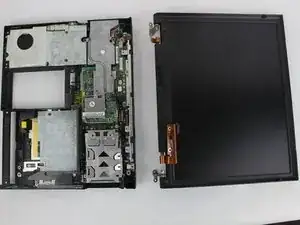
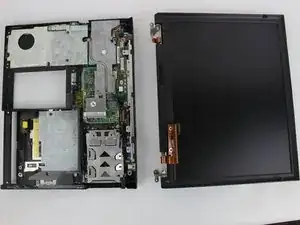
    • After you've removed the screws, open the laptop and gently pull the display out.

    • Be sure you hold it from the bottom edges while taking it out.

Abschluss

To reassemble your device, follow these instructions in reverse order.
Kevin Nguyen

Mitglied seit: 04/10/16

722 Reputation

0 Kommentare