Einleitung

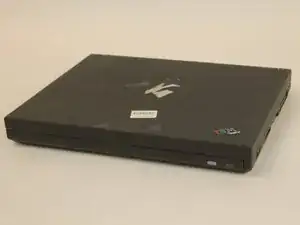
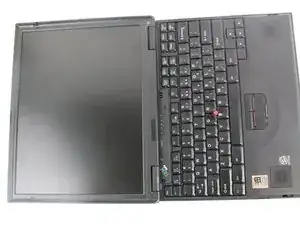
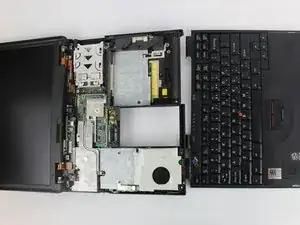
This guide will show you how to replace your keyboard. Sometimes the keys get broken or worn out, or the track point gets damaged, thus needing it to be replaced.

  1. 5AqLI2NZESuDxHXF
    5AqLI2NZESuDxHXF
    qx4bG5qeWKrLOkUg
    KbUVUwNHkcNlkFQO
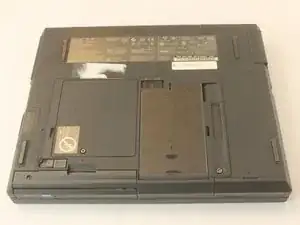
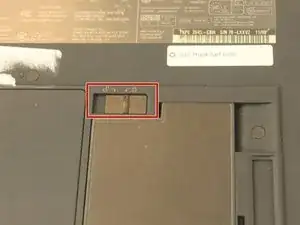
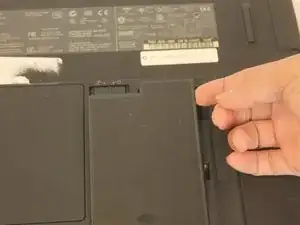
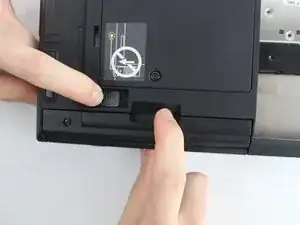
    • Flip the laptop over and find the battery latch.

  2. mjJfARTvHFCSHlRE
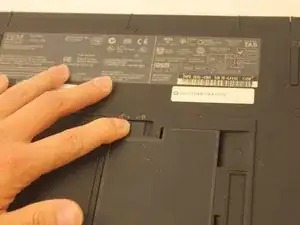
    • Move the latch to the side with the unlocked symbol.

  3. UjKm1OvEVSAjpATs
    UjKm1OvEVSAjpATs
    jRTQ2wbumwSfQVyo
    3AbDFDWh1en1YyO2
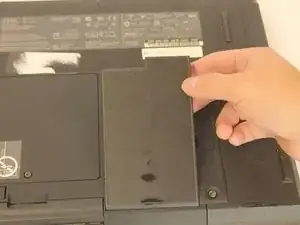
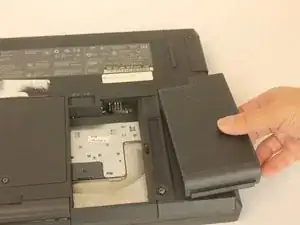
    • Pry the battery out using your fingers.

  4. 12odHDf6IZqNoD2N
    12odHDf6IZqNoD2N
    rwXQi5ZHIoMcjg1I
    tpjfXnXQQD1pMSha
    • Use an antistatic wrist strap to avoid the risk of electric shock.

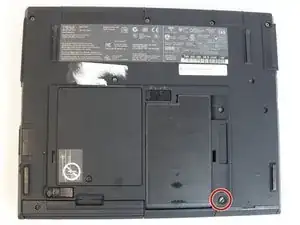
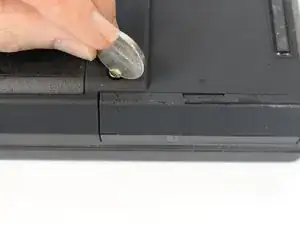
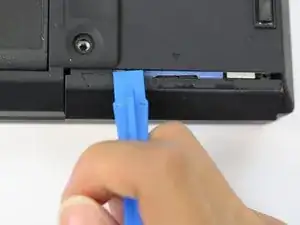
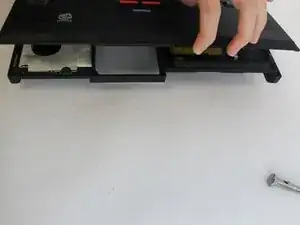
    • Unscrew the coin screw for the hard drive using a coin. Pry off the HDD cover.

    • It is easier to remove the coin screw using a thicker coin, such as a nickel.

  5. PQ5KPxjteKRsQhGn
    PQ5KPxjteKRsQhGn
    jIrKhBfBWqUABPIO
    XIpLvcU6aINiv3eX
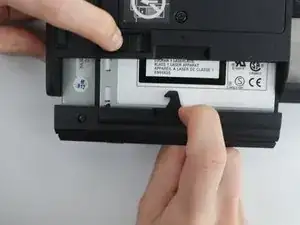
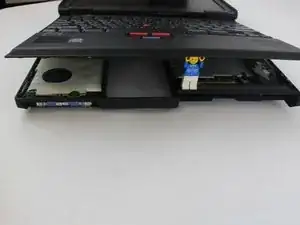
    • Unlock the highlighted latch and pull the disk drive out.

    • Remove the disk drive.

  6. exPK6YZxonfj5qGM
    exPK6YZxonfj5qGM
    s1VGVvE6L5jqOhNH
    OeqSPVrWpx2abLHp
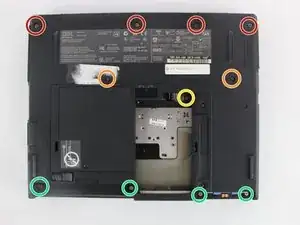
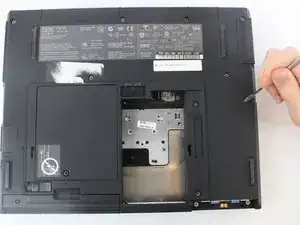
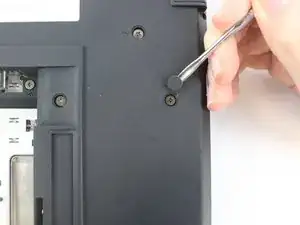
    • Most of the screws have a small, plastic covering attached with an adhesive. Use the metal spudger to pry it off. Make sure to note which screw came from which hole.

    • Four 18mm long M2.5 screws

    • Two 16mm long M2.5 screws

    • One 4.5mm long M2.5 screws

    • Four 3mm long M2.5 screws

  7. PBlogT6TtehcgFOu
    PBlogT6TtehcgFOu
    UyaWnJ2dDYUIJpEL
    • Open the laptop all the way until it is flat.

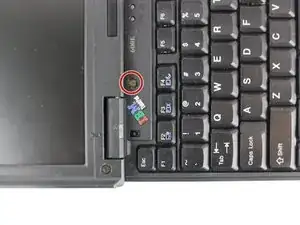
    • Take the black circle off and remove the screw.

    • One 4.5mm long M2.5 screw

  8. eNLAqmgkthnKHFUT
    eNLAqmgkthnKHFUT
    qOGeNpfsTg1Mu35U
    UO53lxHvB3ZiXOLa
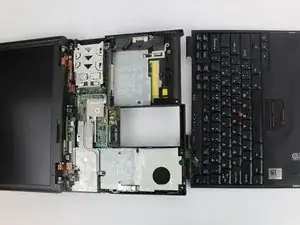
    • Pry the keyboard case up from the bottom and gently pry it up from all other edges.

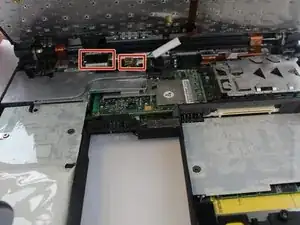
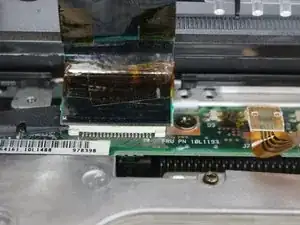
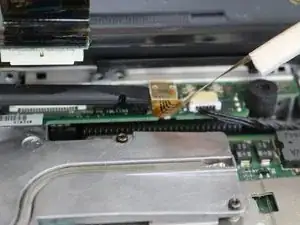
    • Use caution when opening the case, as there are two ribbon cables attached to the keyboard case.

  9. yTHUfy3APvmCKplt
    yTHUfy3APvmCKplt
    lGWCnOQBQ14mId5f
    yA6acp1D6JlVLXgY
    • Pry the connectors of the ribbon cables off slowly, lifting straight up. Wiggle gently side to side if necessary.

Abschluss

To reassemble your device, follow these instructions in reverse order.
Kevin Nguyen

Mitglied seit: 04/10/16

722 Reputation

0 Kommentare