Einleitung
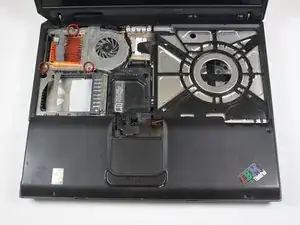
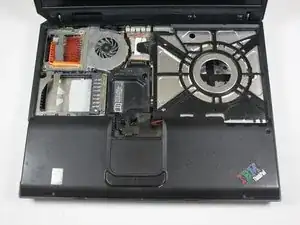
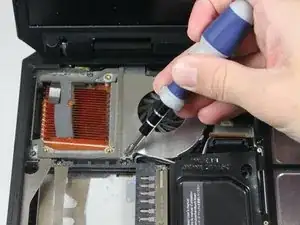
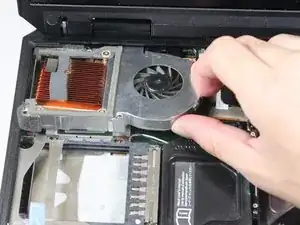
Use this guide to replace your fan and heat sink assembly.
Werkzeuge
-
-
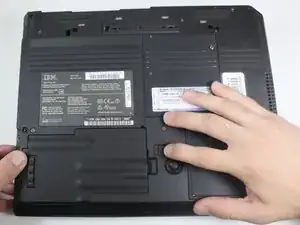
Flip the ThinkPad upside down with the bottom facing you.
-
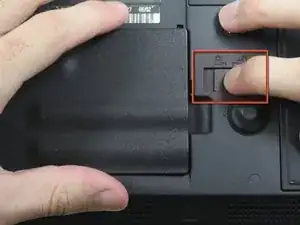
Slide the latch on the underside of the ThinkPad to the right into the unlock position.
-
While holding the latch in the unlock position, lift the battery out with your other hand.
-
-
-
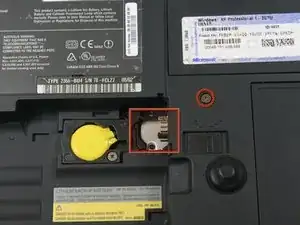
Begin by removing the two black 16 mm Phillips #0 screws. The screws can be identified by the two notches next to each screw. One (marked in red) is near the battery lock and the other (not pictured) is next to the Wi-Fi cover.
-
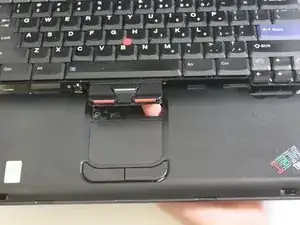
Push up the bottom of the keyboard by poking your finger through the hole to the right of the yellow bios battery. You will feel slight resistance.
-
-
-
Lift the keyboard to expose the ribbon connector and lean it against the computer screen to keep the ribbon intact.
-
Use the plastic opening tool to gently pry the connector up from the motherboard.
-
You can now safely remove the keyboard.
-
-
-
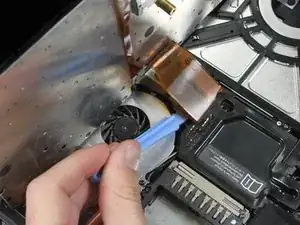
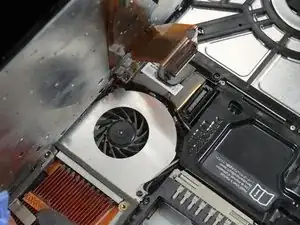
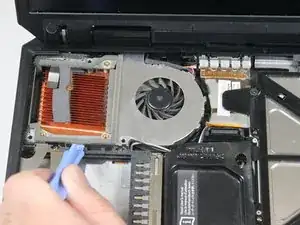
Using the plastic opening tool, gently lift the white connector out of its socket on the motherboard.
-
Follow iFixit's guide for [Ungültiger Anleitungslink] for a detailed explanation.
-
To reassemble your device, follow these instructions in reverse order.
3 Kommentare
There are two screws for keyboard removal! Almost snapped the keyboard in half trying to pry it off
Dima -
Excellent instructions and very easy to follow (thanks for the pictures, they helped a lot!) Took me more than half an hour, but then I was trying to shove the teeny tiny white fan connector thing into the slot backwards..(my bad).. there is not a lot of room to maneuver in there. My ancient computer is working again and that makes me very happy, so thanks!
Really excellent instructions. Thank You for Your help!! Rolf Frey, Lucerne, Switzerland
