Einleitung
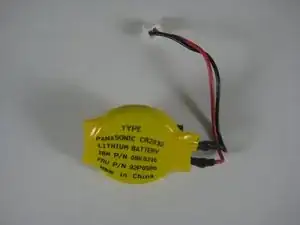
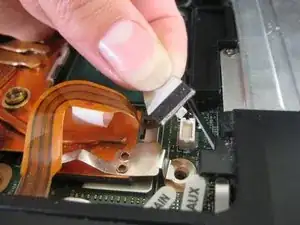
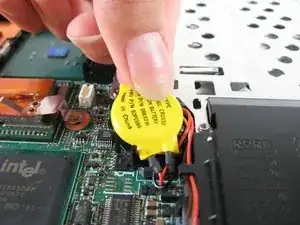
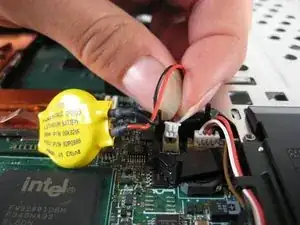
This repair guide will aid you in taking apart your IBM ThinkPad T41 laptop to reach and replace its BIOS battery.
Do not uninstall the battery when is Setting a Supervisor Password!
Werkzeuge
-
-
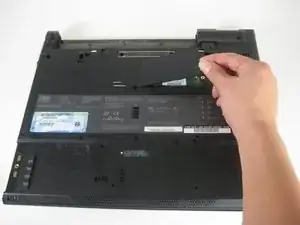
Close the screen and turn the closed laptop over.
-
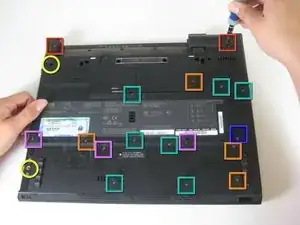
Remove all 17 screws on the bottom of the computer.
-
The yellow marker at the rear denotes the UltraBay device retaining screw. This screw is optional as the UltraBay mechanism will hold the drive or battery in place anyway. The yellow marker at the front denotes the hard disk caddy retaining screw.
-
-
-
Turn the laptop right side up and open the screen.
-
Lift the keyboard, using a spudger at the seam between the keyboard and trackpad.
-
-
-
Unplug the keyboard’s ribbon cable, by lifting up the edges of the plug.
-
Remove the keyboard.
-
-
-
Close the laptop and turn it over.
-
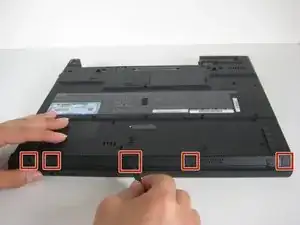
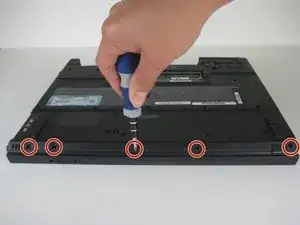
Remove the five plastic stickers covering the screws on the front edge of the case.
-
-
-
Turn the computer right side up and open the screen.
-
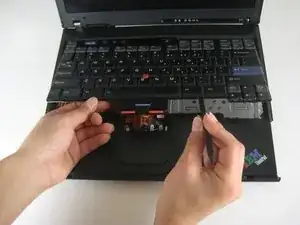
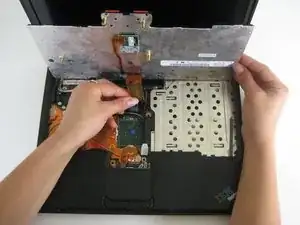
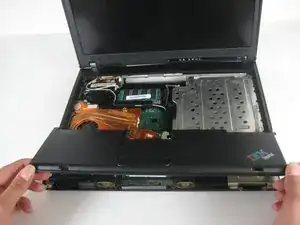
Lift the trackpad assembly by placing hands on both edges and then pull towards you till it is free of the case.
-
To reassemble your device, follow these instructions in reverse order.
5 Kommentare
You will need to buy the dc jack that has the the wire harness on it, the wires in the computer are soldered to the jack so if you try to use them will result in a smaller wire to work with and you will not beable to connect the ribbon from the monitor to the MB
It is absolutely unnecessary to remove all of the screws as shown in the first image, in fact it would be counter productive to do so. One need only remove the screws that have a symbol of either the keyboard, the palm rest or both. The screw locations also have numeral indicators adjacent to them showing the specific size screw for that location.
For easy battery replacement follow these video guides:
http://support.lenovo.com/en_US/product-...
and
great review, for rtc / cmos batteries try http://bestbattery.biz/IBM/225980-ThinkP...
the battery life is excellent
Kermit45 -
You need to remove the battery, hard drive, and UltraDrive before starting step 1.
cak -