Einleitung
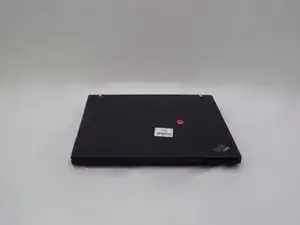
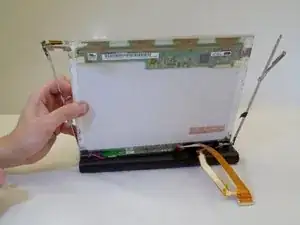
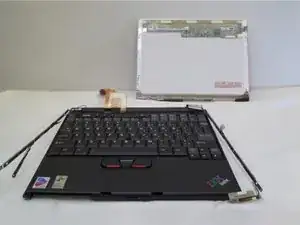
This guide provides comprehensive step-by-step instructions to remove the IBM ThinkPad's back panel display assembly, front screen bezel, all assembly screws, and finally the LCD screen and successfully replace the screen in the event of damage.
Werkzeuge
-
-
Open the laptop and turn to the side.
-
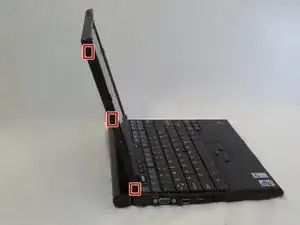
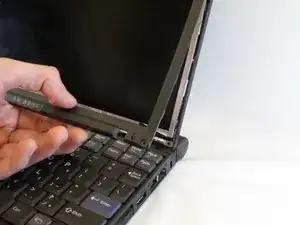
Using the spudger, remove the 6 black rectangular-shaped screw coverings (3 on each side)
-
-
-
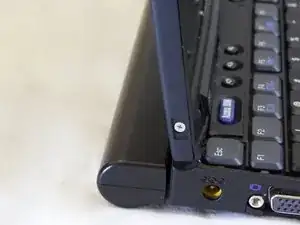
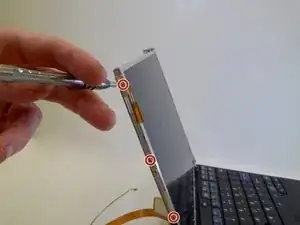
Using a Phillips Screw Driver, remove the (6) Phillips Head (Size PH001) 3.0 mm length screws (3 on each side) from the side of the LCD Screen Cover
-
-
-
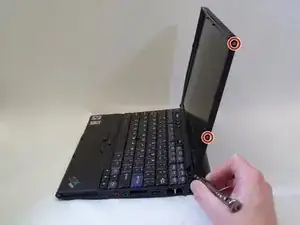
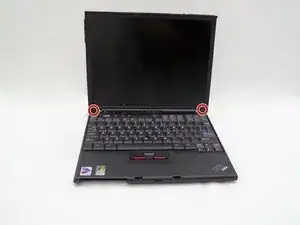
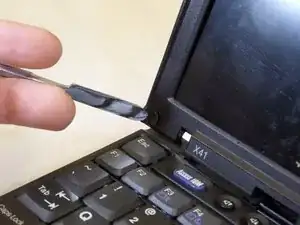
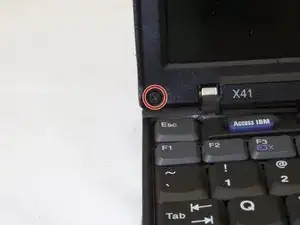
Using the spudger, remove the two round, black screw coverings on the lower, left, and right corners of the LCD screen bezel.
-
-
-
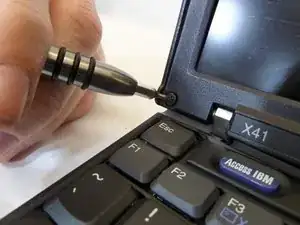
Using a Phillips Screwdriver (Size PH001), remove the 3.0 mm screws from the lower, left and right corners of the LCD screen Bezel
-
-
-
Using 2 Fingers, pull the bottom of the screen bezel towards you.
-
Pull the bottom of the screen bezel approximately 1 inch away from the LCD screen.
-
Next, pull screen bezel downward and away from the LCD screen.
-
-
-
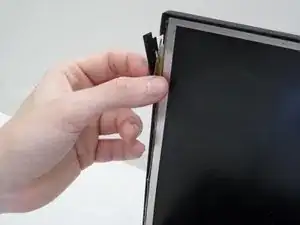
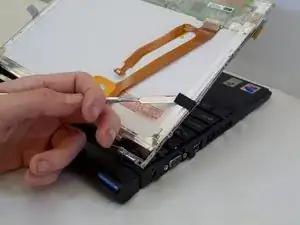
Using your index finger and thumb, gently lift and pull away laptop closure latch of the side of the screen assembly.
-
-
-
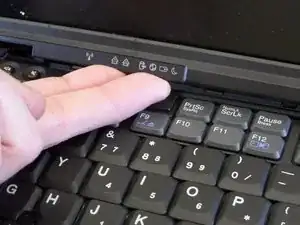
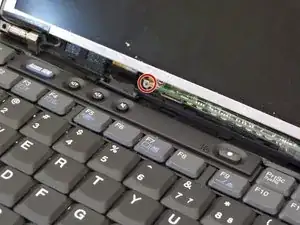
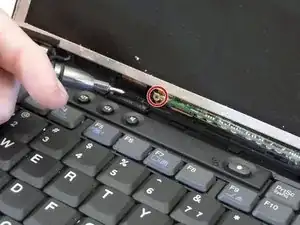
Use a Phillips head screwdriver to remove the internal LCD screen support assembly above the F6 key.
-
-
-
Close the laptop and turn so that the laptop's backside is facing you.
-
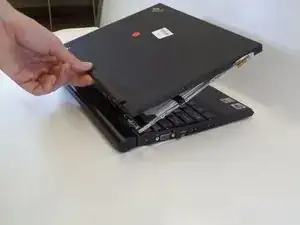
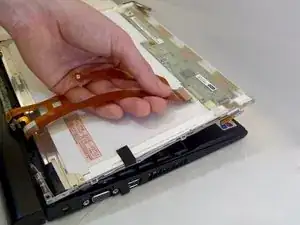
Using a thumb and index finger, gently lift the LCD screen back cover away from laptop.
-
-
-
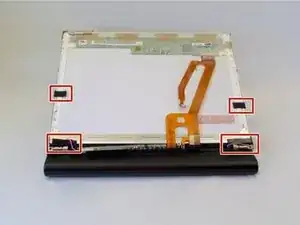
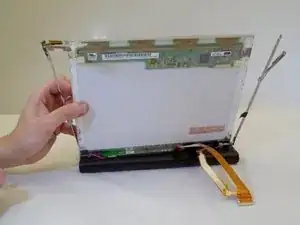
Using a Phillips Screwdriver (Size PH001), remove the screws from the LCD screen support arms.
-
-
-
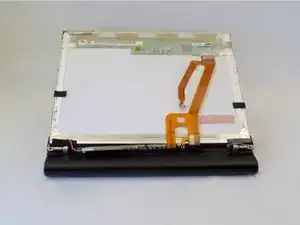
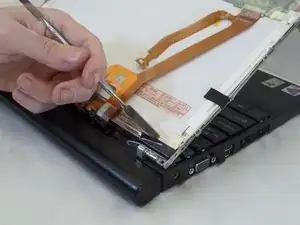
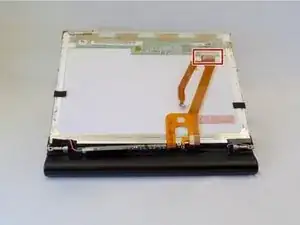
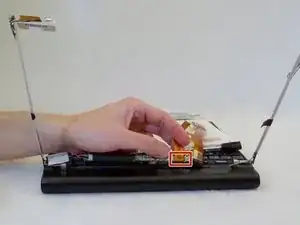
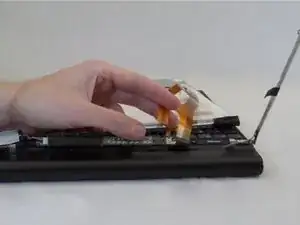
Unplug the orange LCD screen cable from the small circuit board near the laptop keyboard.
-
To reassemble your device, follow these instructions in reverse order.
Ein Kommentar
nice little guide, short and too the point,
