Einleitung
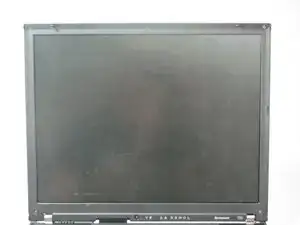
This guide will teach users how to carefully disassemble the screen of the IBM Thinkpad T60. This will allow users to replace a broken LCD screen or upgrade their current version. Remember to always power down the computer before attempting any installation/removal of any hardware components. Be sure to remove the AC adapter and all cables from the computer. If the computer has been on, wait several minutes before beginning the procedure to ensure all parts have cooled down.
Werkzeuge
-
-
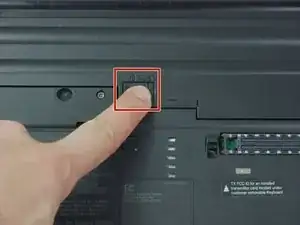
Turn the computer over to see the small tab on the battery located near the top of the Thinkpad.
-
Use your finger to slide the tab to the right to unlock the battery.
-
-
-
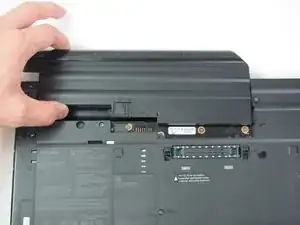
Once the tab is in the unlocked position (far right), pull the battery outwards away from the Thinkpad.
-
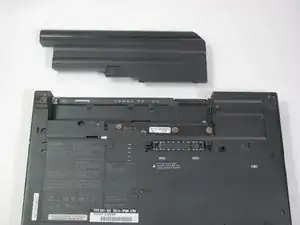
The battery is now disconnected.
-
-
-
Open the laptop so that the screen is facing you.
-
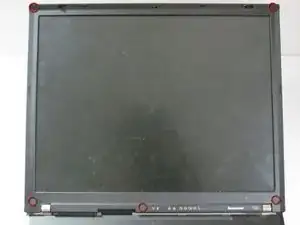
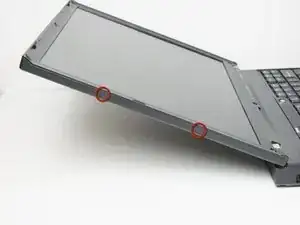
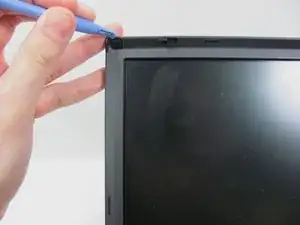
Use a plastic opening tool to pry off the eight plastic screw covers around the display.
-
-
-
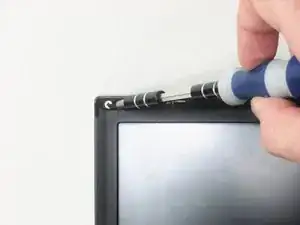
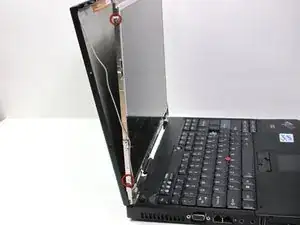
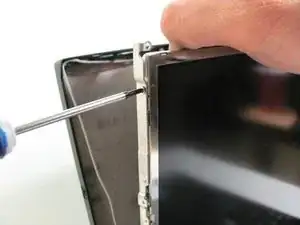
Use a #0 Phillips screwdriver to remove the eight 3.25 mm screws uncapped from the previous step.
-
-
-
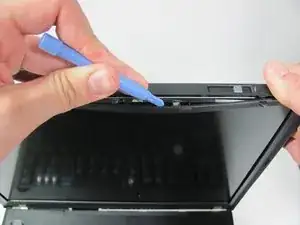
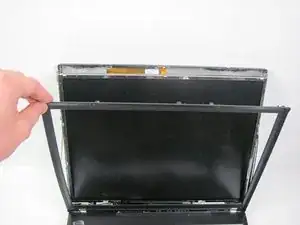
Use your fingers to pry the screen out of its housing far enough to gain access to the ribbon cables and small screws holding the screen in place.
-
-
-
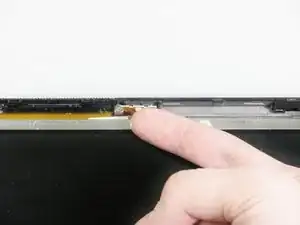
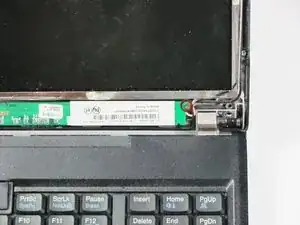
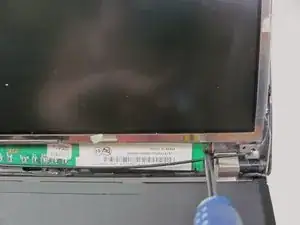
At the top of the screen, detach the small white clip by pulling it towards you with your finger.
-
-
-
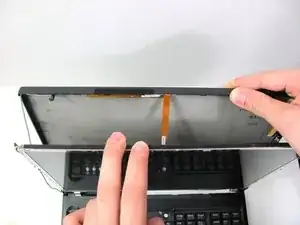
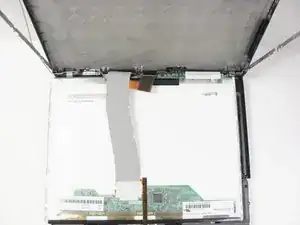
The screen should be free to move now. Let the display rest on the keyboard with the screen facing down.
-
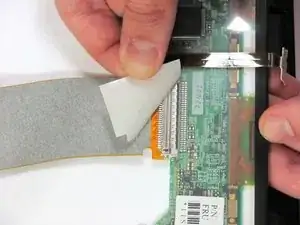
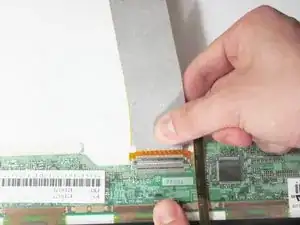
Peel the tape off to expose the LCD connection.
-
-
-
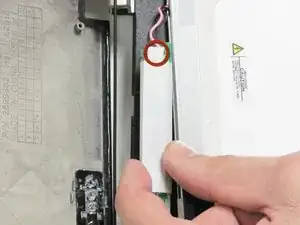
Turn the inverter over to expose the white clip.
-
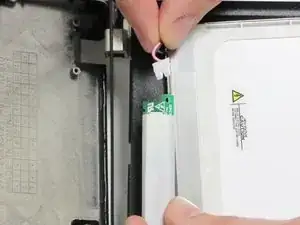
Squeeze and pull the wires with your fingers to detach the white clip.
-
-
-
Disconnect the video cable by pulling the grey flat wire. Now the screen is completely separate from the ThinkPad.
-
To reassemble your device, follow these instructions in reverse order.
Ein Kommentar
Thanks for the info! ☼
Stck Flw -
