Einleitung

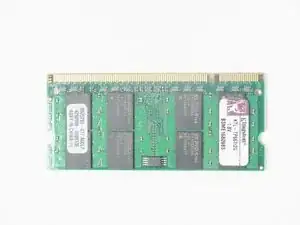
This guide will show how to remove and replace the RAM of the IBM Thinkpad T60. Remember to always power down the computer before attempting any installation/removal of any hardware components. Be sure to remove the AC adapter and all cables from the computer. If the computer has been on, wait several minutes before beginning the procedure to ensure all parts have cooled down.

  1. pxKP25VakaqJM3rP
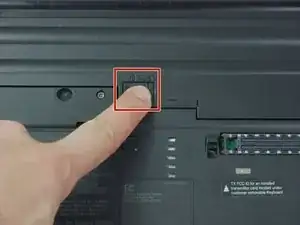
    • Turn the computer over to see the small tab on the battery located near the top of the Thinkpad.

    • Use your finger to slide the tab to the right to unlock the battery.

  2. QodwUu6CGdxUBYBV
    QodwUu6CGdxUBYBV
    hIwp5OAfuMHDONek
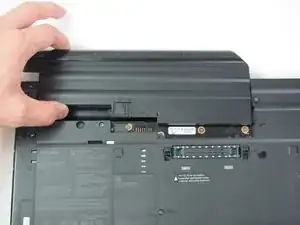
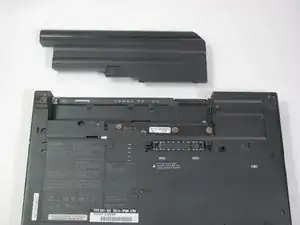
    • Once the tab is in the unlocked position (far right), pull the battery outwards away from the Thinkpad.

    • The battery is now disconnected.

  3. Je6uJb5XYwZY4DiI
    Je6uJb5XYwZY4DiI
    1Mo46ptbOYIxXhLo
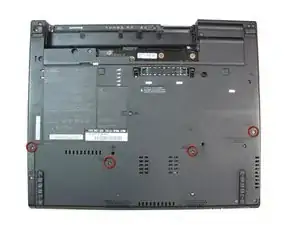
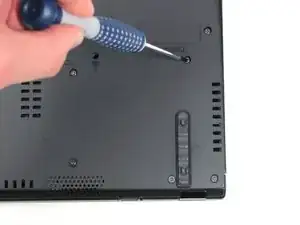
    • Using a #0 Phillips screwdriver, remove the four 17.0 mm screws.

    The screws we need to remove all supposedly share the same pictogram imprinted on the bottom case. If this is true why have you circled the rightmost screw in the photo above? The forth pictogram is near the screw below and to the left of the circled screw?

    airshack -

  4. 2VCe5GLSSEb3OXXO
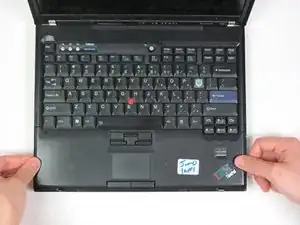
    • Turn the computer back over, so the keyboard is facing upwards.

    • Open the display to access the palm rest. Apply pressure to the sides of the palm rest so that it bends upwards in the middle. Gently lift away from the computer.

  5. AVfsZTiSYoGAERIR
    AVfsZTiSYoGAERIR
    3sgYdGE1AnDKFPbM
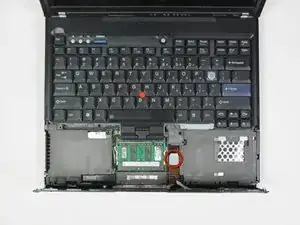
    • Slightly lift the palm rest away from the computer.

    • The touchpad's data cable connects the palm rest to the base unit. BE CAREUL!

    • Detach the connector by pulling upwards on the white tab.

    Putting it back on should be covered too, as it’s really hard to get everything lined up. Would be nice for some tips on that. Took me and other experienced guy 45 minutes to get the thing back on, and have all the screws seat!

    Glenn -

    Where in this guide does it say how much RAM is supported? Am I missing something? Looks like two slots?

    airshack -

  6. BlJouxc1FUIdrFyT
    BlJouxc1FUIdrFyT
    rvyE1bUCJyTM2C4J
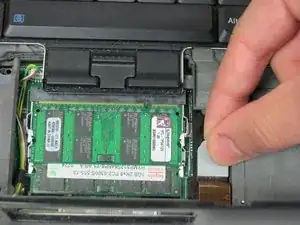
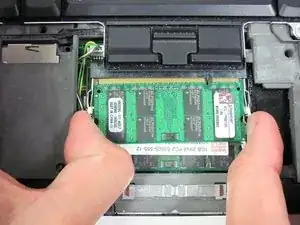
    • Press out the two tabs on either side of the card at the same time.

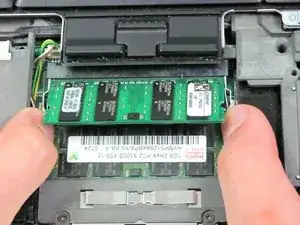
    • The memory card will slide upwards at a 20 degree angle.

  7. ADUMJtlsnBKamNiG
    • Remove the memory card from the slot by pulling perpendicular to the slot.

    The relevant screws are all marked with the same three pictograms alongside. These can be interpreted as indicating that they need to be removed to give access to touchpad, keyboard and memory.

    With care, it is possible to remove or insert memory without releasing the touchpad cable.

    Mike Kearney -

    Assuming Mike Kearney’s pictogram tip is correct we have a problem with this tutorial. Specifically, there’s a problem with the red circles identifying the four screws to remove in Step three. The right-most screw circled in this tutorial does not share this pictogram? The screw below and slightly to the left of the one circled has the pictogram. Which screw on the right side of the computer shall we remove?

    airshack -

Abschluss

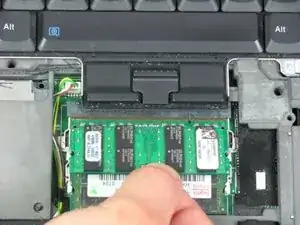
To reassemble your device, follow these instructions in reverse order.

Cody Kratochvil

Mitglied seit: 11/01/13

515 Reputation

Ein Kommentar