Einleitung
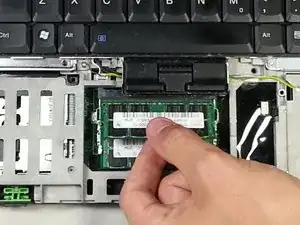
Replacing the RAM in this laptop is a relatively straightforward process.
Werkzeuge
Ersatzteile
-
-
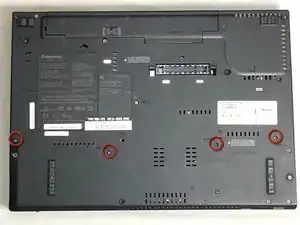
Ensure the laptop has been properly shut down and unplugged.
-
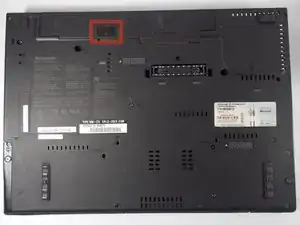
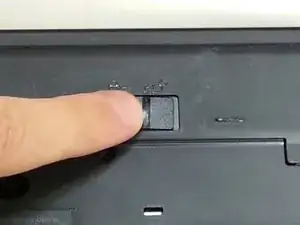
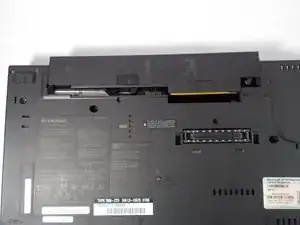
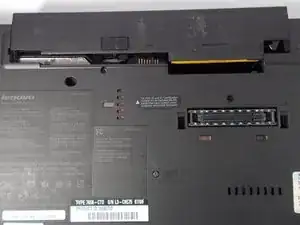
Turn the computer over so that you can see the battery release tab located near the top of the Thinkpad.
-
-
-
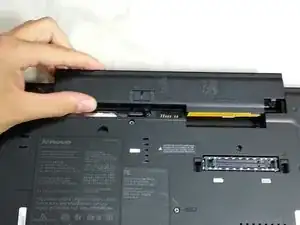
Hold the tab in the unlocked position and push the battery away from the computer to remove it.
-
-
-
Slide the new battery in until it clicks.
-
Ensure that the release tab is in the locked position.
-
-
-
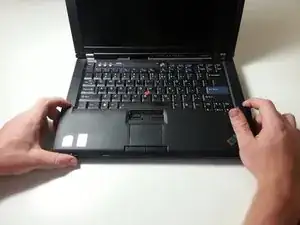
Flip back over and open the laptop.
-
Lift up on the inside front panel just below the edge of the keyboard.
-
-
-
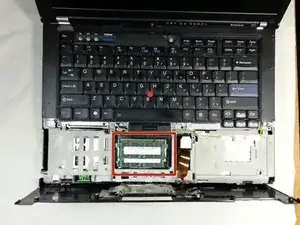
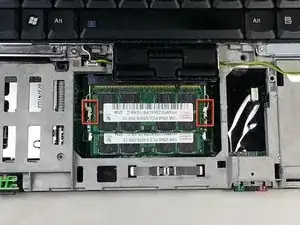
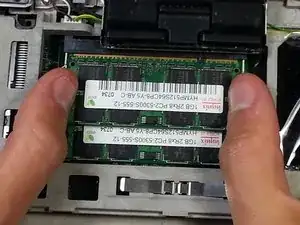
Press out on the two tabs on either side of the ram at the same time.
-
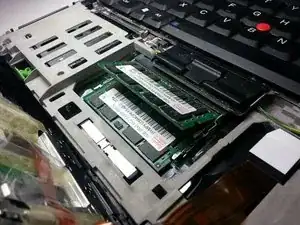
The RAM will release and pop up at a 25 degree angle.
-
Abschluss
To reassemble your device, follow these instructions in reverse order.
