Einleitung

  1. LAoiSDhtHv5oAHWD
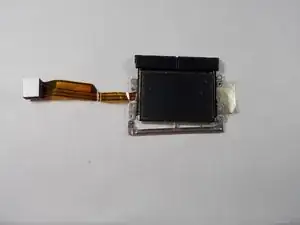
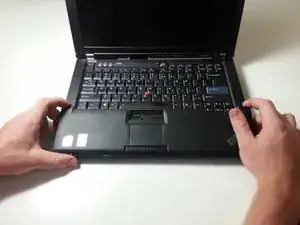
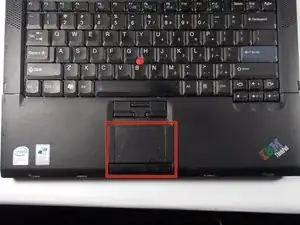
    • This image shows the track pad which is going to be replaced.

  2. lfKOVUQgmVlYwpYx
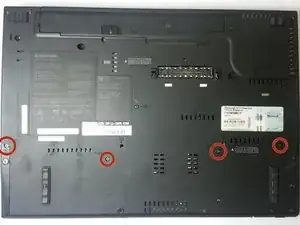
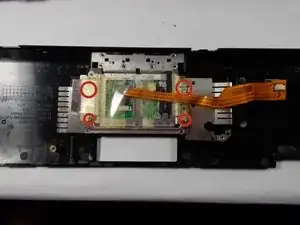
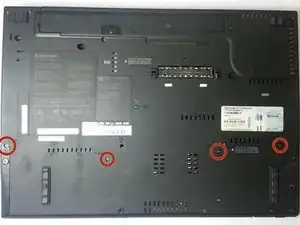
    • Remove the screws with the PH1 bit.

  3. yCFFhBUdOUpbsf4W
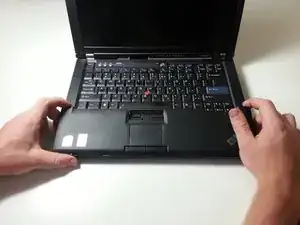
    • With the screws removed, the top part of the keyboard should lift as shown.

  4. M1UgcIGPxddCUPms
    M1UgcIGPxddCUPms
    kvXZuxhmCQYMUwbP
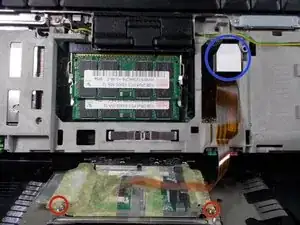
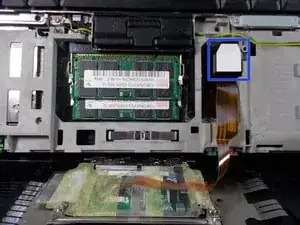
    • Remove plug

    • Use a Philips head screwdriver to remove the screws. Two of the screws are located just under the plastic.

  5. i2fPHEbpuxYTUiTq
    i2fPHEbpuxYTUiTq
    aAWg6DrYQt5liXEW
    3iEBSON1djxxvgQl
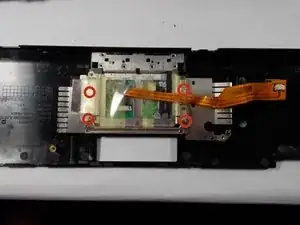
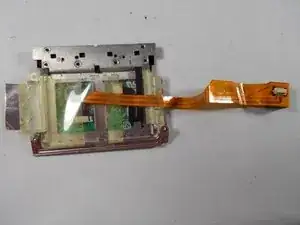
    • Once the screws have been removed, the touch pad, and bottom mouse buttons should be ready to replace.

  6. HeSgM1ejqSRnCLnS
    • Insert the new touchpad and replace the screws with a PH1 bit

  7. rPptGBCEsITWEUP2
    • Reinsert the plug.

  8. lvgxNaWNXWQA5JrB
    lvgxNaWNXWQA5JrB
    hMdcfXu4wBUUlrBc
    • Re-insert the touch pad panel

    • Replace the screws with a PH1 bit.

Abschluss

To reassemble your device, follow these instructions in reverse order.
Raymond Lawton

Mitglied seit: 12/03/14

245 Reputation

0 Kommentare