Einleitung
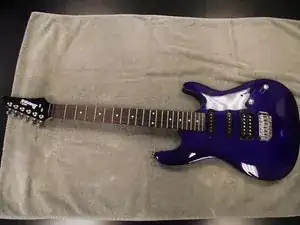
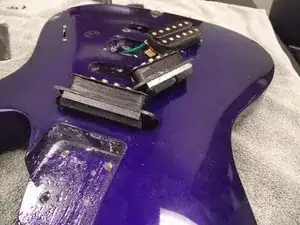
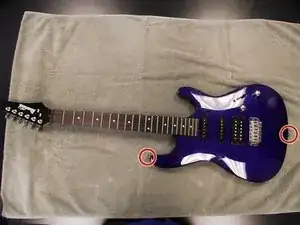
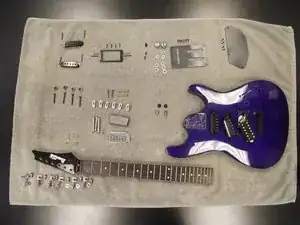
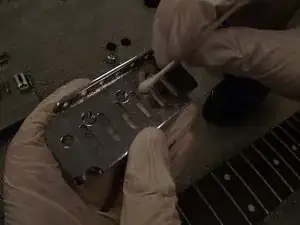
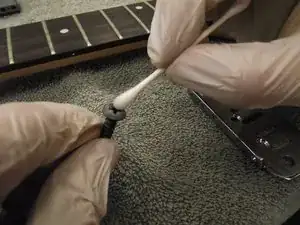
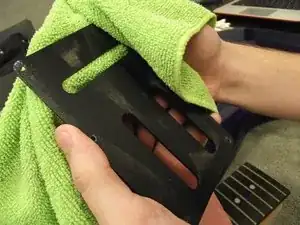
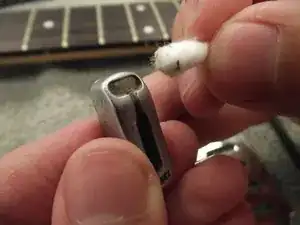
This is a basic disassembly guide for an Ibanez GSA60 Gio series electric guitar. This will show you how to access all of the internal hardware and how to remove all other outside components not connected by wiring. All wiring will be left intact, as soldering is only required for replacing components. Steps for cleaning unsightly rust and corrosion using cheap, common household materials are included after the disassembly. The bulk of the required time is spent soaking rusted components in a solution to soften the rust; the disassembly portion should take no more than 1 hour.
Werkzeuge
-
-
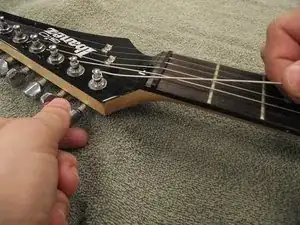
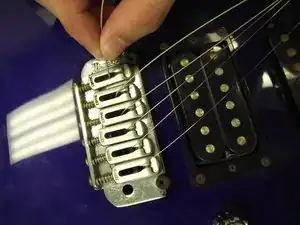
To begin removing the strings, turn the first tuning peg clockwise. Keep tension in the string with your other hand. This makes removing the string easier.
-
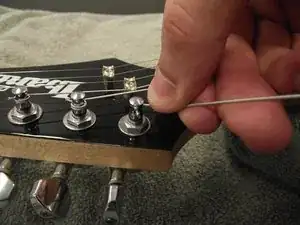
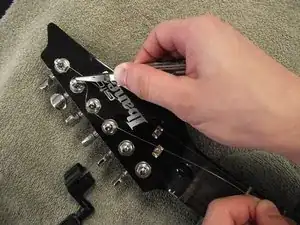
Once the string has been unwound, pull the end of the string out of the hole in the tuning peg.
-
-
-
At the bridge, push each string through the guitar.
-
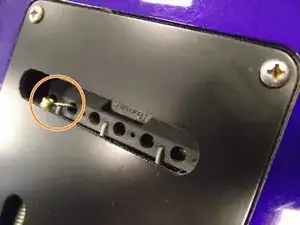
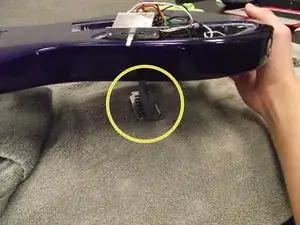
The end of the string will be pushed out of the back of the guitar.
-
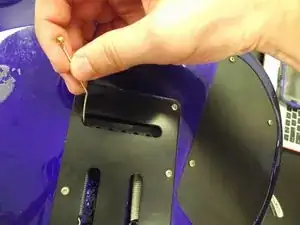
Grab the string and pull it completely through and out of the guitar body. It may be necessary to straighten out the previously wound up ends if they will not come through.
-
-
-
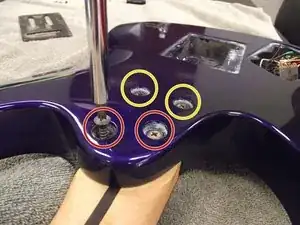
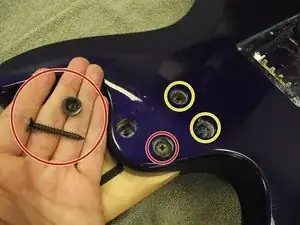
Flip the guitar up-side-down and locate the screws at the top of the body near the neck. Use a Phillips 2 Screwdriver to unscrew the screws. Both a screw and a spacer will be removed. Take note of the difference in screw sizes.
-
The screws closer to the neck are 1 7/16"
-
The screws farther from the neck are 1 3/4"
-
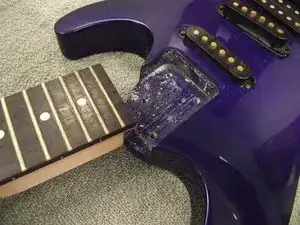
Once all of the screws are removed, gently pull the neck away from the guitar body and set aside.
-
-
-
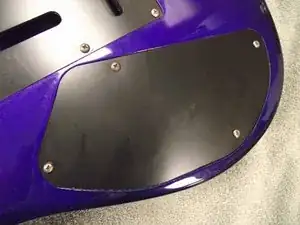
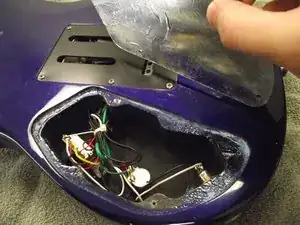
Locate the wiring back plate on the back of the guitar. This back plate is the one without any slots in it.
-
Use the Phillips 2 Screwdriver to remove all four of the 1/2" back plate screws. Set aside.
-
Remove the back plate to reveal the wiring components beneath. Set the plate aside.
-
-
-
Locate the bridge/tremolo back plate on the center of the back of the body.
-
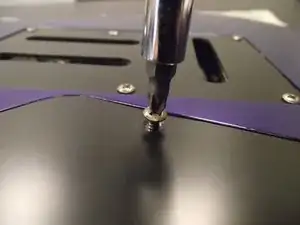
Use the Phillips 2 Screwdriver to remove the six 1/2" back plate screws.
-
Remove the back plate to reveal the bridge/tremolo assembly .
-
-
-
Carefully flip the guitar right-side-up.
-
Locate the knobs on the front of the guitar to the right of the pickups. These cover the potentiometers (or pots), which control volume and tone.
-
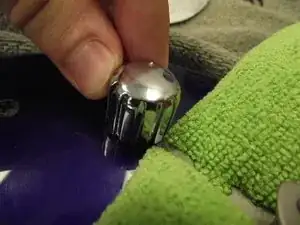
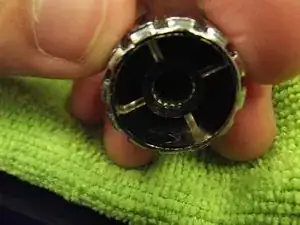
Using a flat object such as a pair of pliers, a flat head screwdriver, or a coin, carefully pry the knob up off of each pot. The knob may require a lot of force to remove.
-
Remove both knobs and set aside.
-
-
-
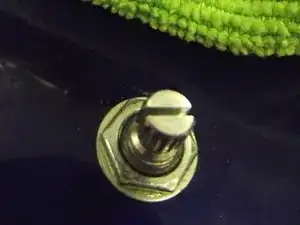
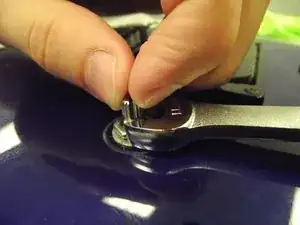
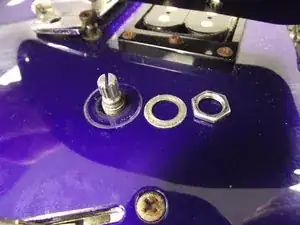
Once the knobs have been removed, use the 11mm wrench to remove the short nuts holding the pots in place.
-
Remove the nut and the washer from the knob and set aside.
-
Repeat for the other knob.
-
-
-
Locate the pickup selector switch on the right of the pickups.
-
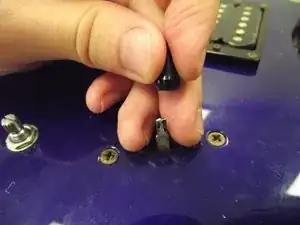
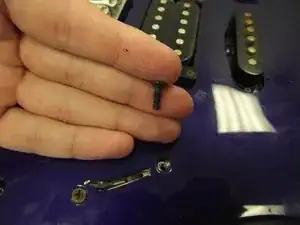
Remove the plastic top from the pickup selector switch by gently pulling up on it.
-
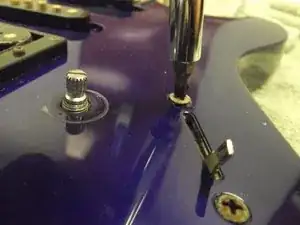
Use the Phillips 2 Screwdriver to unscrew the two 7/16" pickup selector switch screws.
-
Set all removed components aside.
-
-
-
Flip the guitar up-side-down and locate the electronics cavity.
-
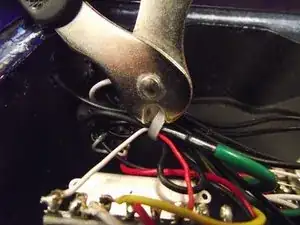
If the wires are zip-tied, use wire cutters to cut the tie. This will free up slack in the wires and make removal of later components easier.
-
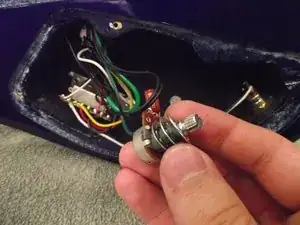
Pull the pots out into the wiring cavity. Remove the three washers on each knob and set aside.
-
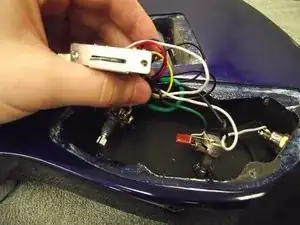
Pull the selector switch into the wiring cavity.
-
-
-
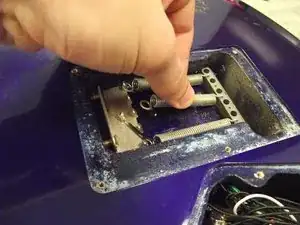
Flip the guitar upside down and locate the bridge/tremolo cavity.
-
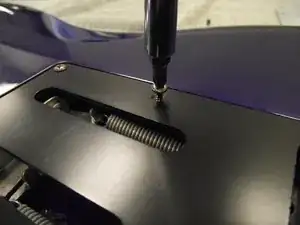
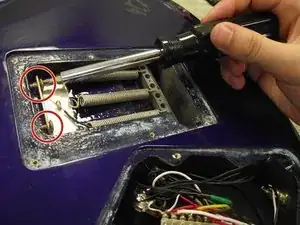
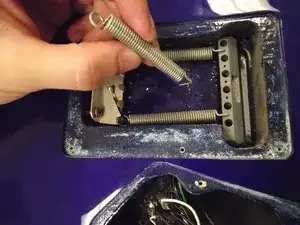
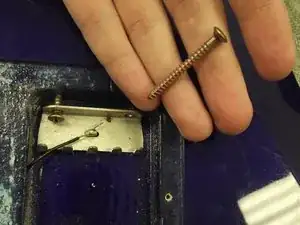
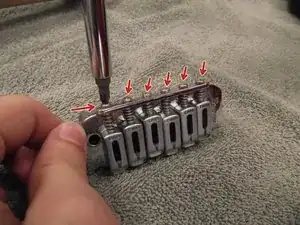
Using the Phillips 2 Screwdriver, loosen the two 1 5/8" anchoring screws to relieve some of the tension from the springs.
-
Pull each spring off of its hook and remove from the bridge block.
-
-
-
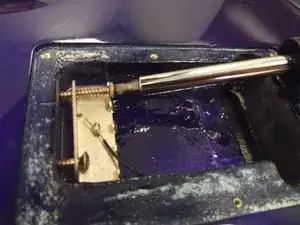
With all springs removed, lift the guitar straight up and off of the bridge.
-
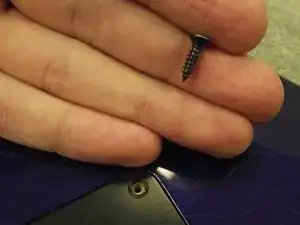
Remove the two 1 5/8" anchoring screws from the hook plate.
-
-
-
Flip the guitar right-side-up.
-
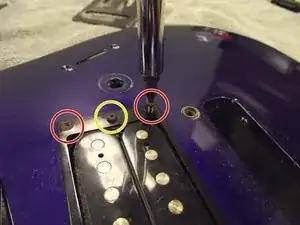
Locate the bridge height adjustment bolts below the humbucking pickup (humbucker).
-
Use the 3mm allen wrench to remove the two 1 7/16" bolts.
-
-
-
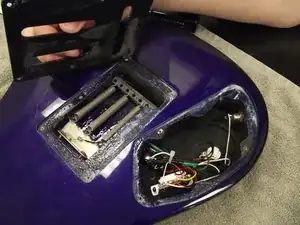
Locate the humbucker pickup on the front of the guitar.
-
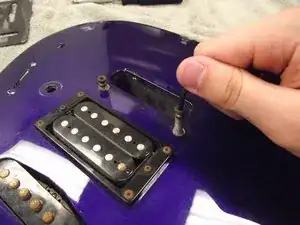
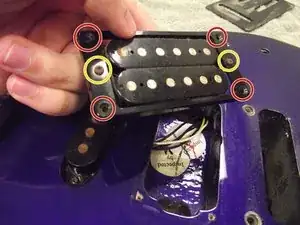
Using the Phillips 2 Screwdriver, remove the four 9/16" frame screws from the plastic humbucker frame.
-
Gently pull the pickup out of the guitar body.
-
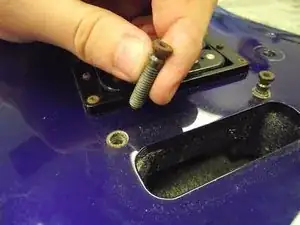
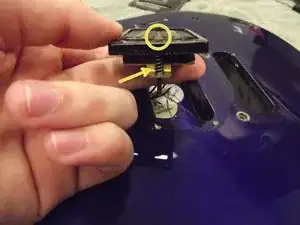
Remove the two 1 1/16" height adjustment screws and springs. The frame will separate from the pickup as the screws are loosened.
-
-
-
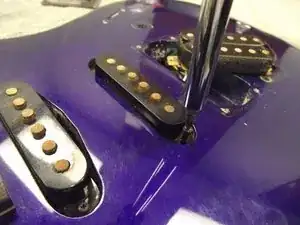
Using the Phillips 2 Screwdriver, remove the two 1 1/4" screws from each side of the single coil pickup.
-
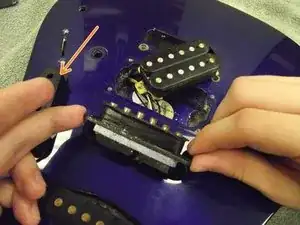
Remove the plastic cover from the pickup by lightly pulling straight up.
-
Gently pull the pickup out of the cavity. Take care to slowly work the wiring through the holes, taking advantage of the available slack.
-
Repeat for the other single coil pickup.
-
-
-
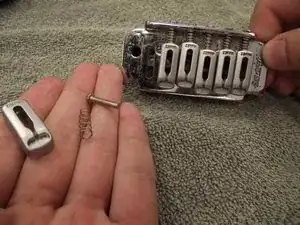
Use the Phillips 2 Screwdriver to remove the six 11/16" intonation screws. The springs and bridge saddles will come off with the screw.
-
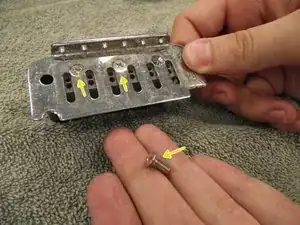
Remove the three 3/8" bridge plate screws using the Phillips 2 Screwdriver.
-
-
-
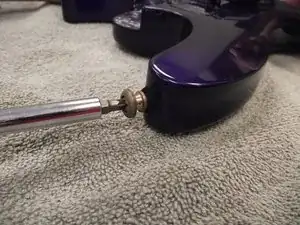
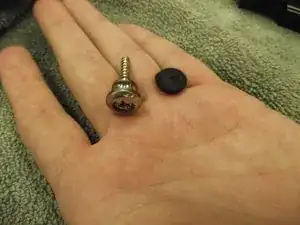
Using the Phillips 2 Screwdriver, remove the 1 1/16" strap button screws and felt washers from both ends of the body.
-
-
-
Using the Phillips 2 Screwdriver, unscrew the 9/16" screws from each of the two spring trees and remove the trees and spacers.
-
-
-
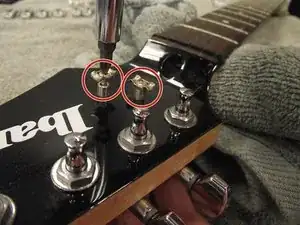
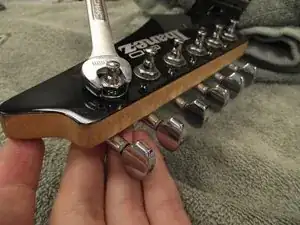
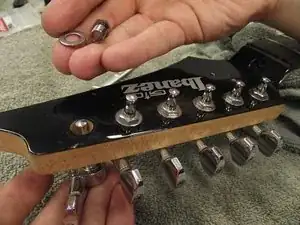
Using the 10mm wrench, remove the hollow hex bolts and washers from the tuning pegs.
-
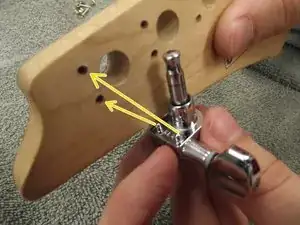
Pull the tuning pegs out of the neck. For later reassembly, note how the two prongs on each peg match up with the holes in the bottom of the head.
-
-
-
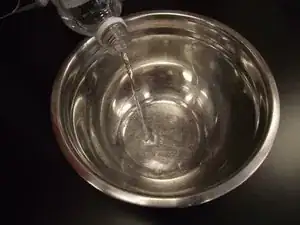
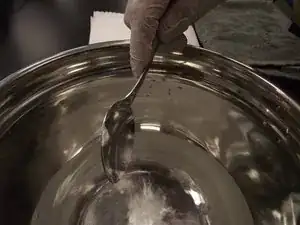
Add 2 cups of distilled white vinegar (any vinegar will work) to a bowl.
-
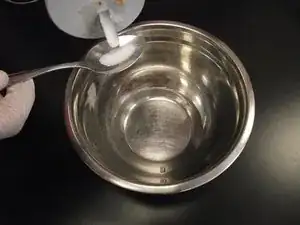
Add 2 tbsp of salt to the vinegar and mix.
-
-
-
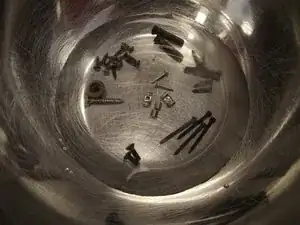
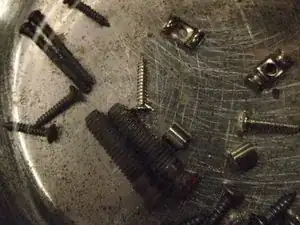
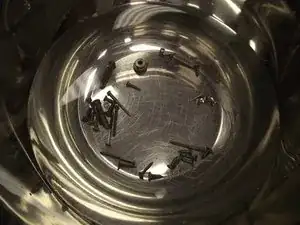
Place small, heavily rusted components, such as screws, into the solution. Let them soak in the solution for 2 1/2 hours.
-
Dip cotton swabs in the solution and apply to larger or lightly rusted components. Let them sit for 2 1/2 hours.
-
-
-
Use a microfiber cloth to clean dust off of plastic or wood components.
-
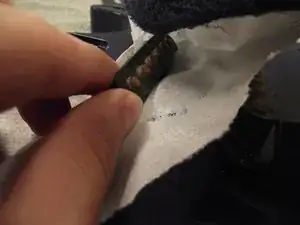
Use dry cotton swabs to clean narrow crevices on small components.
-
Use a slightly damp paper towel to pick up any wood shavings inside the guitar body.
-
-
-
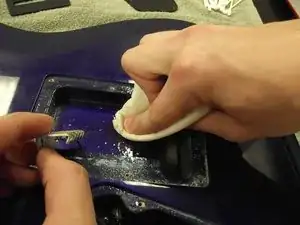
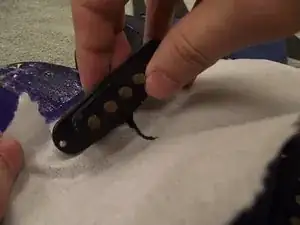
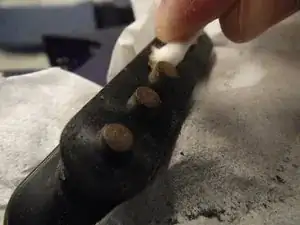
Place a paper towel underneath each pickup to catch rust and keep it from falling into the guitar body.
-
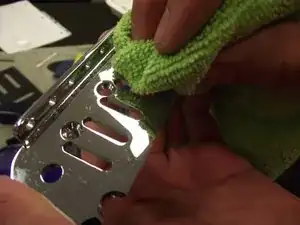
Using an abrasive pad, carefully rub off the heavy surface buildup of rust.
-
Clean off rust particles from around the poles with a cotton swab.
-
-
-
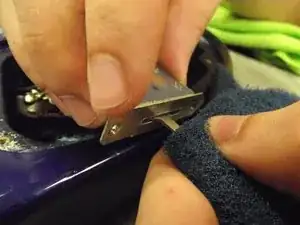
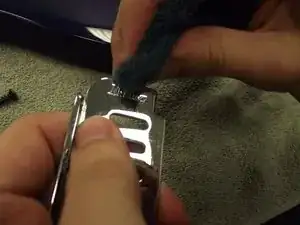
Use the abrasive scrubber to gently polish rust off of electrical components.
-
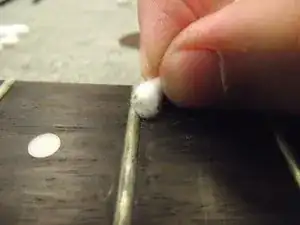
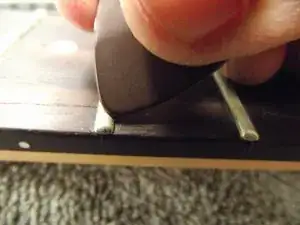
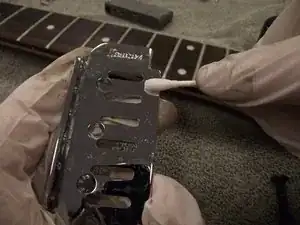
Scrub gunk due to sweat and dead skin from the frets with a cotton swab. The edge of a guitar pick can also be used to loosen tough spots.
-
-
-
After 2 1/2 hours, the components are ready to be transferred from the vinegar solution.
-
Fill a second bowl with 2 cups of water, add 2 tbsp of baking soda, and mix.
-
Transfer the components to the baking soda solution.
-
-
-
Use a cotton swab to apply the baking soda solution to the components previously treated with the vinegar solution.
-
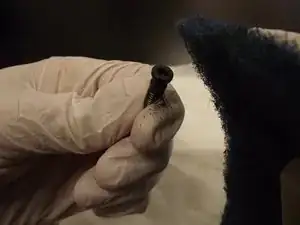
Use the abrasive scrubber to polish off the softened rust.
-
-
-
Thoroughly dry all components.
-
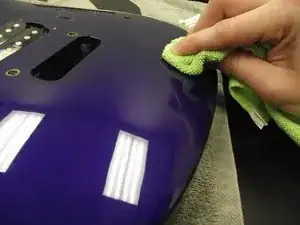
Polish the guitar body and components with a microfiber cloth.
-
To reassemble your device, follow these instructions in reverse order. Make sure that you use the correct screws for each step.
Ein Kommentar
I really appreciate the work that has gone into this, and yes it really will help me as I maintain my guitar(s). Fantastic!
