Einleitung
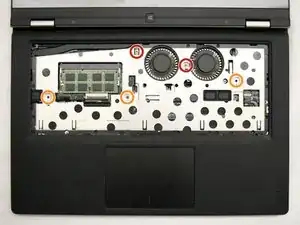
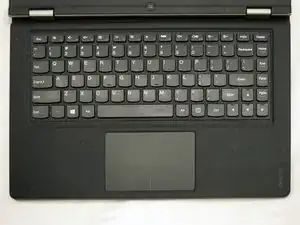
The keyboard bezel is part of the chassis that protects your laptop’s interior components. Cosmetic damage may be unsightly, but doesn’t affect your laptop’s functionality. You may need to remove the keyboard bezel to access interior components.
Werkzeuge
-
-
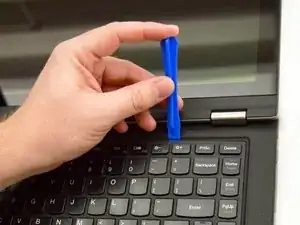
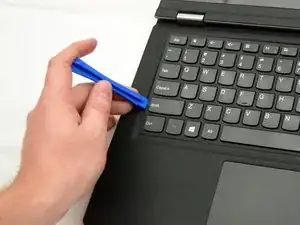
Insert a plastic opening tool in the seam between the keyboard and laptop body.
-
Carefully run the tool around the top and sides of the keyboard to pop out the 9 tabs holding in the keyboard.
-
-
-
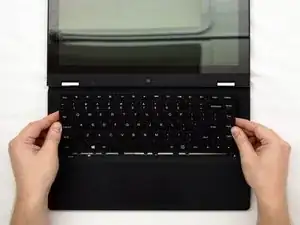
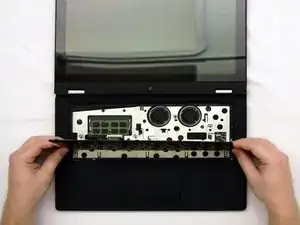
Lift the keyboard up, then pivot it towards you to lay it facedown on the trackpad and palm rests.
-
-
-
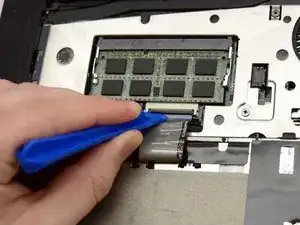
Locate the ribbon cable connecting the keyboard to the motherboard.
-
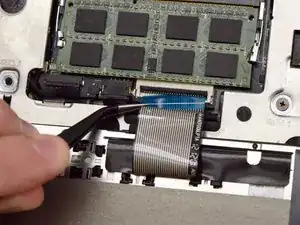
Use the tip of the opening tool to lift the black flap on the connector.
-
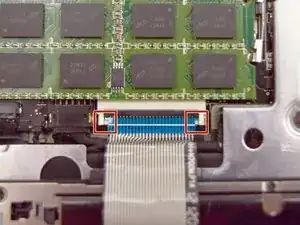
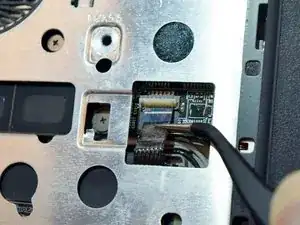
With the twezers, gently lift the ribbon cable out of the connector.
-
Ensure the cutouts on the end of the cable match the tabs on the connector.
-
-
-
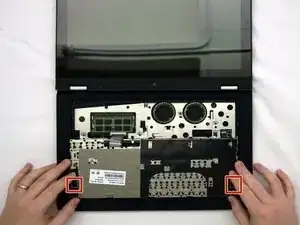
Locate and remove the screws holding the bezel to the laptop body:
-
Two 3 mm Phillips screws
-
Three 5.5 mm Phillips screws
-
-
-
Flip the laptop over.
-
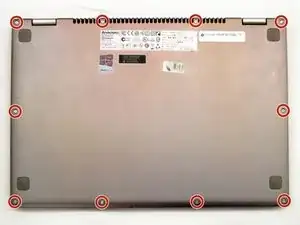
Locate and remove the screws holding the bezel to the bottom panel:
-
Ten 4.5 mm Phillips screws
-
-
-
Flip the laptop back over.
-
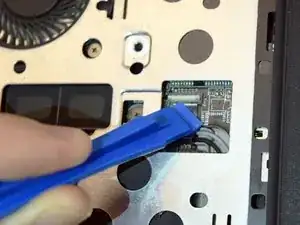
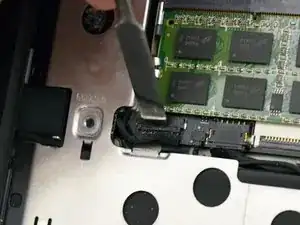
Locate the small trackpad ribbon cable and use the opening tool to lift the black flap on the connector.
-
With tweezers, gently pull the ribbon cable out of the connector.
-
-
-
Locate the power board cable and disconnect it by pulling the cable head towards the front of the laptop.
-
-
-
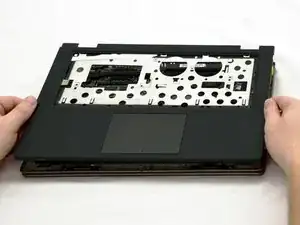
Lift the keyboard bezel off the laptop. The bezel is secured to the chassis by 10 plastic clips around the circumference that can be released with the plastic pry tool.
-
To reassemble your device, follow these instructions in reverse order.
