Einleitung

This guide details the necessary steps to replace the USB port on the Impression i7. Due to the difficult nature of this replacement, it should only be performed when all other potential options have been exhausted.

  1. 6SMkJO2Pq3XEgRvg
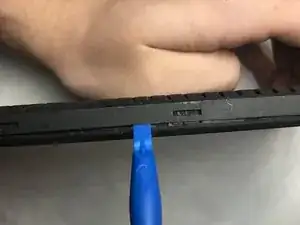
    • Wedge the plastic opening tool into the seam nearest to the screen surface and begin to pry off the back of the device.

  2. ECtRxAuScwNDiEDP
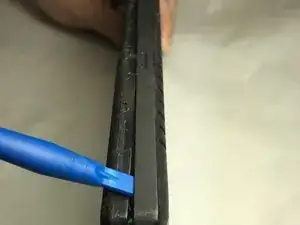
    • Move the plastic opening tool along the perimeter of the device, loosening the entire back as you go.

  3. mKeZrnYQ3mRPwKDN
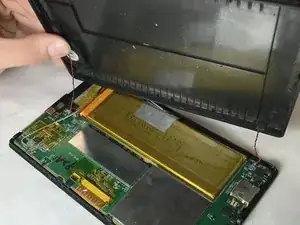
    • After the entire perimeter has been pried, remove the back of the device.

    • Be careful not to disconnect the speaker and microphone cables attached to the back of the tablet.

  4. TpZueD4I4S1X21aK
    TpZueD4I4S1X21aK
    qLHfVjjvqGZvsxaq
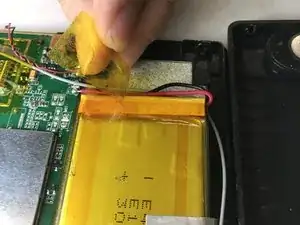
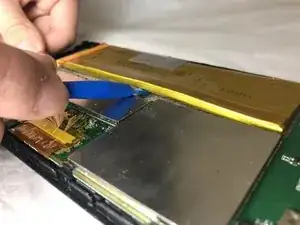
    • Remove the transparent, orange tape from the edge of the battery.

    • Pry the battery off, using the plastic opening tool.

  5. FmMAkSLB41jKXRse
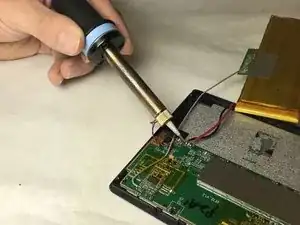
    • Desolder the positive and negative leads.

  6. EAjMmd3igTfS23U3
    EAjMmd3igTfS23U3
    VbivP2DVy5MxZaDR
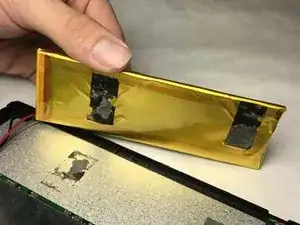
    • Pull the battery away from the adhesive.

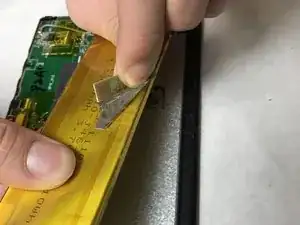
    • Peel the gray tape from the top of the battery.

  7. RQ2PCNhCyxATDAIm
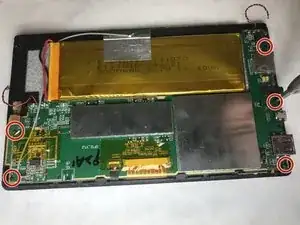
    • Remove the five 5 mm screws from the motherboard, using the #0 Phillips Screwdriver.

  8. by3PpGSJivB5dsNa
    by3PpGSJivB5dsNa
    XXkCItUMxJqIUBqY
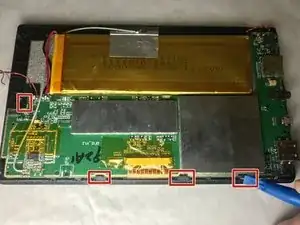
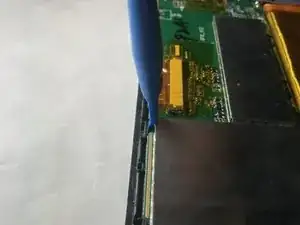
    • Using the plastic opening tool tool, pry back the 4 four clips to release the motherboard.

  9. cNms4XWAbwKgxqrx
    cNms4XWAbwKgxqrx
    U3e3d6MYMx2hT2Lt
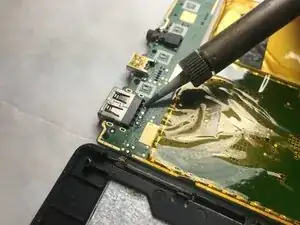
    • Desolder the eight solder joints holding the USB Port in place.

Abschluss

To reassemble your device, follow these instructions in reverse order.
Cole Beaver

Mitglied seit: 05/11/18

390 Reputation

0 Kommentare