Einleitung
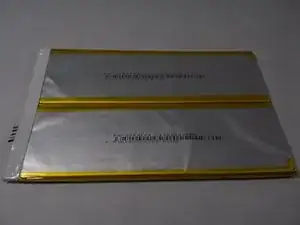
The battery powers the device for a period of time. If you are experiencing short battery life or none at all, consider replacing your battery.
Werkzeuge
-
-
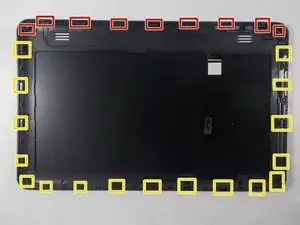
The rear panel is secured to the front case by 26 clips attached to the rear panel. These clips lock onto small tabs machined into the front case.
-
To free the tabs, they must be pushed toward the center of the device. When using the plastic opening tool to free the rear panel, be sure to work the tool at the location of these clips.
-
To help in visualization, the 9 clips boxed in red are located on the same side as the volume buttons.
-
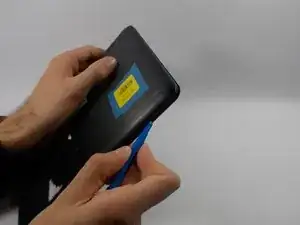
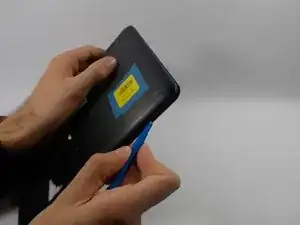
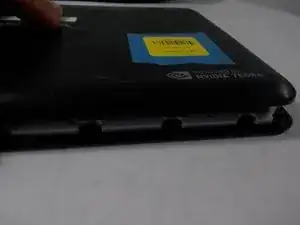
Remove back cover by inserting a plastic opening tool along the edge of the device to release the clips.
-
-
-
Opening the Flex 10.1 can be challenging. Don't get discouraged if it takes multiple attempts before the Flex 10.1 is opened.
-
Insert the plastic opening tool into the seam between the front case and the rear panel of the Flex 10.1.
-
Gently enlarge the existing gap by pressing and wiggling the plastic opening tool into the gap near each of the clips attached to the rear case. Pushing the clips toward the center of the device until the clips have been freed.
-
Repeat the same procedure to free all clips around the Flex 10.1.
-
-
-
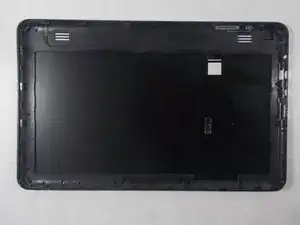
After ensuring all clips are free, separate the two halves of the Flex 10.1.
-
The rear panel is now free from the Flex 10.1.
-
-
-
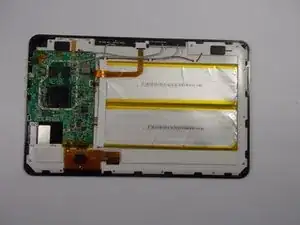
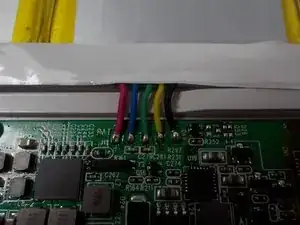
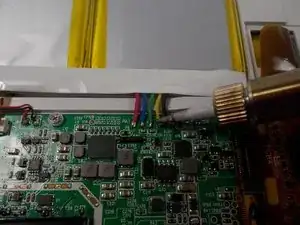
Begin by heating up the five solder joints on the motherboard one at a time.
-
When the solder melts and the wire is free from the motherboard, immediately lift the solder tip off the connection to avoid damage.
-
-
-
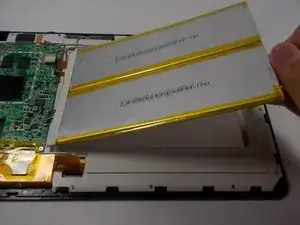
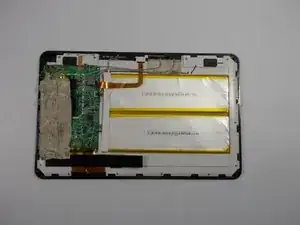
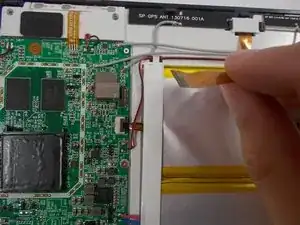
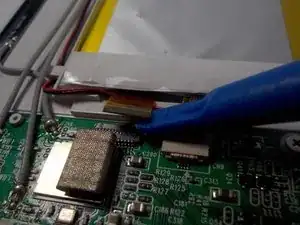
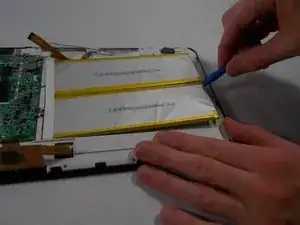
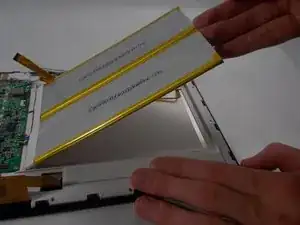
Insert the plastic opening tool along the edge of the battery and gently pry out the battery.
-
To reassemble your device, follow these instructions in reverse order.
Ein Kommentar
ok, sounds easy enough..being a electrical/electronic tech……..but, i kinda don’t like he clips…thats gonna be an S.O.B for me….I ave to disassemble 2 batteries…yuk…… than you ..very insightful and explained well. next job , unlocking iclouds on iphones….just wish i as gettin paid..lol
