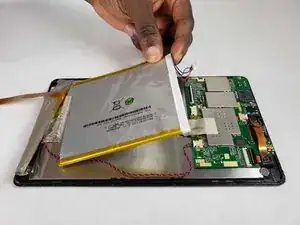
Einleitung

  1. LdNwDckivmYctPus
    LdNwDckivmYctPus
    emnnNq2Bg6CjSpiA
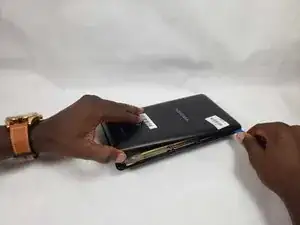
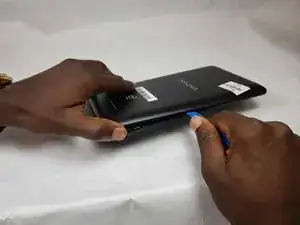
    • Begin by using the opening tool to pry open the back cover. Continue around the edge until the back cover pops off.

  2. ZjKGHJRMRLOeLe12
    ZjKGHJRMRLOeLe12
    T6CGcepOKJjBbs6D
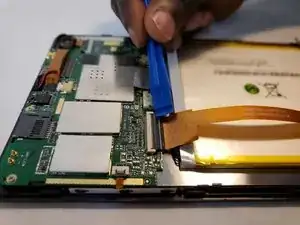
    • Use the opening tool to flip the LCD flex circuit plug upwards. The flex circuit should now be loose. Remove flex circuit by pulling outwards.

  3. LgnUh6a3EJ4j6NHs
    LgnUh6a3EJ4j6NHs
    2IYZEY5waUqPQPP5
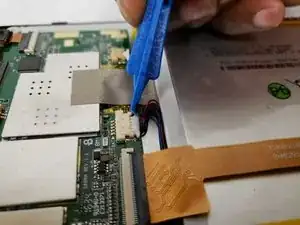
    • Use the opening tool to remove the battery cable from the circuit board.

  4. 2JaKsI5BOV1NE4hF
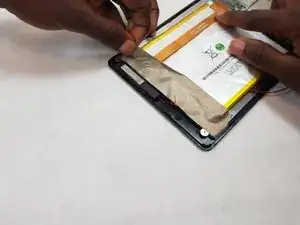
    • Remove the adhesive tape from the bottom of the battery.

  5. EBbwpUNGHTYPJZiK
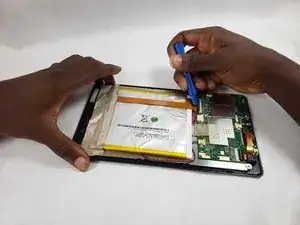
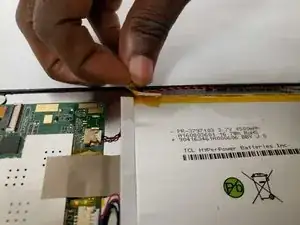
    • Remove plastic adhesive tape from the side of the battery.

  6. aZpfQWhpadsFQOAH
    aZpfQWhpadsFQOAH
    5Gqym6tVdjmigVwv
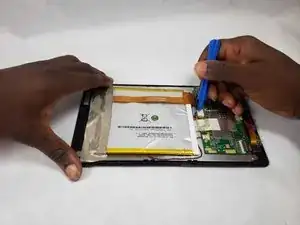
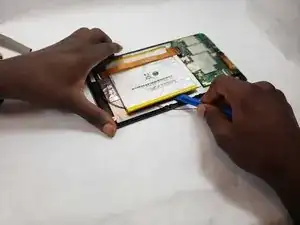
    • Pry the battery from the back of the LCD screen using the opening tool. Due to the strong adhesive between the battery and screen, this may take some time.

Abschluss

To reassemble your device, follow these instructions in reverse order.
Lavina Pillai

Mitglied seit: 08/07/19

133 Reputation

0 Kommentare