
Einleitung
In this guide you will be taking apart your boombox to reach the speakers from the inside. These step-by-step instructions will show you how to reach the speakers, how to remove them, and how to install your new speakers. This guide requires soldering, so make sure you have a soldering iron handy and know how to use one. A simple guide to soldering can be found here.
-
-
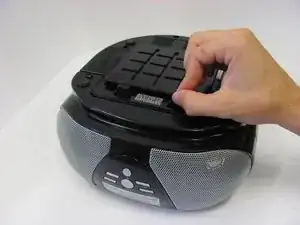
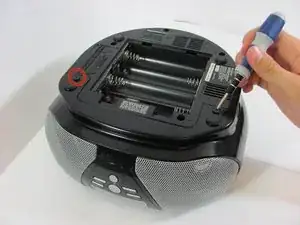
Flip the stereo so the CD opening is face down.
-
With two fingers, pinch the tabs and lift up to open the battery protection cover.
-
-
-
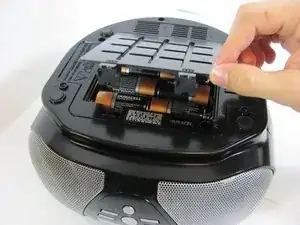
Using a spudger or your fingers, push up against the positive end of the battery. Once it is loose, lift the battery out.
-
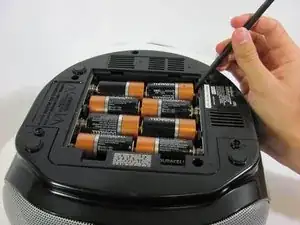
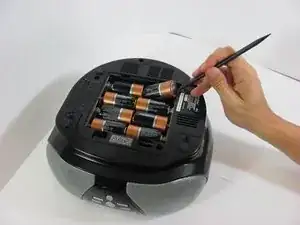
Repeat until all eight batteries are removed.
-
-
-
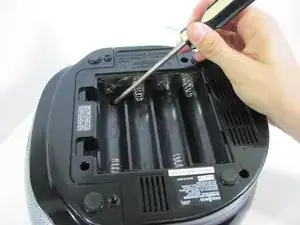
Using a long Phillips #2 screwdriver, remove one 6mm screw located inside the battery compartment.
-
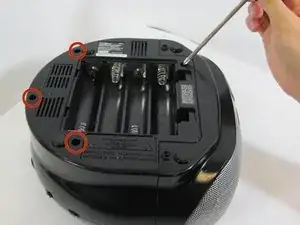
Use the same screwdriver to remove four more 6mm screws along the outside of the case.
-
-
-
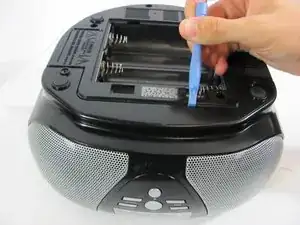
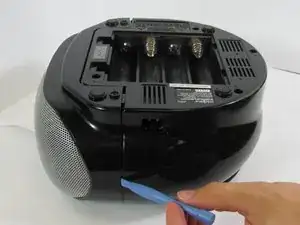
With a plastic opening tool, wedge the bottom shell from the main speaker face along the edge.
-
Once the pieces are separated, pull them apart and place the bottom cover aside, near the stereo.
-
-
-
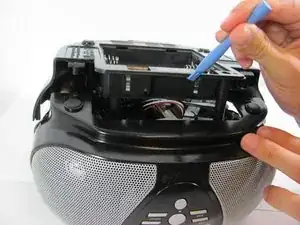
With a Phillips #2 screwdriver, remove five 5mm screws from the "quarter circle" circuit board.
-
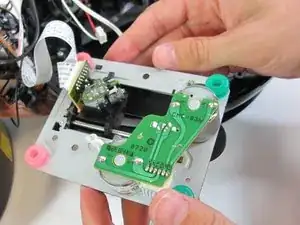
Remove the green quarter circle circuit board and place to the side.
-
-
-
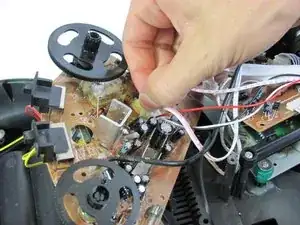
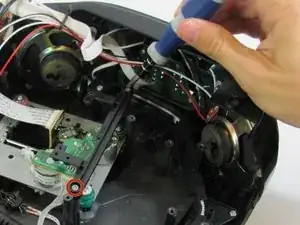
On the brown side of the quarter circle circuit board, remove the two white ribbon cables with pink stripes attached to a plastic connector. To do this, pinch the tabs with your hands while pulling outward on the connector.
-
-
-
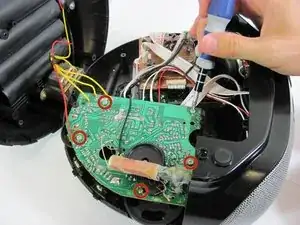
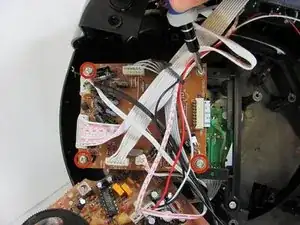
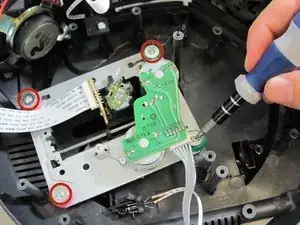
With a Phillips #2 screwdriver, remove four 6mm screws from the rectangular circuit board.
-
-
-
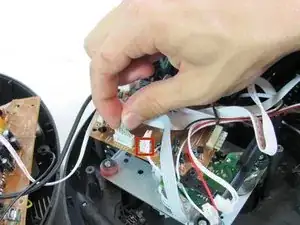
Remove the two white ribbon cables attached to white plastic connectors from the circuit board by pinching the tabs with your hands and pulling outward on the connector.
-
-
-
With a Phillips #2 screwdriver, remove two 5mm screws from the black plastic frame which previously held up the rectangular circuit board.
-
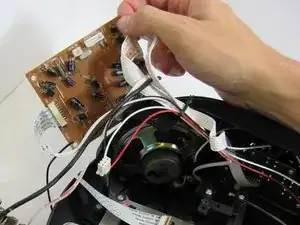
Remove the black plastic frame.
-
-
-
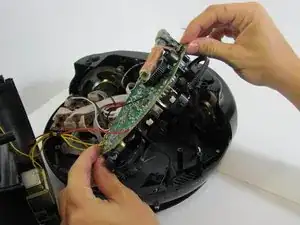
With a Phillips #1 screwdriver, remove four 3mm screws from the silver metal circuit board.
-
Remove and place the metal circuit board to the side.
-
-
-
With a Phillips #2 screwdriver, remove the two 3mm screws from the black plastic tuner frame.
-
-
-
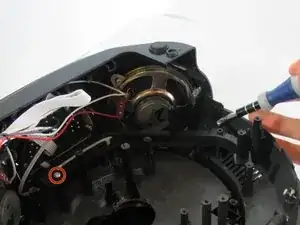
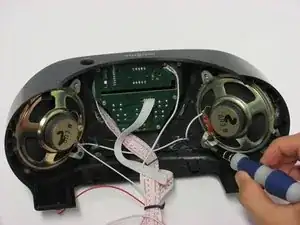
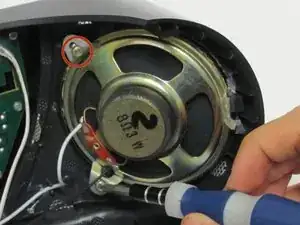
Using a Phillips #2 Screwdriver, remove two 5mm screws from the speaker.
-
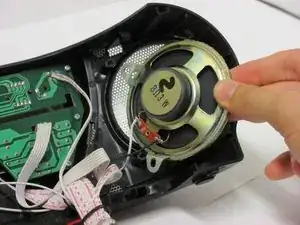
The speaker will have a light coating of glue to hold it in place. A little force from your fingers will pull it right out. Remove the speaker and set it face-down on the table.
-
To reassemble your device, follow these instructions in reverse order.