Einleitung

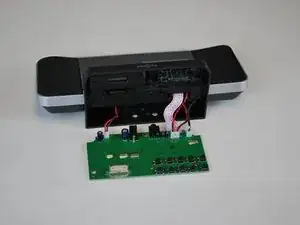
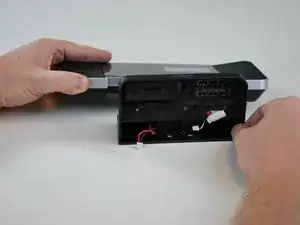
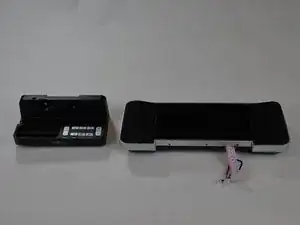
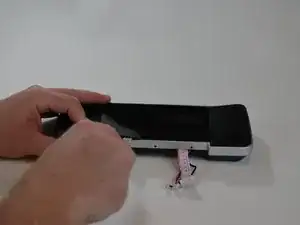
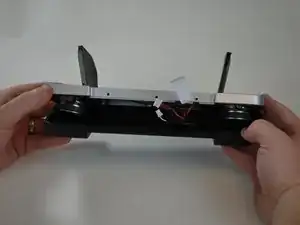
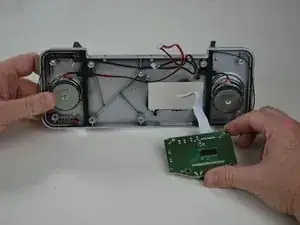
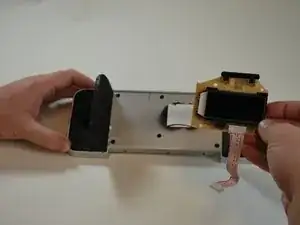
This guide shows you how to replace a broken display on the Insignia NS-CLIP02. The device should be physically unplugged, not just “switched off.” If your display glass is cracked, keep further breakage contained and prevent bodily harm during your repair by taping over the glass.

  1. NEkViALtKjnOvFA2
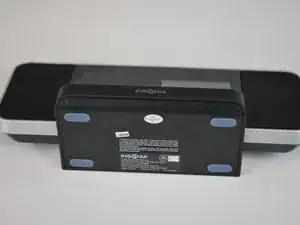
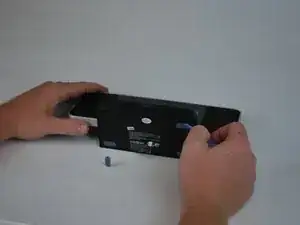
    • Locate the bottom of the device.

  2. IuQADeiJssKFmP5X
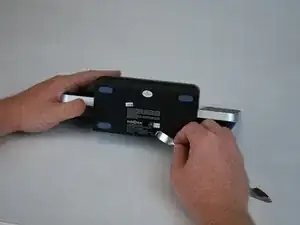
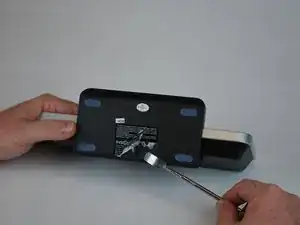
    • Begin by using a metal spudger to peel back the adhesive sticker and locate the 11mm screw behind the sticker.

  3. tIQGluLxhsrM1WBF
    • Locate the 11mm screw behind the sticker.

  4. iUoO6RgrJlEQSdhS
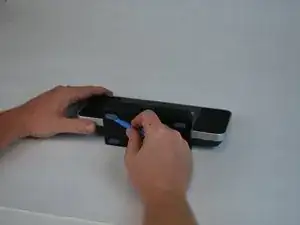
    • Using a plastic opening tool, peel off the adhesive gel stoppers.

  5. MKo3nRHm2JPUZyKB
    • Continue peeling the rest of the gel stoppers from the bottom of the device.

  6. TLqepSuPItlZRMS4
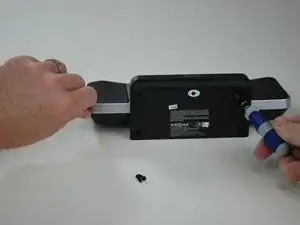
    • Begin unscrewing the six 11mm screws with a Phillips head screw driver.

  7. D4thpuyKmLrwegAu
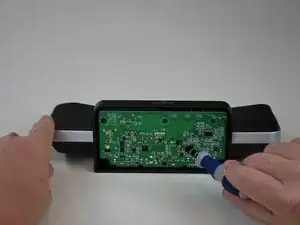
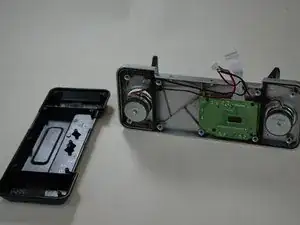
    • Once you remove the bottom cover from the device, you will see the motherboard.

  8. 45Usy6dFoSLKSEgS
    • Unscrew the 9.5mm screw located near the center of the motherboard with a Phillips head screw driver.

  9. rMTH2FILSb1wGP1q
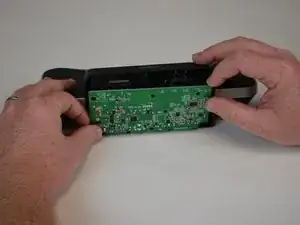
    • Lift the motherboard away from the device.

  10. C64K1SbE45gWent2
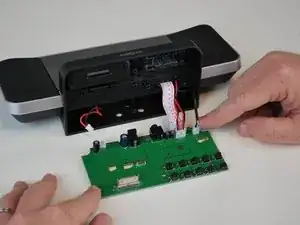
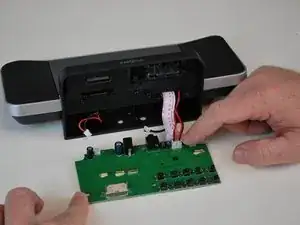
    • Locate the four plugs connecting the motherboard to the rest of the device.

  11. VpCVxgWIsIWhxhBI
    • Begin with removing the plug on the very left hand side.

  12. 3omrviFmUelR3TY3
    • Remove the plug on the very right hand side of the motherboard.

  13. pLWHt5nhqog1bsBV
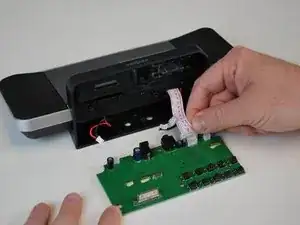
    • Remove the plug in the front of the LCD screen plug.

  14. Ri122WDQZQFjCQVn
    • Remove the LCD screen plug last. Then, follow the following instructions in reverse to replace the old motherboard with the new one.

  15. CvrMPIKRffYn1CaJ
    • Using the Phillips screwdriver, remove the three screws that run along the center of the base.

  16. HNZOjqrXkWAIbciH
    HNZOjqrXkWAIbciH
    QjL12CXkgVfnFeVO
    • Carefully remove the base.

  17. lby2CBTpuBiIayjf
    lby2CBTpuBiIayjf
    gjU6ithOdRjmjEND
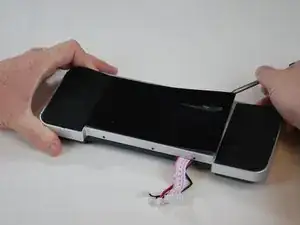
    • Using the metal spudger, gently lift the face plate away from the display.

  18. eI5eUesJHmohXota
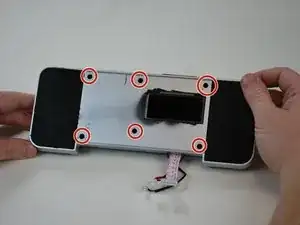
    • Once the face plate is removed, use the Phillips screwdriver to remove the six screws shown here.

  19. sER6Kw1gAHxK6BDh
    sER6Kw1gAHxK6BDh
    VYQYO1UixPhEi2hb
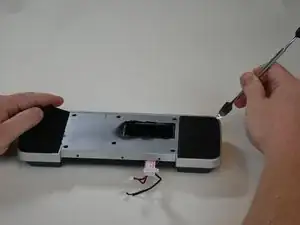
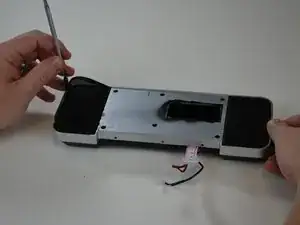
    • Using the metal spudger, lift the speaker grilles from the display.

    • The speaker grilles will hinge on the side closest to the display.

  20. hNl2xDIWtOGWtN4N
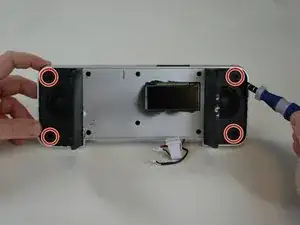
    • Using the Phillips screwdriver, remove the four screws shown here.

  21. hQVdmCKnCKDsySEb
    hQVdmCKnCKDsySEb
    PkTK4E43a1WZN4MQ
    • The two pieces of the display should easily separate.

  22. sUdtDKPmmjvCwgQj
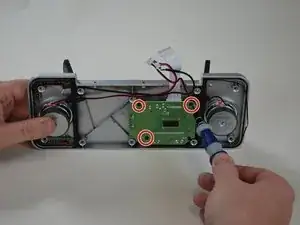
    • Using the Phillips screwdriver, remove the three screws shown here.

  23. B3mYjwiNRgBKNPB1
    B3mYjwiNRgBKNPB1
    B1PbgjSfWyYB5K2E
    qwXmHJjQkanaOXVK
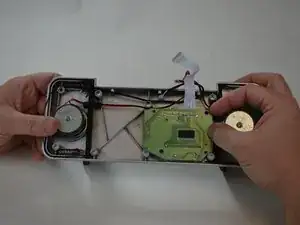
    • The digital display should now be easy to remove.

    • Replace with new part.

Abschluss

To reassemble your device, follow these instructions in reverse order.
Aubrey

Mitglied seit: 24/02/15

213 Reputation

0 Kommentare