Einleitung

  1. YjOyLUB3Sle5JjQG
    YjOyLUB3Sle5JjQG
    GHePWCBjHWp1ZwKA
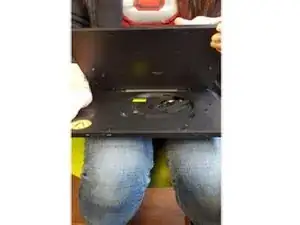
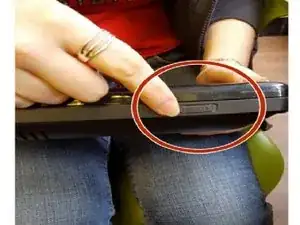
    • Slide the “Open” tab on the top of the device.

    • This will allow you to open the device.

  2. ZUPiBpuDLaCAF23n
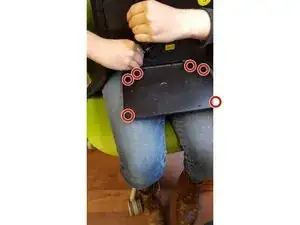
    • Remove the six Phillips #00 screws from the screen casing.

    • To access two of the screws, first remove 2 small, flat rubber circles from the corners of the screen casing. Use a spudger if necessary.

  3. aPLBQ3cNtrbMckMh
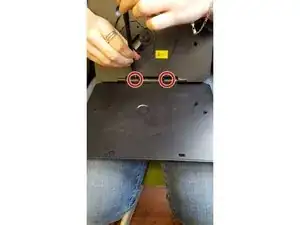
    • Remove the two screws from the hinge that holds together the screen casing and the disk panel.

    • Abruptly opening the device too wide will break the hinge. To fully access the hinge screws, firmly but gently open the device wider.

  4. 41XNfE6ayNSmACBY
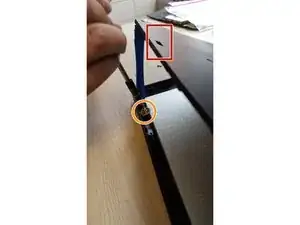
    • Insert the plastic opening tool into the rectangular holes and pry open in order to access the interior of the screen casing.

    • Remove the four screws and corresponding washers from the edges of the screen.

    • Use a plastic opening tool to prop open if necessary.

  5. jvopftUDrLMwQjAG
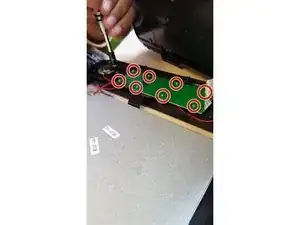
    • Remove the eight screws from the green motherboard.

  6. MTtTdXX3CaWHriyw
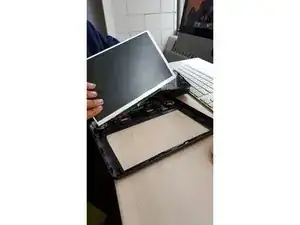
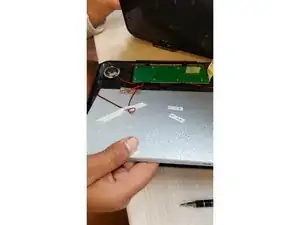
    • Unplug the red wires from the motherboard by gently pulling them off.

    • Then remove the screen.

  7. vEZKCRGqkIGWic13
    • Set the new screen in place.

Abschluss

To reassemble your device, follow these instructions in reverse order.
Jen Rodas

Mitglied seit: 30/09/15

1 Reputation

0 Kommentare