Einleitung
Use this guide to replace the CPU fan in the Inspiron 7359 2-in-1.
The purpose of the CPU fan is to cool down the computer processor. This is accomplished by pulling hot air away from the processor.
The best way to tell if your CPU fan has stopped working is to look and listen. Check to see if the fan is rotating. If the fan is not moving it should be replaced immediately. You can also hear a working fan, especially if it running at top speed.
Also, know that most computers will shut down if they are too hot. If your computer is shutting down on a regular basis, it might be because it needs a new fan. To read more about this click here.
Changing the CPU fan is a three-step process. Each step includes easy to follow instructions and a photo that demonstrates what you need to do.
Note that you should remove the HDD before you start. This will make it easier to take out the fan. Removing the fan requires a gentle touch.
Werkzeuge
-
-
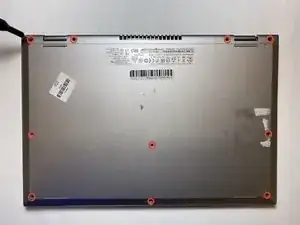
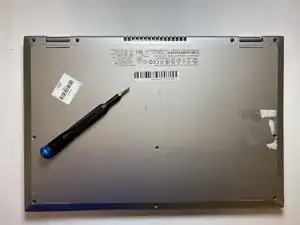
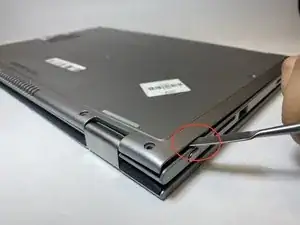
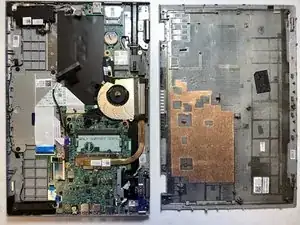
Use a Phillips #0 screwdriver to remove the ten 8mm screws from the back case of the laptop.
-
-
-
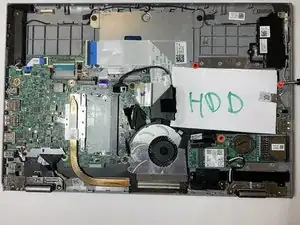
Unscrew three 3mm screws with a Phillips #0 screwdriver and remove them.
-
These screws hold the hdd and removing these screws will make it easier to remove it.
-
-
-
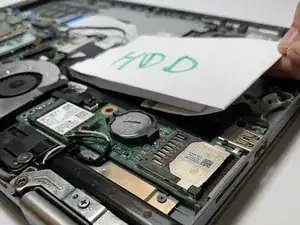
Lift the hard drive from the left side. Be careful not pull on it.
-
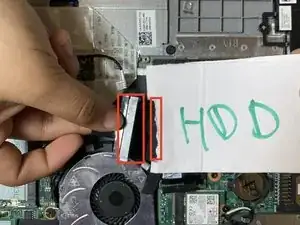
Pull the SATA cable that's connect to the hard drive and then carefully place the cable on the side.
-
-
-
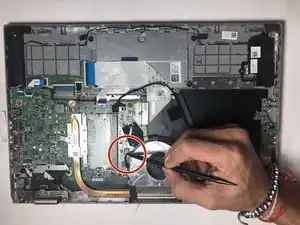
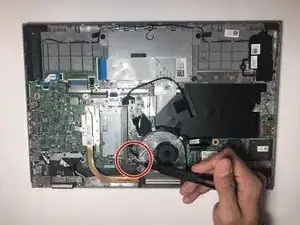
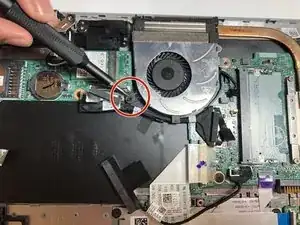
Remove one 5mm screw using the Phillips screw.
-
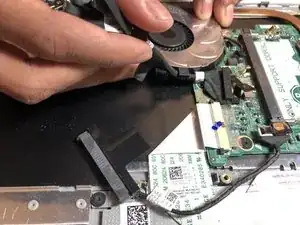
After the screw is extracted use your hands and carefully take the fan out.
-
To reassemble your device, follow these instructions in reverse order.
