Einleitung
The Toshiba Chromebook 2 will stop getting Chrome OS updates in summer of 2021 (depending on which version you own). If you want to keep using your Chromebook but be able to get OS and security updates, you can install CloudReady Home Edition, which is based on Chrome OS but works on non-Chromebook hardware—and also out-of-date Chromebooks.
You can also use this guide to install Windows, Ubuntu, or any other OS that you believe might work (i.e. not Mac OS). Just replace the CloudReady installer with a USB installer of your choice.
Werkzeuge
-
-
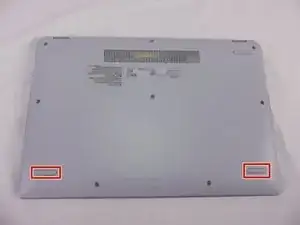
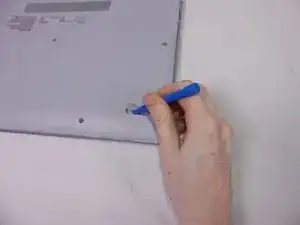
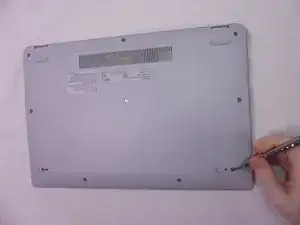
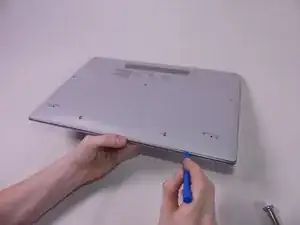
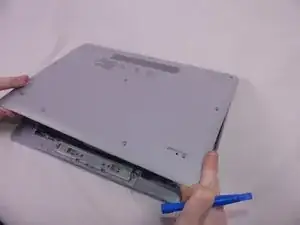
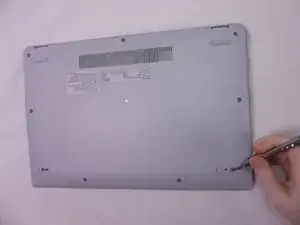
Remove the 2 rubber foot pads from the bottom (opposite the hinge) with the small Plastic Opening tool.
-
-
-
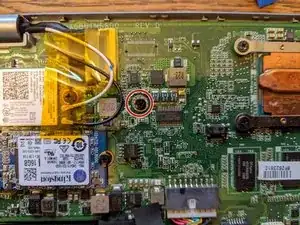
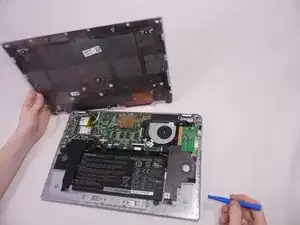
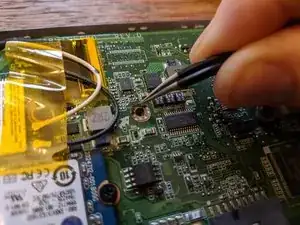
The write-protect screw is on the main logic board, just above the center (with the hinge at the top). It is to the right of the yellow-taped cables, to the left of the heatsink, and has copper-colored tape around its base.
-
Remove the 3.6mm screw with a Phillips #1 screwdriver.
-
Using tweezers, gently poke at the copper-colored tape around the base of the write-protect screw. Once enough is peeled up to get a grip, gently pull the sticker up and out.
-
-
-
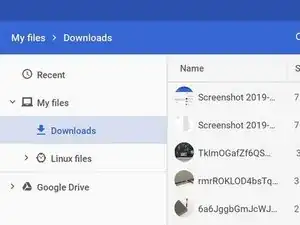
The next step will wipe the Chromebook. If you have any files in your Downloads folder that you might want to hold onto, now is the time to upload them to Google Drive, or offload them onto a USB stick.
-
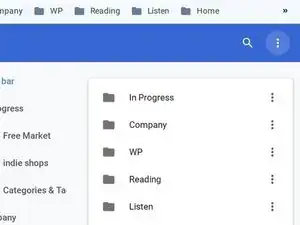
If you haven't enabled bookmark syncing in your Google account, you can back up your toolbar bookmarks by heading to the Bookmark Manager (Ctrl+Shift+O, or from the browser's three-dot menu, or right-clicking on the bookmark toolbar). Once in the bookmark manager, click that three-dot button in the upper-right, then choose Export Bookmarks.
-
-
-
Head to CloudReady's page for the Home Edition and follow the instructions to turn a USB drive (8 GB or more) into a CloudReady installer.
-
It's easiest to make the USB installer on a Windows device, but you can also use a Mac, or this pre-wiped Chromebook, to make the installer.
-
If something goes wrong trying to use one USB drive, try another. They're more finicky than you'd expect for being "universal."
-
-
-
We need to enable Developer Mode to install another BIOS and operating system. To enable Developer Mode, we must first invoke Recovery Mode.
-
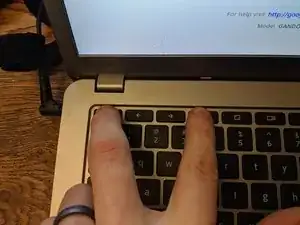
To start Recovery Mode, hold down the Esc (top-left-most key) and Refresh keys (three keys to the right of Esc on this model), then press the Power button (top-right-most key) for a moment, until the unit turns on.
-
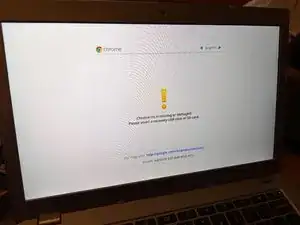
Once you see the exclamation mark and the message "Chrome OS is missing or damaged," press Control+D
-
You'll see one last check that you really want this (you do!): "To turn OS verification off, press Enter." Press Enter. As it says, your laptop will reboot, and your data will be wiped.
-
-
-
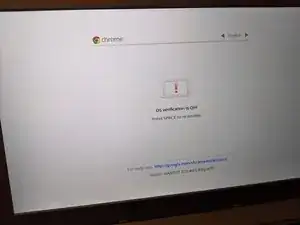
When your Chromebook reboots, you'll get yet another warning screen: "OS verification is off." Press Ctrl+D one more time to get past this warning.
-
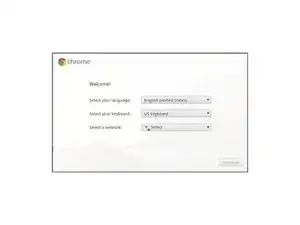
When you land inside Chrome OS, it will be as if you're setting it up for the first time. You can often choose a Wi-Fi network from the lower-right menu area. You might have to click a "Let's go" button to get to the screen where you can choose a Wi-Fi network. Select your Wi-Fi, but don't continue on!
-
Once you've selected a Wi-Fi network and successfully connected, hold the Ctrl and Alt keys and press the -> button (the second button from the esc key). You should see a stark-looking terminal screen and text prompt.
-
At the stark-looking prompt with a "localhost login," enter "chronos" as your login. That should change the prompt to "chronos@localhost," give you the permissions you need to run the next step.
-
If you're having trouble logging in at the localhost prompt, you can get back to the ChromeOS setup (Ctrl and Alt and <- button). Once you're inside ChromeOS, hold Ctrl and Alt and hit 'T', then type "shell" at the command prompt. This also makes it easier to copy/paste the command in the next step.
-
-
-
Mr. Chromebox is a generous developer. Go to the page for his Chrome OS firmware script and type out the command on that page (starting with cd; curl ...
-
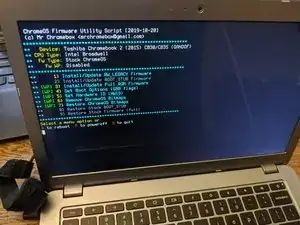
Choose "Install/Update Full ROM Firmware" from the menu by entering "3" and hitting Enter. You'll be prompted to agree to the inherent risk of what you're doing a few times by pressing "Y" for yes.
-
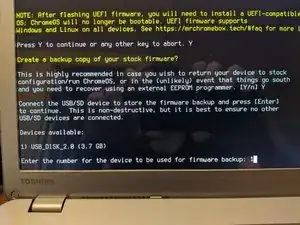
You'll also be prompted to create a backup copy of your stock firmware. You should answer "Y" to this, and grab another USB storage device, if you have one. Once you've backed it up onto a USB drive, back it up somewhere online, too!
-
Once you've finished installing the new firmware, enter "P" to power off.
-
-
-
With the Chromebook powered off, insert the CloudReady installer USB stick you made in step 6 (or go make it now on another computer if you haven't done so).
-
With the USB stick in one of the USB ports, power on the Chromebook. You should see a new thing; a speedy rabbit at the top of your boot screen, and a message at bottom, "Press ESC for Boot Options/Settings."
-
Do it! Press Escape before the bunny disappears. You'll be given a simple prompt to choose a device. Choose the option that looks like the USB stick you've inserted. It might show the name of the maker, like "Lexar" or "Sandisk" or just "Generic USB."
-
If you miss it, just wait a moment; you should end up inside the BIOS options anyways, because there's no operating system installed. Choose the "Boot device" menu (or something similar) and look for where you can choose your USB stick for booting.
-
-
-
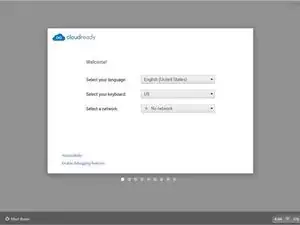
You'll get a CloudReady setup prompt that looks quite similar to the traditional Chromebook setup. Hooray!
-
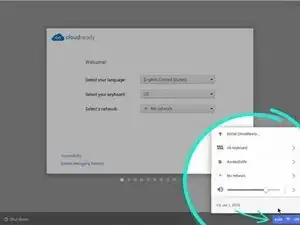
But! You don't want to go through this setup—it's just for setting up a "live" session. To actually install CloudReady, click the icons in the lower-right corner, and choose Install CloudReady.
-
-
Now you’re running CloudReady and getting regular security and Chrome updates. You can use also use this guide to install any other OS (Windows, Linux) from a USB stick.
9 Kommentare
okay i have done everything but for some reason when i go to log in the chrome system does not take my original login and password anymore. I have not changed anything but it does not accept the password. Is there a reason?
This worked! Thank you so much for these instructions.
The only thing which wasn't clear was that the inside of my Toshiba Chromebook 2 looks quite different, (maybe a European model?) so wasn't clear how to find the write protect screw. However, in case anyone else has the same problem, this video helped me do that bit :
Excellent instructions, thank you so much, this worked for me. I used these instructions combined with Fascinating Captain’s video at https://www.youtube.com/watch?v=JcZ711cx... which was invaluable as I have the UK model and the write protect screw is in a slightly different place.
