Einleitung
-
-
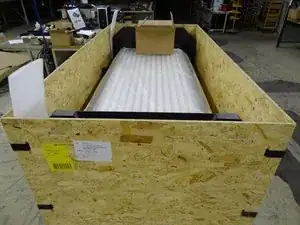
Wooden crate: Open the shipping crate
-
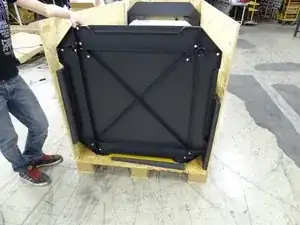
Wooden crate: Remove the wooden panel to get access to the floor panel
-
NEW Cardboard crate: If your system is shipped in the new cardboard crate, simply remove the lid and carefully cut open the cardboard (the crate is single use).
-
-
-
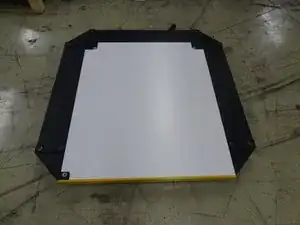
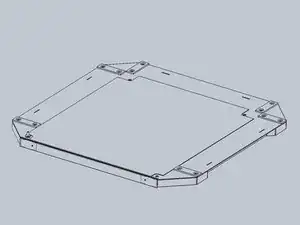
Screw the four feet into the bottom of the floor.
-
Put the floor horizontal (use a bubble level)
-
-
-
Install the rear panel onto the floor panel
-
Align the rear panel precisely over positioning holes in the floor and lower it carefully until it clicks into place.
-
Use the four shorter M8 bolts to fix the panel onto the floor.
-
-
-
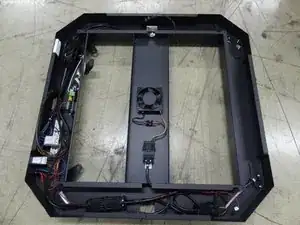
Remove the top panel from the roof
-
Note: Your top panel make look different. That means you have another iteration of the system.
-
-
-
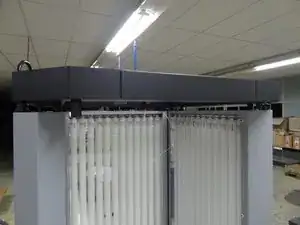
Lift the roof on top of the wall panels (the display should be above the rear panel)
-
Align the panels with the roof and insert long M8 bolts
-
Tighten the bolts to secure the roof (each panel requires four bolts)
-
-
-
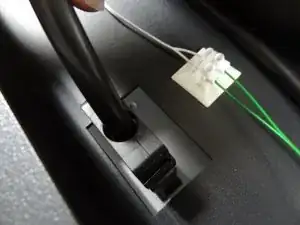
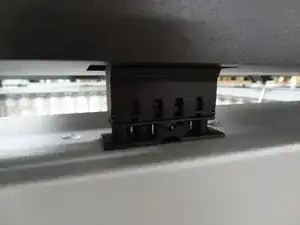
Click the connector at the roof for each panel in the corresponding socket at the top of the rear, left and right side panel
-
On the rear panel, push the grey flat cable carefully through the opening in the roof, and connect it to the CPU module (there is only one open socket on the CPU module).
-
-
-
Install the door (be careful: do NOT lift the door by the plastic door handle!)
-
If the metal pin is not in the door yet, you have to install it at the bottom of the door before proceeding.
-
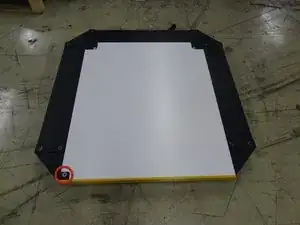
Align the metal pin at the bottom of the door into the teflon washer at the left side of the floor (see red marker in the photo)
-
-
-
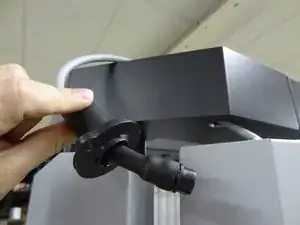
Straighten the door and push the cable at the top of the door through the round hole in the roof and through the round metal peg
-
Slide the round metal peg into the cable opening of the door, actually securing the door
-
