Einleitung
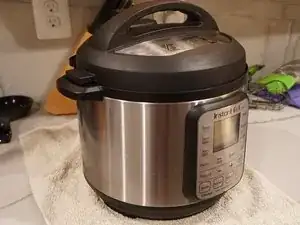
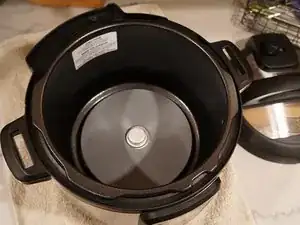
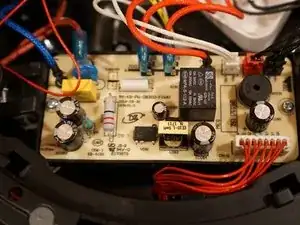
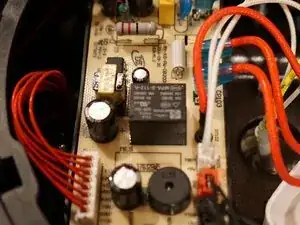
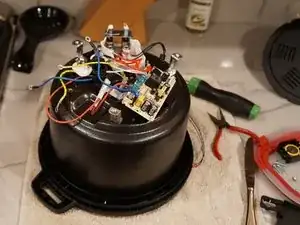
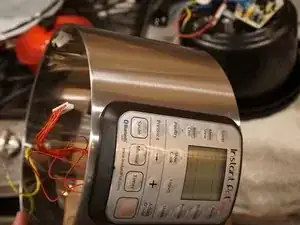
Key wiring photos of Instant Pot Smart 6 quart. Most useful if you first watch an older model repair video elsewhere.
Werkzeuge
-
-
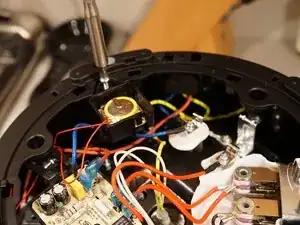
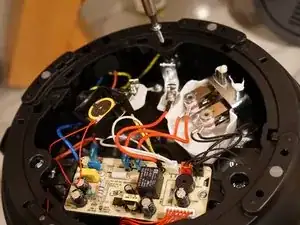
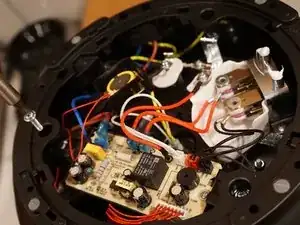
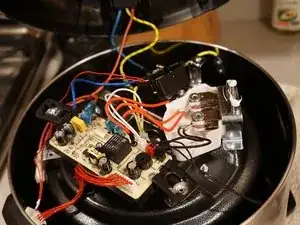
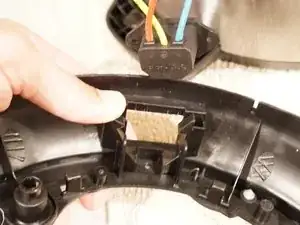
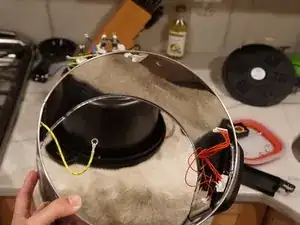
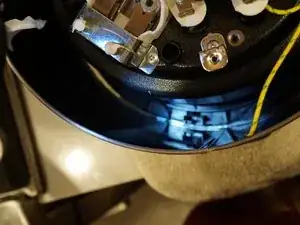
Black molex connector on top right must come out to remove the outer shell.
-
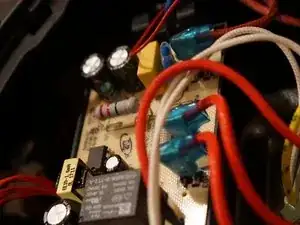
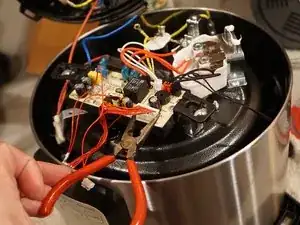
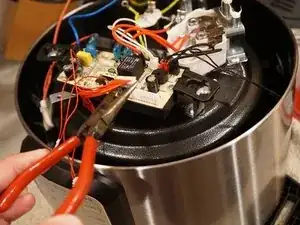
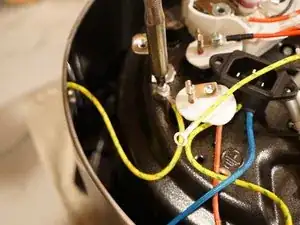
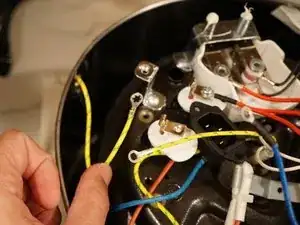
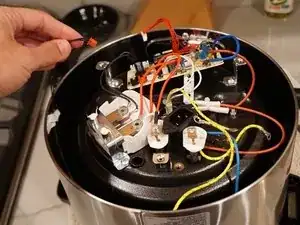
Red wire spring clips with blue translucent covers I was unable to remove safely, I suggest removing other ends of those wires if you need to remove the heating element plate.
-
-
-
I'm skipping removing heating element and nearby sensors, it's similar to other models. Search for Instant Pot repair videos for instructions.
-
-
-
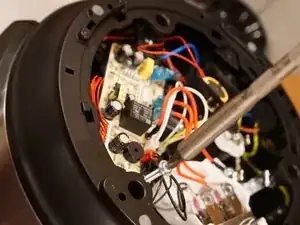
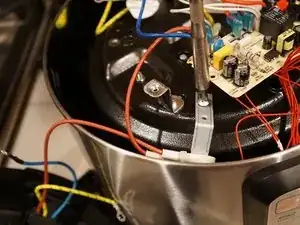
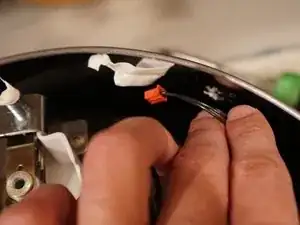
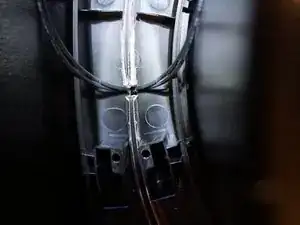
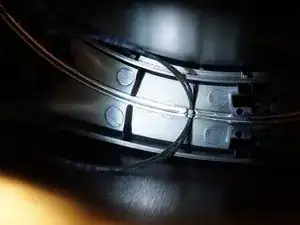
Pull lid sensor wire up, re-tape to inside of outer shell.
-
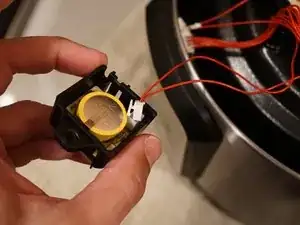
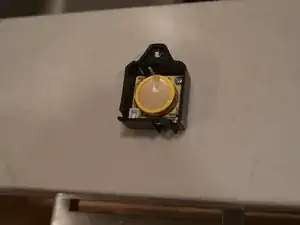
Battery replacement, you should remove the screw and pull the mini circuit board holding the battery before attempting to swap batteries.
-
To reassemble your device, follow these instructions in reverse order.
2 Kommentare
If the outer shell is dented but panel is functioning is it safe to operate the instant pot? looks like it moved a bit in the box in shipment, no visible damage to the pot just the to the aluminum shell
Mine is dented and it should be totally fine. As you said, the pressure vessel is separate from the outer shell, so there are no safety concerns. Just asthetic. I wish there wasn't this gap of air between the pressure vessel and the outer shell, or, I wish the shell was a bit more durable as it's VERY easily dented.
Kuake Ye -
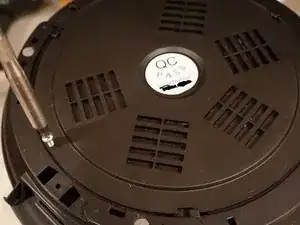

You’ll need a T15 bit
Terrance Kennedy -