Einleitung

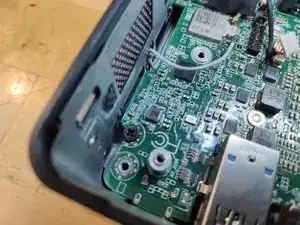
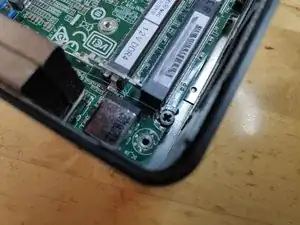
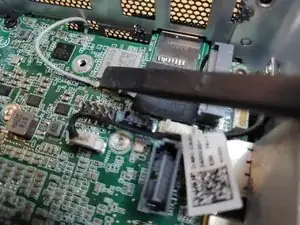
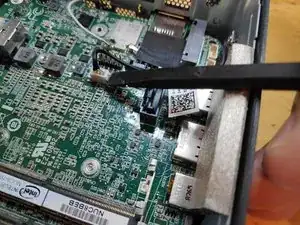
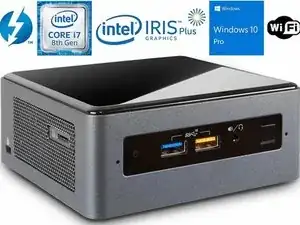
Diese Anleitung zeigt dir, wie du den Intel NUC8i7BEH zerlegst. Du kannst diese Anleitung auch benutzen, wenn du einen anderen Intel NUC mit der gleichen Bauform hast.

  1. iLv2KjMvmsEfKi3Y
    iLv2KjMvmsEfKi3Y
    cWkGXg56xnc1GGM2
    ElVf2YnFFoXJ3ODF
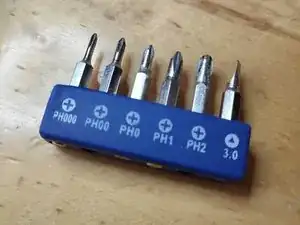
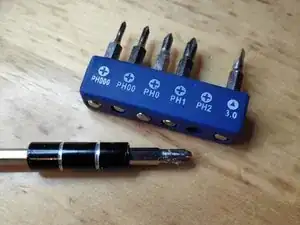
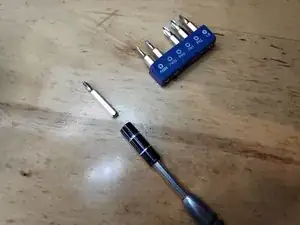
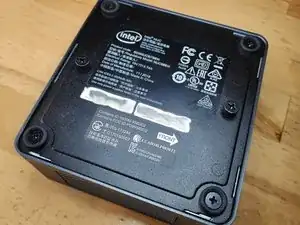
    • Stelle den NUC auf den Kopf, um die Schrauben zu sehen, und suche einen PH2 Kreuzschlitzschraubendreher/-bit heraus.

  2. 5LXcETZhgCEBFtFI
    5LXcETZhgCEBFtFI
    yhK2wBwtjDRRugrU
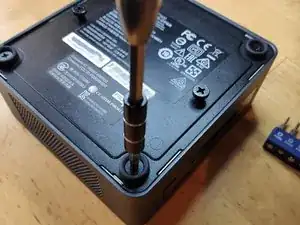
    • Lockere die unteren Schrauben an der unteren Gehäuseklappe mit einem Kreuzschlitzschraubendreher/-bit #2.

    • Die Schrauben können nicht komplett herausgenommen werden und werden daher auch nicht herausfallen, wenn du den Deckel aufklappst.

    What are the size of these case screws?

    Michael Lepore -

  3. bhndLRHUWyFtdiAA
    bhndLRHUWyFtdiAA
    QCAYcvFb6ruhUtpT
    Js5rdDRXVIdhWCDH
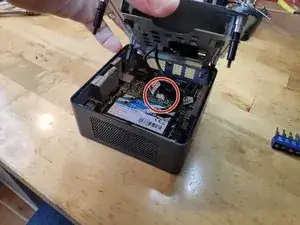
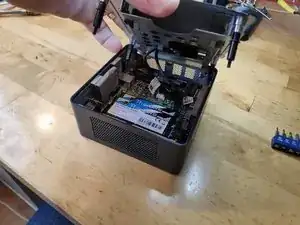
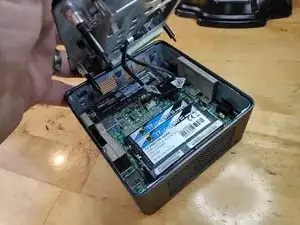
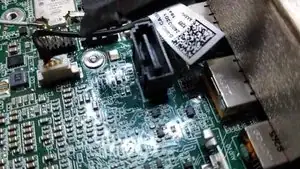
    • Hebe die Abdeckung leicht an und behalte die Kabel vom Motherboard im Auge. Diese Kabel sind für die Stromzufuhr und Dateiübertragung des 2,5" HDD Slots.

    • Trenne die Kabel vorsichtig vom Motherboard ab und lege die HDD-Halterung beiseite.

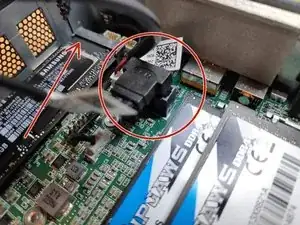
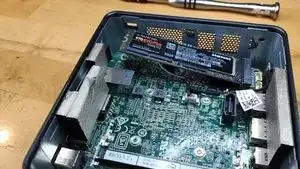
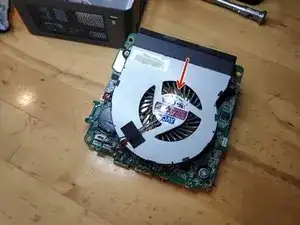
    • Auf dem letzten Bild ist der Steckplatz für eine SSD mit einem roten Pfeil markiert. Hier würdest du eine Blade-SSD einbauen und sie mit einer Schraube befestigen.

  4. YGPRvVCtYEhLU3Lt
    YGPRvVCtYEhLU3Lt
    asuqDIHLiiFmxoMX
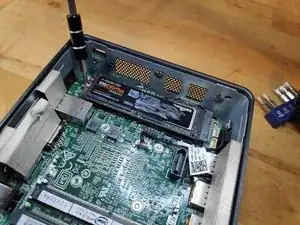
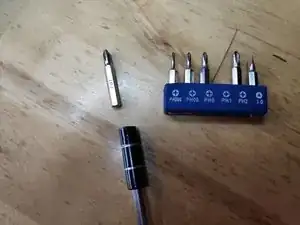
    • Wechsel zu dem PH1 Bit.

    • Schraube die V-NAND SSD ab und schiebe sie vorsichtig aus ihrem Anschluss.

  5. Vorheriger Schritt nochmal im Video.
    • Vorheriger Schritt nochmal im Video.

  6. MIpgTEX1mQENjsuu
    • Wechsel zu dem PH1 Bit.

  7. frD4VaxFk5pt4o16
    frD4VaxFk5pt4o16
    4EXFJdxOJKpMDNDC
    IwkjojFXbgxpK2GU
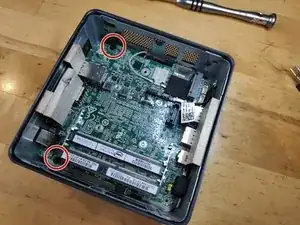
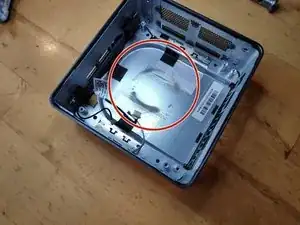
    • Entferne die auf dem Bild rot umkreisten Schrauben.

    Hello, may I know what is the screw size? I already stripped mine so I'm trying to get a replacement screw when I have the stripped out. Mine was stripped and cannot get it out. Can you please help me? I've already used the rubber and glue method but no luck.

    Fitri Suhaimi -

  8. bXN2KelA6UENepsV
    bXN2KelA6UENepsV
    dJAAGRBCACvZLIsX
    ejDFmgh1Q1KhFLJI
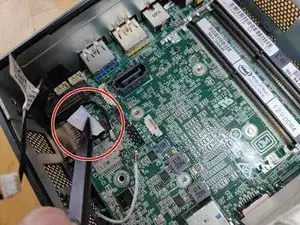
    • Entferne die WiFi- und Bluetooth-Antennenkabel. Sei dabei äußerst vorsichtig, da sonst der Anschluss vom Motherboard beschädigt werden kann.

    • Trenne das Stereo-Mikrofonkabel vom Motherboard.

    • Achte auf das WiFi-Kabel, das unter einem schwarzen Stück Klebeband versteckt ist.

    Remove WiFi an Bluetooth antenna Cable very carefully. Terminals can be ripped of easily.

    Christian Reinhold -

    very true, I’ll add it to the guide

    Vladimir Knobel -

    Added to the step in the guide, thanks for pointing that out!

    Vladimir Knobel -

    Note that the WiFi and Bluetooth antenna cables lift/pull off vertically (not slide off horizontally, as I presumed from the photo). They are circular connectors with a pin in the middle. Getting them off was okay (I actually used tweezers), but it was fiddly work trying to push them back on.

    Carl -

  9. Trenne das Mikrofonkabel ab.
    • Trenne das Mikrofonkabel ab.

  10. Entferne die Schutzpolster von den Seiten.
    • Entferne die Schutzpolster von den Seiten.

  11. iieAfEfVcF1664xQ
    iieAfEfVcF1664xQ
    canT2xLG6FaTCVcD
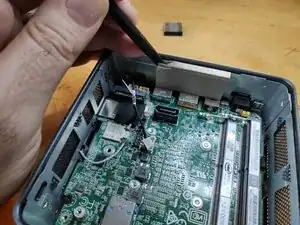
    • Nicht alle Polster sind zwingend notwendig, nur die beiden Polster auf dem letzten Bild sind wichtig.

  12. tOgKIPOLBLUM3Q23
    tOgKIPOLBLUM3Q23
    J6onfbukKHgZMbNn
    pHZ6AT6LBiErPDil
    • Heble das Motherboard mit einem geeigneten Tool (Plastik) aus dem Gehäuse.

    • Rot eingekreist sind die Anzeichen von Staub, die sofort zu sehen sind.

    Amazing! Could replace the fan. Have also removed the 4 screws of the heatsink , and renewed the thermal paste underneath it. That was necessary. It was dried out. THANKS!! It works like new: no overheating anymore. A lot faster.

    lutgart.schreyen -

    The key for getting the motherboard is to move apart very firmly the two opposite sides of the metal casing, so as to let the connectors move down.

    Jan Drouaud -

Abschluss

Um dein Gerät wieder zusammenzubauen, folge den Schritten dieser Anleitung in umgekehrter Reihenfolge.

Vladimir Knobel

Mitglied seit: 27/03/14

2112 Reputation

7 Kommentare

I’ve awarded the 30 points because these how to in steps are just great. One little critic, having read other stuff I understood the later models had greater risks of breaking things because of the more complicated wifi and mic cables, and these steps could have been better explained, like do the wifi cables plug in or slide off a splade like connection, and what can I use as a pry tool from around the house. These are the frightening steps to someone who has not done this unit before, while just about everything else isn’t much different to opening and taking parts out of a laptop.

Marlon Kirby -

Thank You, I was having fan noise issues with my NUCi7BEH and was trying to figure out how to pop the MOBO from the case.

This guide was fantastic, loads of dust collected on the heat sink, clean air and it seems to be running great now.

Ave temp before this clean out was 65ºC but would spike from 90-100ºC under any load at all, even the VMs just spinning up.

Now after clean, all is good, temps idle sitting at around 35ºC now and under load about 70º C. Huge difference.

Big Thanks to Vladimir for making this wonderful guide.

Alan -

Thanks, Vladimir Knobel, for putting together this excellent instruction with video and pictures. I used it to remove and replace my fan. I greatly appreciate it!!
Jeff Humpton -

merci, ça m’a bien aidé et j’espère avoir résolu ce pb de ventirad, j’ai pu dépoussiérer. encore merci.

contactsebastien -

thanks for all ! Experienced pb with my Intel® NUC Kit NUC8i5BEH : CMOS battery failed. Everything is ok now thank you for all the screens and videos very good tutorial to disassemble and check the problem

Regards Raph

Raph GLC -

Thanks Vladimir, very clear.

I love my NUC. About 6 years old and trouble free; except now. Going down with the message overheating.

It will boot OK and heats up quickly and goes down in 10 to 15 minutes.

Hoping its something simple like dead fan.

Regards, Robert

Robert TURKINGTON -

I can't fix things like that. My machines broke down when I touched them.

iscribble

bowman wise -