Einleitung

  1. XBTwtkjG1lcT1WjD
    XBTwtkjG1lcT1WjD
    iCpiKSSkSm1v5xvp
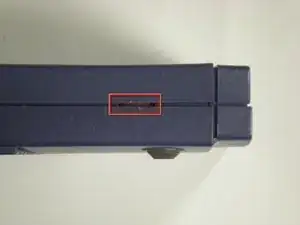
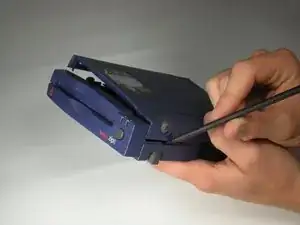
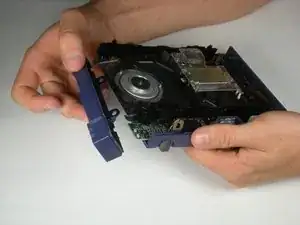
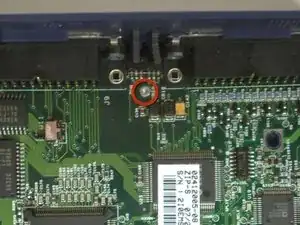
    • Push in the plastic tab that can be seen through cracks in the front left corner using a spudger.

  2. ROypR1xFGnXoSBUK
    • Move down the same side and push in the plastic tab.

  3. RTEBVUZwLOUuANWB
    • Move to the front right side and once again push in the plastic tab.

    • There is not a fourth tab to push in after this one.

  4. OKL2KDgaesLbIfn2
    OKL2KDgaesLbIfn2
    nRHTqDX4eOuQNeNR
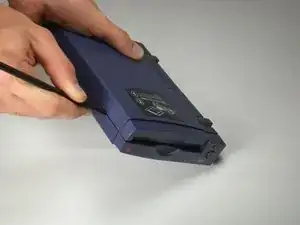
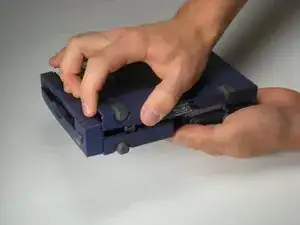
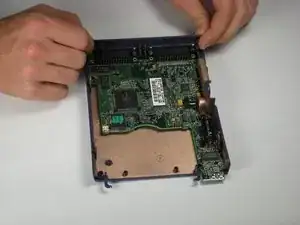
    • Grab the cover by the front side and pull upwards.

    • You might encounter some resistance. Pull firmly, but don't yank it.

  5. MQhU1ufBL2g4VWP2
    MQhU1ufBL2g4VWP2
    Yv6UJXC5y3dhEPLJ
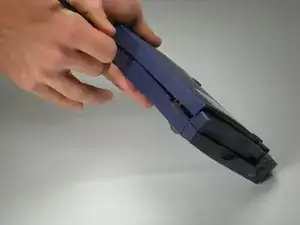
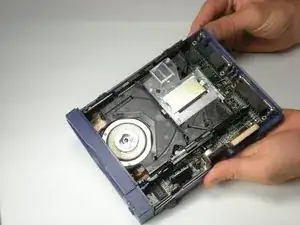
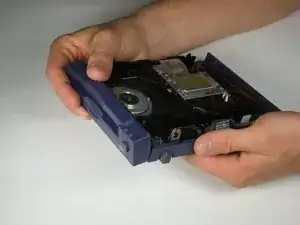
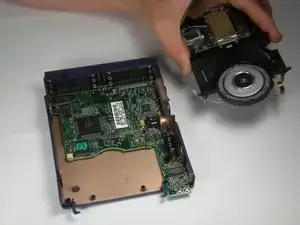
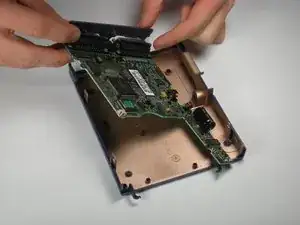
    • Tilt the front case down until the pegs detach from the bottom of the case.

    • Lift up and outward.

    • The motherboard will be loose at this point.

    Easy button and status light repair:

    button and plastic piece both need just 2 tiny drops of super glue.

    Donald Fournier -

  6. C5ptDnq53PMPFAPF
    C5ptDnq53PMPFAPF
    2SILY2bEJGdCFWXE
    • Unhook the two springs from the front plastic hooks.

    • The black side rails of the reader should easily slide forward and off.

  7. BDn3JtQGE2ANvFvC
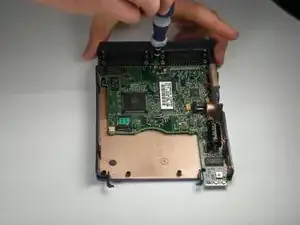
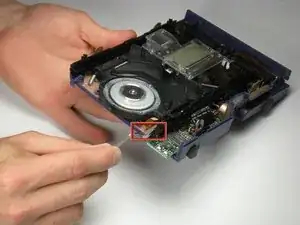
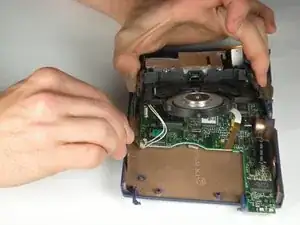
    • There is a white tab connected to the motherboard. Pull it upward by gently rocking it back and forth.

    • The tab does not come completely out, it only slides up slightly, so don't rip it out!

  8. fqZlAMWCUQnHi2Md
    fqZlAMWCUQnHi2Md
    tXiofMrwDjRp4Tsc
    • Grab the reader by its sides and gently pull it upward.

    • There are two wires still connected to the bottom of the reader that haven't been detached.

  9. AyyyibED2bG6WOPs
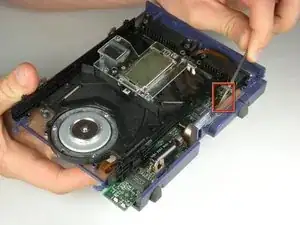
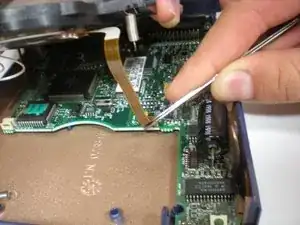
    • Disconnect the white wires by using tweezers to gently pull the bottom connector toward you.

  10. vWPhG2NFlCL2S3Cp
    vWPhG2NFlCL2S3Cp
    dXYRuZuFfUG1lMXm
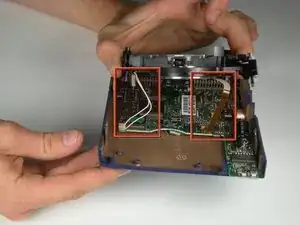
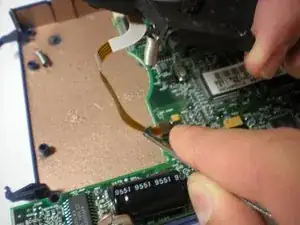
    • Disconnect the thin ribbon wire by using tweezers to gently pull the connector at the bottom toward you.

  11. 4Bs4p1WKNSlFT1bY
    • Lift the reader up and out from the device.

  12. WbAPhUqLM1YYvdq2
    WbAPhUqLM1YYvdq2
    OTdt1deh1ltEMrJ1
    • Use a T6 Torx Screwdriver to remove the 1.3 mm screw at the back of the motherboard.

  13. r6e5HgjTXjlJY3nE
    r6e5HgjTXjlJY3nE
    Mu1MCOZWdVpd2d26
    • Gently lift the motherboard and back case out from the bottom case.

Abschluss

To reassemble your device, follow these instructions in reverse order.

Ezery Kennedy

Mitglied seit: 05/10/10

288 Reputation

Ein Kommentar

how to fix the motherboard if booth leds stay lit when powering up?

ACIDGREEN TECHNO -