Einleitung

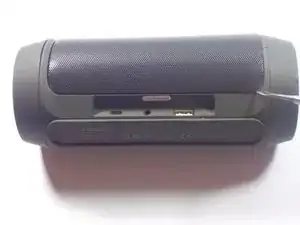
Hier wird der Austausch der Passivstrahler gezeigt.

  1. 3KpZyLZvWxGwjg6D
    3KpZyLZvWxGwjg6D
    qfMAKpuBBUkOSchQ
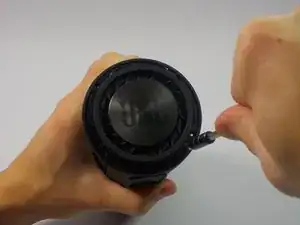
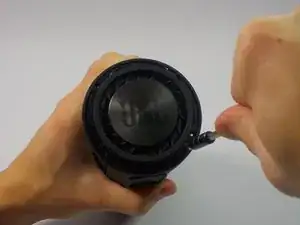
    • Beginne mit dem Spudger in der linken unteren Ecke den Grill von jeder der vier Ecken hoch zu heben.

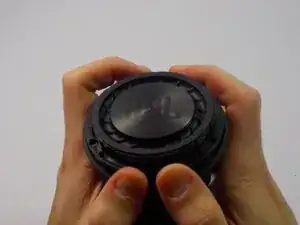
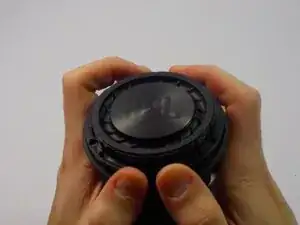
    • Folge den Anweisungen von eben, um den rückseitigen Grill zu entfernen.

    Test because my last comment disappeared.

    Debra Bainum -

    You might ONLY need to remove the back grille. Read the comments on the next step.

    nus.czm -

    Agree with comments above. All I had to do was remove the back grille to get to the plastic battery cover similar to comment above.

    Tim Pipkorn -

    Danke, das hat mir weitergeholfen.

    Ganz herzlichen Dank

    Michael Pauw 04.08.2021

    Michael Pauw -

  2. LgHo2yGC2CLSBQmX
    LgHo2yGC2CLSBQmX
    p2ojaSGyI2UF4CET
    1r13KCWgSExWZelE
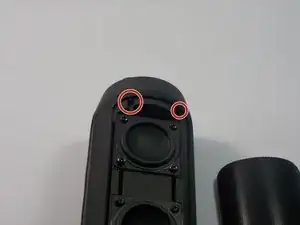
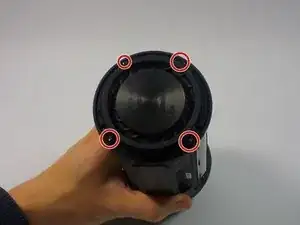
    • Löse die beiden 5 mm Schrauben, die den Subwoofer festhalten.

    • Wiederhole den letzten Schritt für die beiden Schrauben auf der Rückseite.

    no 5mm screws going into the radiator on my device

    Norman Ingham -

    I had the same issue. I managed to unplug the battery cable after removing the right front speaker

    Peter Karsten -

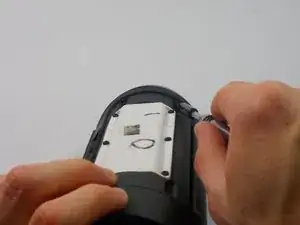
    I have the charge 2 + and only needed to take off the back grill. Then removed 6 smaller screws from a black rectangular cover, which turns out to be the battery cover! Then unplugged the battery and removed it. Many less steps than described in the steps here. Note I did NOT have to remove either round end.

    Debra Bainum -

    I did the same thing! Everybody should read your comment before attempting this whole process described below.

    You ONLY have to remove the back grille, and you will see the battery cover. Unscrew the small philips screws from the battery cover, then the whole battery cover can be removed.

    nus.czm -

  3. OE3okcRcMD2rWbLR
    OE3okcRcMD2rWbLR
    ZCNm3WBvSEQnRFQF
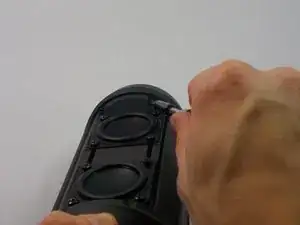
    • Entferne die vier Schrauben, die den Passivstrahler festhalten.

    also there are no screws that hold the passive radiator in place.

    Norman Ingham -

  4. 5JOospTwApwDNCxp
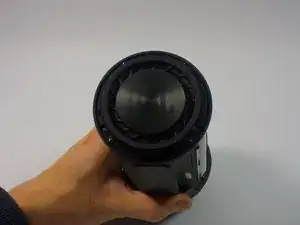
    • Lasse den Passivstrahler abspringen.

  5. LXeh2QPgwBBcW54R
    LXeh2QPgwBBcW54R
    MVOyNJMseYMRJuXm
    sERbyqJoXhSWuEaL
    • Wiederhole die Schritte 2,3 und 4 für den anderen Passivstrahler.

    No, you only have to disconnect the right passive radiator to get to the battery and plug it.

    Gabriel Dug -

    True. This step is unnecessary. You only need to pop the radiator under which the cables of the battery go.

    lukasz.kulbacki -

Abschluss

Um dein Gerät wieder zusammenzusetzen, folge den Schritten in umgekehrter Reihenfolge.

John Reynolds

Mitglied seit: 16/10/15

3030 Reputation

3 Kommentare

When charging my charge 2+ 4 LED lights are blowing but 5th one is not blowing , 5th one blows when Bluetooth is on that is when speaker is on . I don't know what to do please help mail at jomonjohny140898@gmail.com
Jomon johny -