Einleitung

The Clip 3 is IPX7 waterproof and offers up to 10 hours of playtime, powered by a 1000mAh rechargeable Li-ion battery. If the battery is not charging or holding adequate charge, the battery may require replacement.

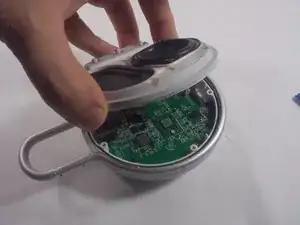
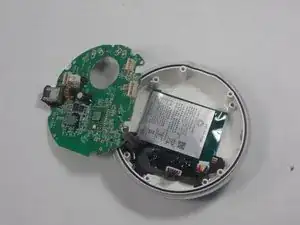
This guide will show you the step by step process of replacing a speaker battery for a JBL Clip 3. The process won’t be too difficult, requiring no special skills. Make sure to be careful when removing parts on this device, because they can be fragile.

  1. BOpGc6lTaVddjyCM
    BOpGc6lTaVddjyCM
    CBDVHEIwKLZZdQDZ
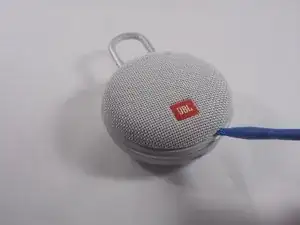
    • Insert the iFixit opening tool between the speaker grill and speaker housing and pry around the entire perimeter of the device until the grill releases.

    • A strong adhesive attaches the grill to the housing, and requires some time and patience to break. Use mild heat to loosen the adhesive if necessary.

  2. HdU4vrKWjkmoUv3j
    HdU4vrKWjkmoUv3j
    x5KDxtNd5PC1unXY
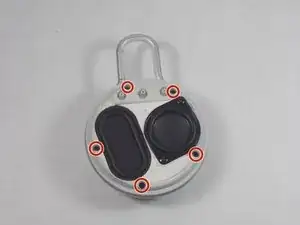
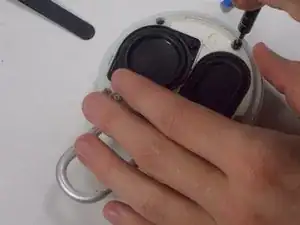
    • Use a Phillips #1 screwdriver to remove the five 6.3 mm screws around the perimeter.

  3. EgNqUvkMwuHOOLqO
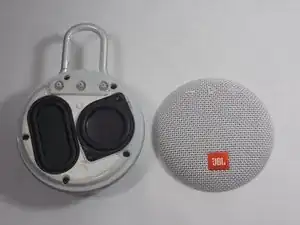
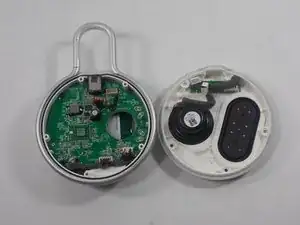
    • Separate the speaker housing from the rest of the body.

    • This requires minimal force; they are not glued together.

  4. QlGUcNlJZwq1uMXj
    QlGUcNlJZwq1uMXj
    6sAsMitOoVoDCbKR
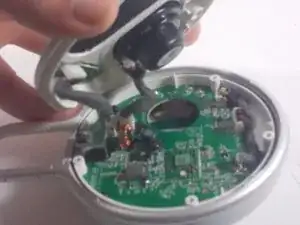
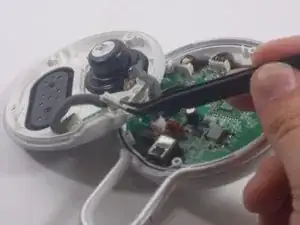
    • Use tweezers to remove the 2 pin and 4 pin connectors from the motherboard.

  5. iBIlM1OGdIpKGU2J
    iBIlM1OGdIpKGU2J
    FVPFqgZYmmROMqOK
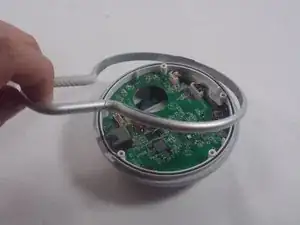
    • Lift the metal carabiner clip from the speaker housing.

    • They are not glued together and should separate easily.

    • There are alignment tabs on the clip so the whole assembly will only reassemble in one orientation.

  6. UjxCO2G4XdaogC1U
    UjxCO2G4XdaogC1U
    k4UiP1gHHBDfNaJs
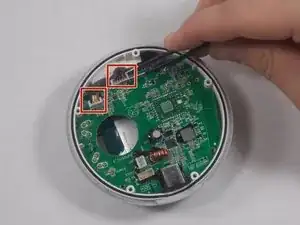
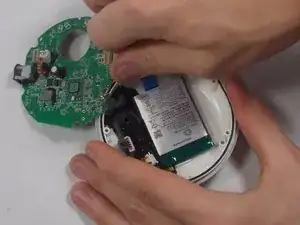
    • Use a pair of tweezers to lift the two cable connections from the motherboard.

    • The wires connecting to the battery are not very long, so be careful when removing them.

  7. CynfsCnTgVPOZAIU
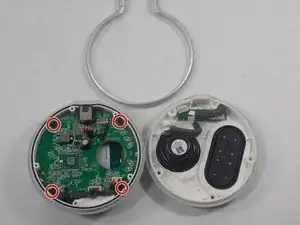
    • Use a Phillips #1 screwdriver to remove the four screws.

  8. ljE4MkSNGQgDCSRc
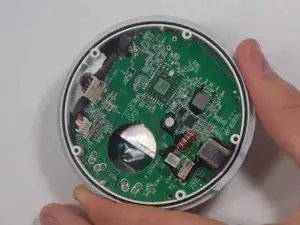
    • Gently lift the motherboard away from the speaker housing.

    • Be wary not to unseat the soldered connections when lifting the motherboard.

  9. trq1Tj14dTjjNnTb
    trq1Tj14dTjjNnTb
    COh2mBT6F3BZWEsQ
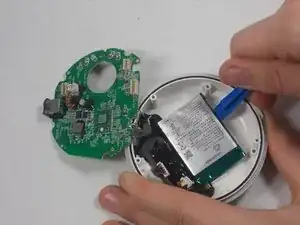
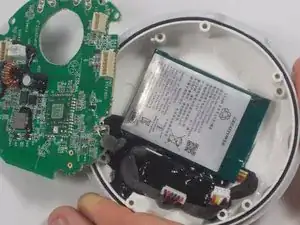
    • Use the opening tool to carefully pry your way around the battery, slowly lifting it off of the epoxy until it fully releases.

    • Be mindful not to puncture the battery. It is a Lithium cell, so there is a bit of risk involved when completing this step. Be careful and patient, and there will not be any complications.

    • During reassembly, remember to superglue the new battery back into place.

Abschluss

To reassemble your device, follow these instructions in reverse order.
Kyle Montague

Mitglied seit: 28/03/22

214 Reputation

0 Kommentare