Einleitung
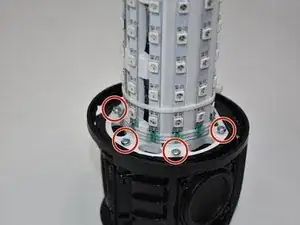
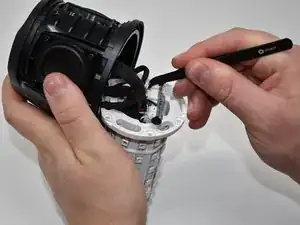
The LED light display is located on the inside of the JBL Pulse 3, under the outside casing. It LED light display is lined with LED light strips along the circular base.
Werkzeuge
Ersatzteile
-
-
Lay the JBL Pulse 3 on its side as shown in the picture.
-
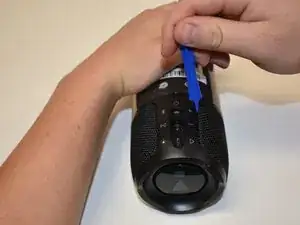
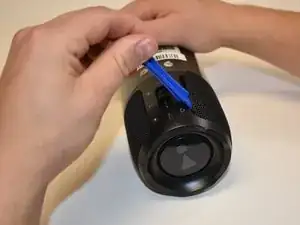
Use a plastic opening tool to lift the top right corner of the speaker grill. A small amount of force is necessary to remove the grill.
-
-
-
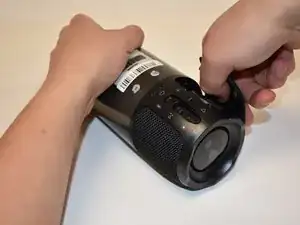
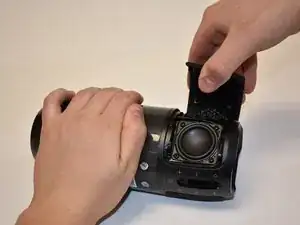
After pulling the right side of the grill off, place thumb underneath grill as shown in the picture.
-
Lift and pull straight out to pull grill off the posts.
-
-
-
Repeat steps 1-3 for the left side of the speaker grill on the JBL Pulse 3. The speaker grill should now be completely removed from the JBL Pulse 3.
-
-
-
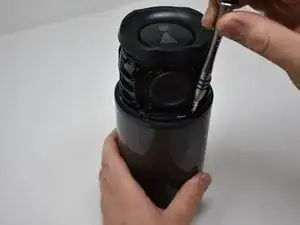
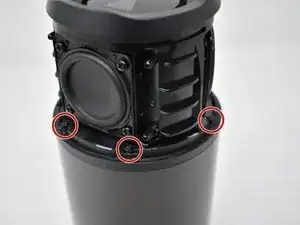
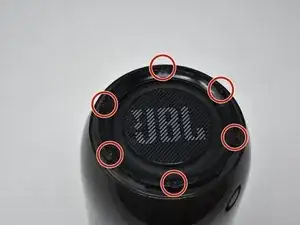
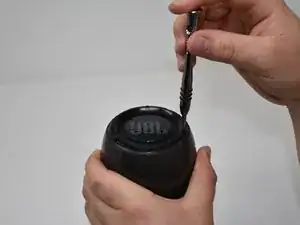
Use a Phillips #00 screwdriver to remove the six black 6mm screws on the inside of the top of the bottom section.
-
-
-
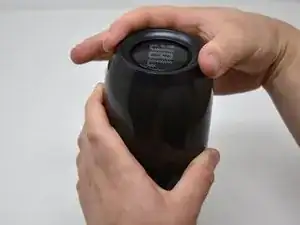
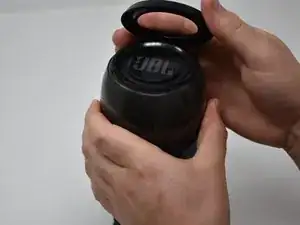
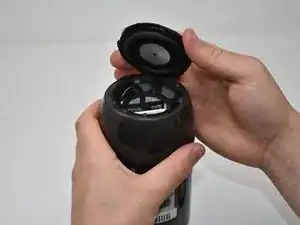
Turn the JBL Pulse 3 right-side up and unscrew the top ring of the device. A small amount of force and/or a cotton cloth may be necessary to remove this piece.
-
-
-
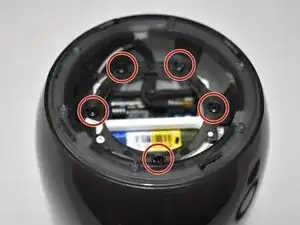
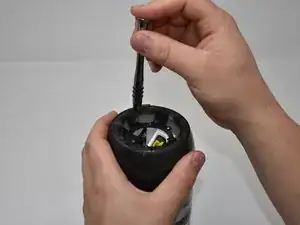
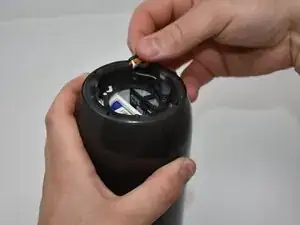
Remove the five 7mm screws on the inside of the JBL Pulse 3 with a Phillips #1 screwdriver.
-
-
-
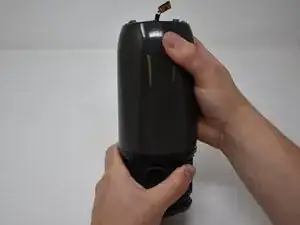
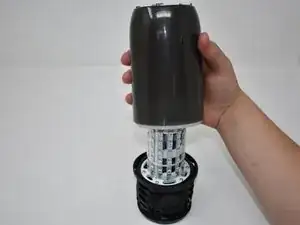
Pull the top section of the JBL Pulse 3 up. The outside casing to the JBL Pulse 3 should now be removed.
-
-
-
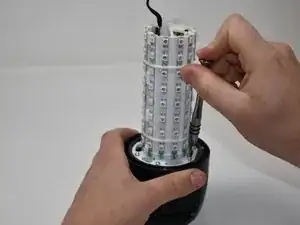
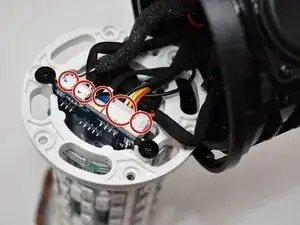
Use a Phillips #2 screwdriver to remove the six 11 mm screws that circle the bottom of the LED light display.
-
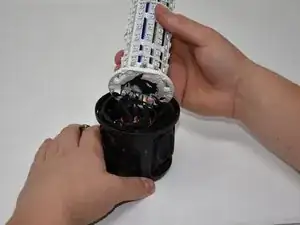
Pull the LED light display off of the JBL Pulse 3 base.
-
To reassemble your device, follow these instructions in reverse order.
