Einleitung
The credit for this fix goes to these posters on AudioKarma: https://audiokarma.org/forums/index.php?...
These little micro-systems give great sound quality and a well worth buying on eBay!
Werkzeuge
Ersatzteile
-
-
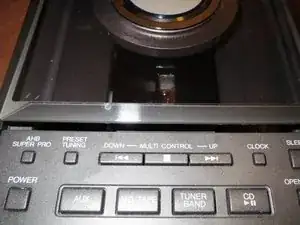
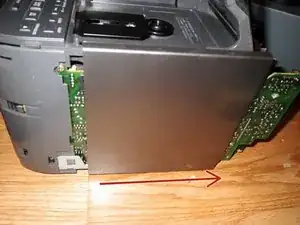
When you press the eject button the cover will open a little as shown in the photograph, if you assist it slightly it will open the whole way. Pressing eject or play to close it will cause it to close normally.
-
-
-
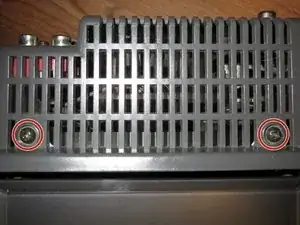
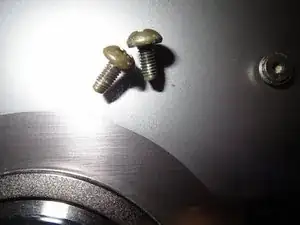
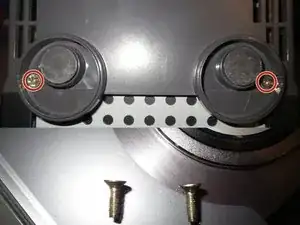
Remove the two screws on the top of the back cover. The second photo shows these 2 screws which have a fine thread and screw into metal.
-
-
-
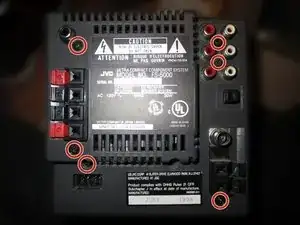
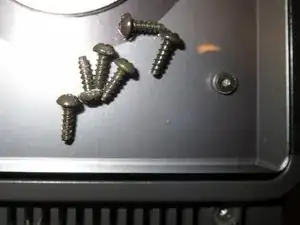
Remove the six screws from the rear of the case as shown in the 1st picture, screw tye show in the second.
-
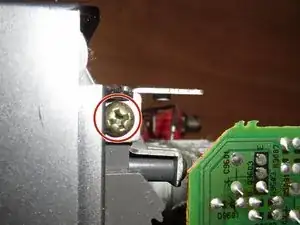
Finally, remove the two screws from the rear feet on the underside of the unit. Positions and score type is shown in the third photograph.
-
Now is a good time to plug in the power cable and raise the unit's lid, if you do not want to do this with the covers off.
-
Now just pull the rear cover off, it will expose a big aluminium, heatsink.
-
-
-
Remove the screw at the top of the Left side panel (viewed from the back/on the side of the speaker connectors).
-
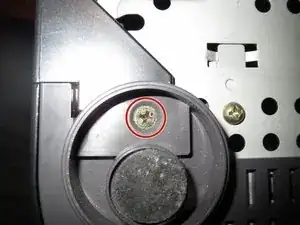
Remove the screw from under the front foot on the side you are removing. the side cover will now be free to slide backwards and off as long as the lid is up.
-
-
-
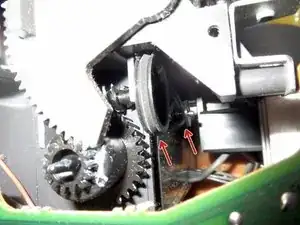
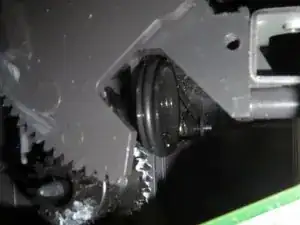
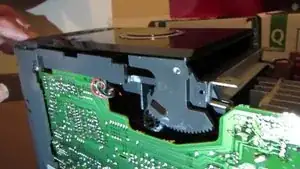
With the CD cover open and the side off, you will see the drive mechanism. The old belt has stretched and lost elasticity over time and is now slipping. That is why the cover will not open without assistance.
-
You can pull the old belt off the larger wheel on the outside and it will come free of the drive wheel.
-
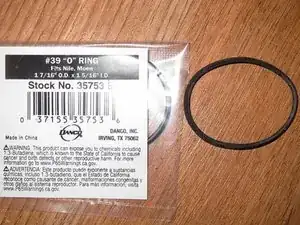
The old belt is a square belt you will be replacing it with a round Danco #39 "O" Ring.
-
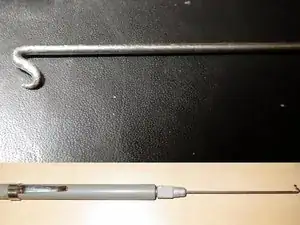
Place the "O" Ring in the centre of the large driven wheel and use a Spring Hook similar to the one shown to push the opposing side of the "O" Ring in and over the drive wheel, pull the spring hook down to disengage it and the "O" Ring will now be in place ready to work!
-
-
-
Video of the new belt working. Once you fit the belt you should just re-assemble as you can see the new belt will work great!
-
To reassemble your device, follow these instructions in reverse order.
