Einleitung

Soldering skills are required to replace the battery in this device. Check out iFixit's Soldering Skills guide for more help.

  1. eCHEBPLi2wtQHbcP
  2. RnSV3w3RkQ4WvFMH
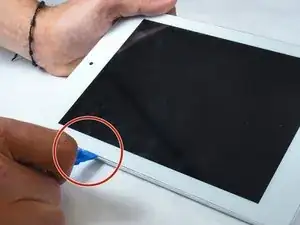
    • Pry the back case off using the blue Plastic Opening Tools. Work one along the seem until you can get your fingers under to pull it apart.

  3. j11YWnpubVLltWyH
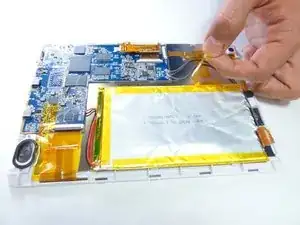
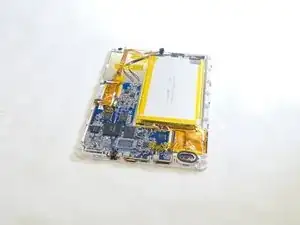
    • Remove the yellow tape from the sides of the battery, and the surrounding components.

  4. kWWMreqPTiXdXInt
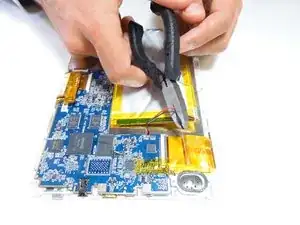
    • Cut the pos(+) and neg (-) wires that connect the battery to the device using wire cutters.

    • Cut the wires towards the middle. During installation of your new battery these wires will be stripped back and soldered or crimped to reattach.

  5. UfPJP55l5OBr21sS
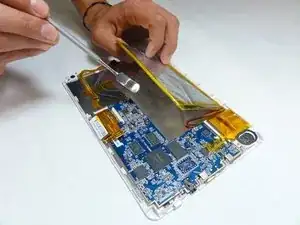
    • Using a plastic opening tool or spudger, slowly pry the battery away from the board.

    • The battery is secured to the device with adhesive.

    • Metal spudgers can puncture an unprotected battery, potentially causing a fire. When working with electronics, it's important to choose a tool that's ESD-safe to avoid accidental damage to the device. The regular black nylon spudger or a plastic opening tool should be used whenever possible.

  6. YkDRxXSwLhOSbqYK
    • Use a two sided adhesive to secure the new battery in place.

    • Solder or crimp the wires back together to reattach to the motherboard.

    • Replace any yellow tape that you removed at the beginning to secure the wires back in place.

Abschluss

To reassemble your device, follow these instructions in reverse order.

Cory Hodge

Mitglied seit: 14/09/15

201 Reputation

Ein Kommentar

Very good instructions.....but where do I buy the repkacement battery from?
fremontmyers -