Einleitung
It is very common to damage a display on a digital device. The following guide suggests a method to replacing a broken touchscreen. The following procedure is easy to understand, and it has been written to assist you in replacing your display at home.
Some of the tasks will include: Removing the broken screen fragments (this is where you may need the heat gun), removing any digitizer cables that may be attached to your function buttons, replacing the two sided contact, replacing/re-connecting your digitizer cables, and finally re-installing your new digitizer Screen.
Werkzeuge
-
-
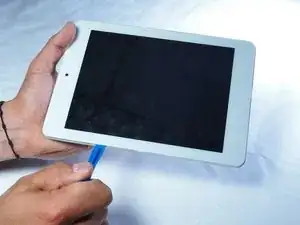
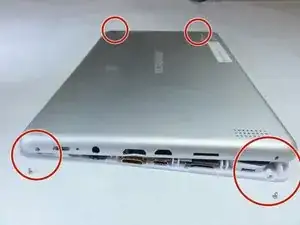
Pry the back case off using the blue Plastic Opening Tools. Work one along the seem until you can get your fingers under to pull it apart.
-
-
-
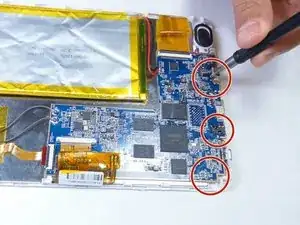
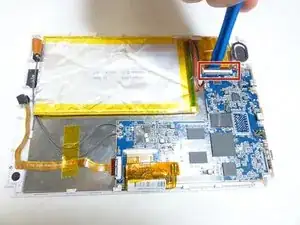
Using a plastic prying tool, lift open the latch that secures the ribbon cable next to the speaker.
-
Pull the ribbon cable out of its connector on the motherboard.
-
-
-
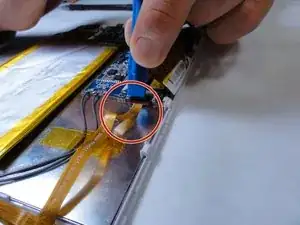
Use a plastic prying tool to disconnect the other ribbon cable from the motherboard. This cable belongs to the device's cameras.
-
-
-
Disconnect the large ribbon cable from the motherboard. Do this by unlocking the tabs on each side of the connector.
-
-
-
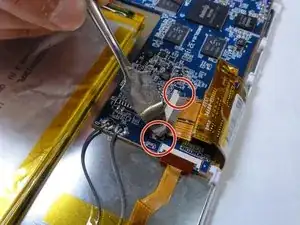
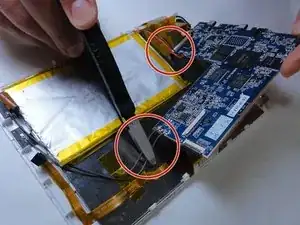
Snip the two sets of wires that are attached to the motherboard. Cut the wires as close to the board as possible. This will leave plenty of length to reattach the wires to the new board.
-
-
-
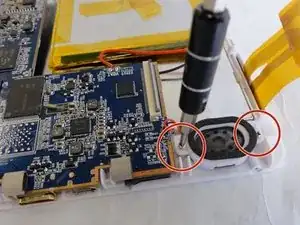
Remove the two screws securing the speaker using the Phillips #000 Screwdriver.
-
Remove the speaker and set it aside.
-
-
-
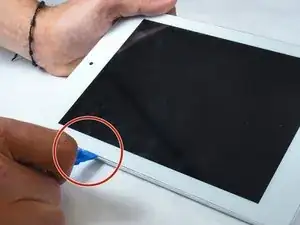
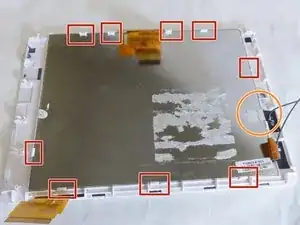
Carefully pry the display from the 9 white tabs that secure the display to the screen.
-
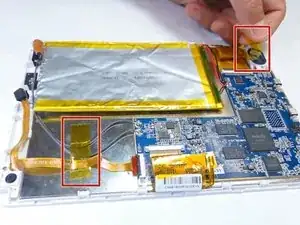
You may also need to peel back a piece of tape on one side to completely remove the assembly.
-
To reassemble your device, follow these instructions in reverse order.
Ein Kommentar
Are the internal components glued to the back of the display? Is it absolutely ne essay to cut the wires connecting the battery?
Rongwey -
