Einleitung
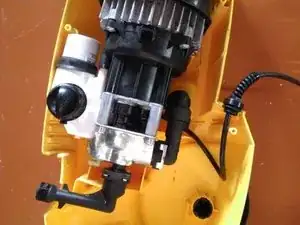
Please make sure you diconnected the hose and unplugged the power cord before attempting any case opening. Make sure the additional tank is emptied.
-
-
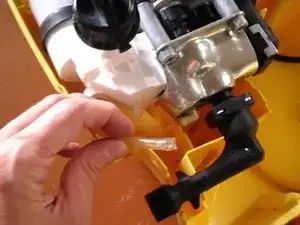
Disconnect the hose of the external tank.
-
Unsnap the power cord from the casing.
-
Release the high pressure unit from the housing.
-
-
-
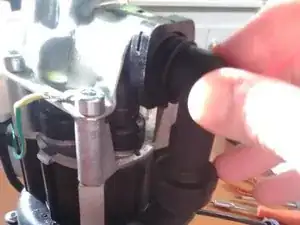
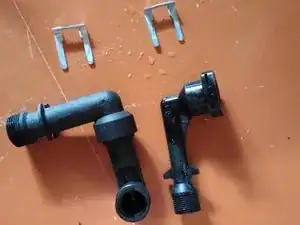
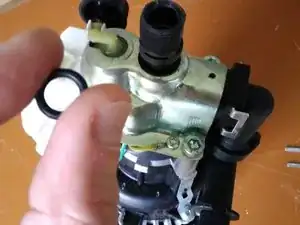
Pull the metal clips that hold the pipes in place with pliers.
-
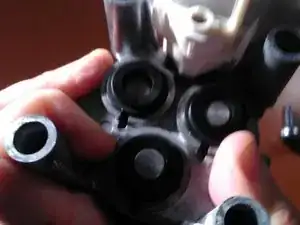
Once released, put the pipes and clips aside. Make sure you don't lose the seals.
-
-
-
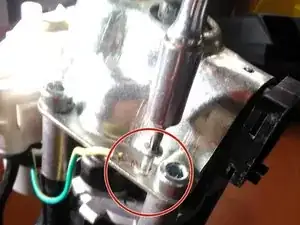
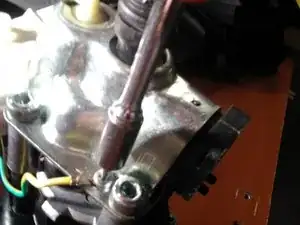
With the use of a Philips screwdriver release the earth connector from the metal flange.
-
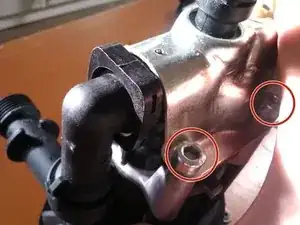
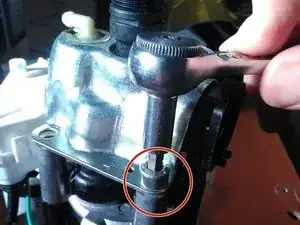
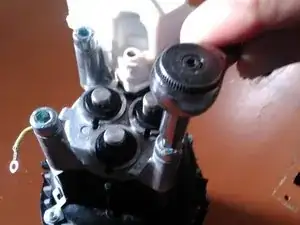
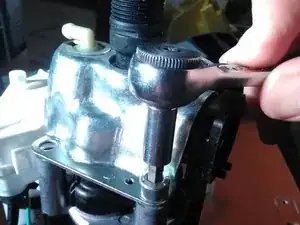
Carefully loosen each of the 4 screws that hold the flange attached to the high-pressure chamber of the pump.
-
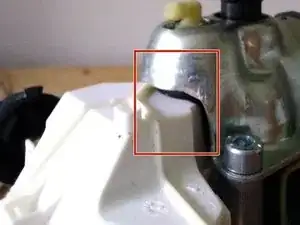
Before to completely release the flange and the head of the pump hold the flange firmly with your other hand or ask a friend for help. Springs inside the pump push hard.
-
-
-
Firmly hold the piston guidance.
-
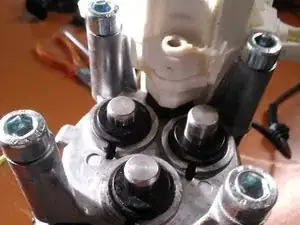
In order to protect the inside of the pump from dust, reposition the 4 screws to hold the piston guidance in place.
-
-
-
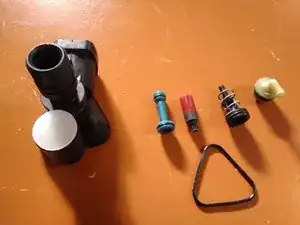
Check that you have in hand all these parts before to assemble the new head.
-
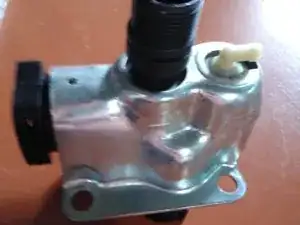
The spare part 9.001-216.0 : the head of the high-pressure chamber.
-
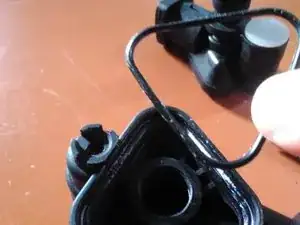
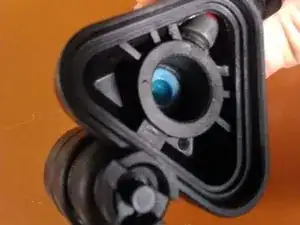
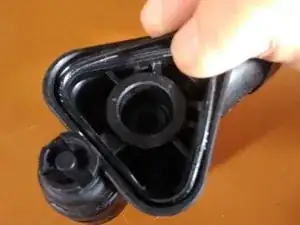
The triangle-shaped seal: this part has been previously removed from the to-be-replaced head.
-
The white pipe to connect the pump to the external tank: this part has been removed from the head to be replaced.
-
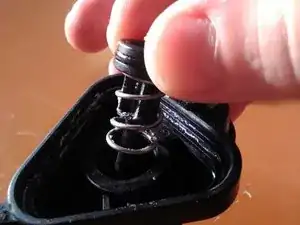
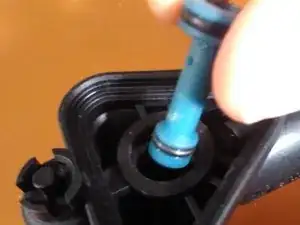
The control piston and its spring picked from the head to be replaced. The control piston acts on an external switch which electrically commands the start of the washer.
-
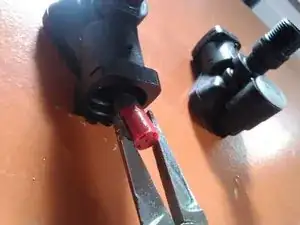
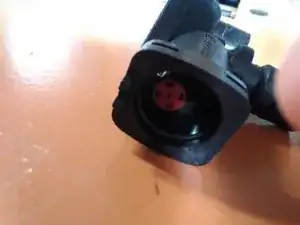
The red suction part retrieved from the head to be replaced.
-
The injector removed from the head to be replaced.
-
-
-
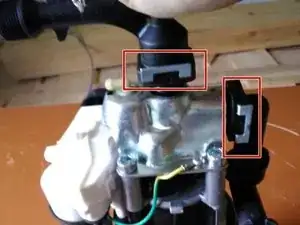
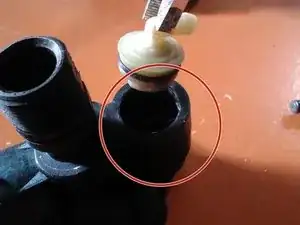
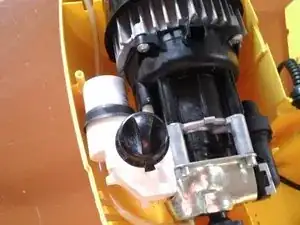
Insert the control piston into the hole circled in red.
-
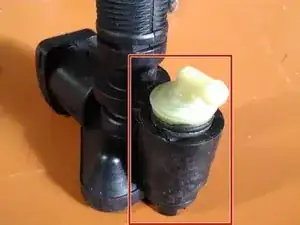
Place the cleaning material after inserting the control piston. The white pipe must be placed exactly in the same position as shown in the picture.
-
-
-
Put the metal flange on the head.
-
Retrieve the four screws that hold the pistons in place. The springs of the piston push hard outward: firmly hold them in place while you bring and put the head in place.
-
Start mounting two diagonally opposite screws.
-
Finish mounting the two other screws
-
-
-
Jiggle the electrical unit of the pump.
-
Stop jiggling the electrical unit after you hear a 'click'.
-
-
-
Make sure that the earth connection is screwed to the metal flange of the head BEFORE any electrical testing.
-
Only after that you may briefly test the start of the pump.
-
-
-
Make sure you did not lose the small-sized seal of the high-pressure pipe.
-
Remount the seal inside the pipe before remounting the pipe on the high-pressure unit.
-
-
-
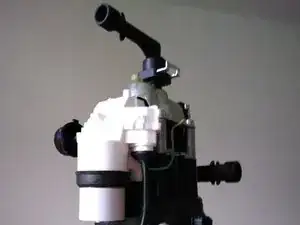
Place the pipes in the same position as shown in the pictures.
-
Push the metal clips to hold the pipes in place.
-
-
-
Carefully reposition the high-pressure unit into the casing of the washer.
-
It must fit gently into the casing . No need to force the fitting.
-
To reassemble your device, follow the instructions of the casing tear-down in the reverse order.
