Einleitung

  1. aCpdSAVbuSbmnWus
    aCpdSAVbuSbmnWus
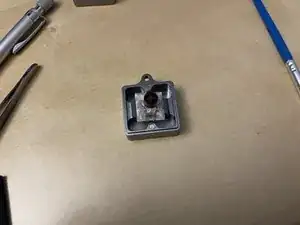
    qcFVEXEoPglh12H1
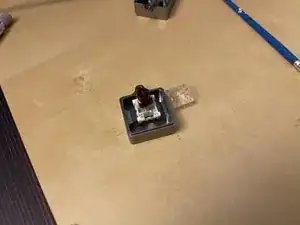
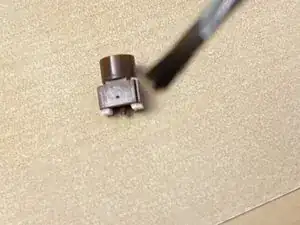
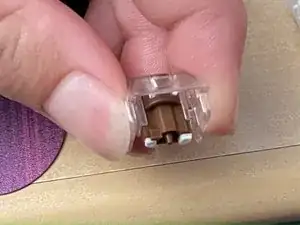
    • Use the kailh style opener.

    • Press firmly on both sides when lined up correctly.

    • Be careful to not pop off the protection cover, if it does pop off skip to step 10.

  2. Jxs3dgKtG2JNW3W6
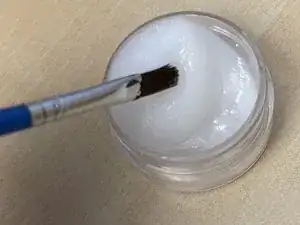
    • Dip brush in lube.

    • Use lid of the lube to take off most of the lube on the brush

  3. eD4UerFiUfgStWHh
    eD4UerFiUfgStWHh
    i6LnGgwN3i3J3fEP
    • Take you brush and twirl it around in the base.

  4. VQcIxamlbsRPWCkd
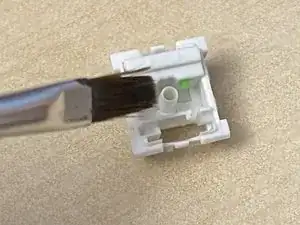
    • To preserve tactility only lube the back.

    • Lube in one or two strokes.

  5. CjAkAeJb6elDRdKW
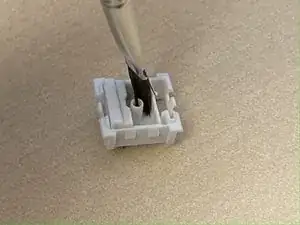
    • Lube the rails on each side of the cover.

  6. Qa1JafcEjOgR5AEN
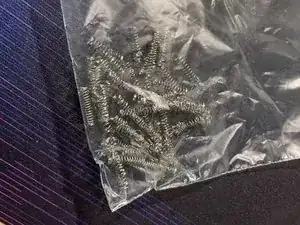
    • Put all the springs in a bag.

    • Add the liquid lube and mix it in with the springs

    • Then put them on a paper towel and separate them.

  7. K5MOlDNBjUHCfMWl
    K5MOlDNBjUHCfMWl
    GyUhxvZjTxZVx3qB
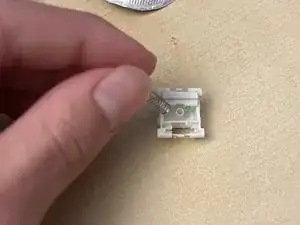
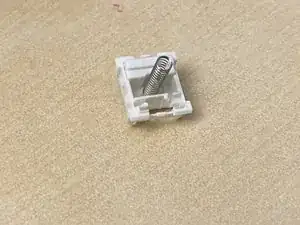
    • Insert the spring onto the protrusion.

  8. PTFe2HAtPIFSuhRv
    • Insert wisdom here.

  9. AJFByWryO4weCgcS
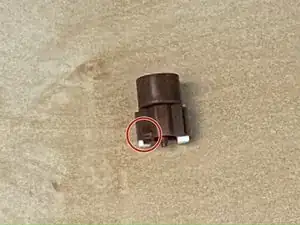
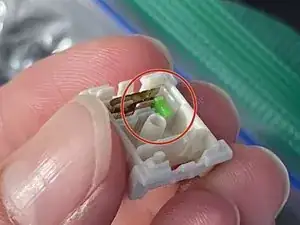
    • When putting it together face the bump of the stem towards the green push rod.

  10. GXURiJJMXB46mToL
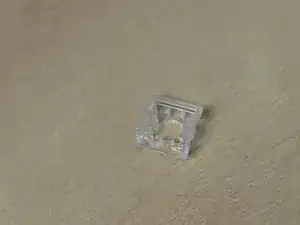
    • Use tweezers to put the green push rod into the position, and then put the protection cover over it.

Abschluss

To reassemble your device, follow these instructions in reverse order.
Ben raef

Mitglied seit: 23/10/21

241 Reputation

0 Kommentare