Einleitung
Werkzeuge
-
-
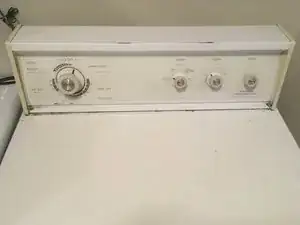
Remove the screws the hold down the control console. There is one screw on each side. The screws are #1 philips.
-
-
-
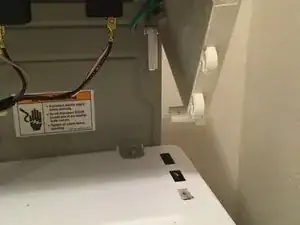
Slide the control panel forward in order to expose the control panel controls and wiring.
-
Note the tabs slide into the holes.
-
-
-
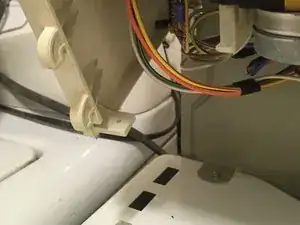
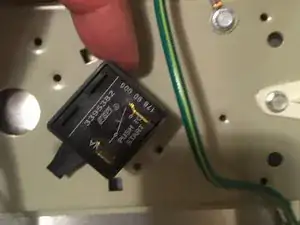
The start switch is in the right side of the exposed control panel.
-
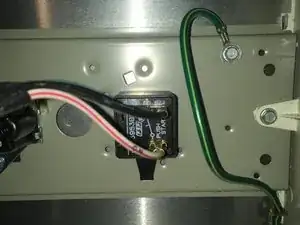
Remove the two wire clips from the tabs on the switch. Note black on top white/red on the bottom.
-
Lift the tab on the lower part of the switch and turn to the right to remove.
-


Abschluss
To reassemble your device, follow these instructions in reverse order.