Einleitung
This guide will explain the proper procedures on how to replace a faulty camera in this Kenwood device.
This may be necessary if you are receiving no signal from the camera, or if the proximity alert function of the dashcam is not working properly as it uses data from the camera.
Werkzeuge
-
-
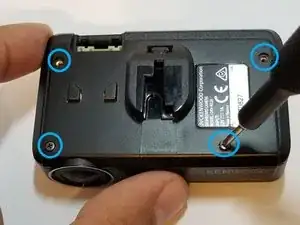
Remove the four 3mm screws from the back of the device using a Phillips #0 screwdriver.
-
Use a plastic opening tool to pry the back cover off of the device.
-
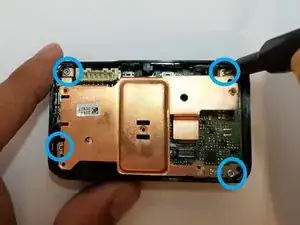
Remove four more 3mm screws from the copper plate immediately inside the device, also using a Phillips #0 screwdriver.
-
-
-
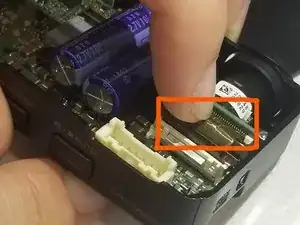
Use a spudger to depress the metal locking tab while gently applying pulling pressure to the cable.
-
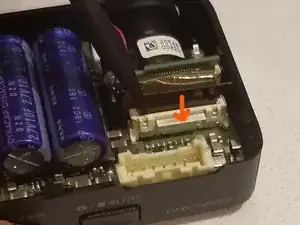
Remove the ribbon cable from the connector.
-
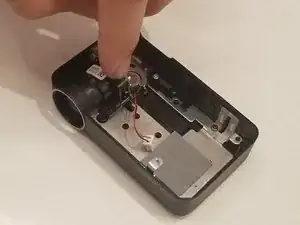
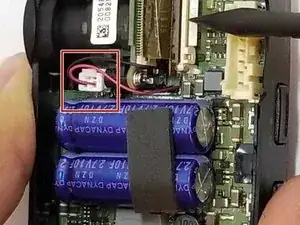
Then pull out the black and red wired cable from the connector.
-
-
-
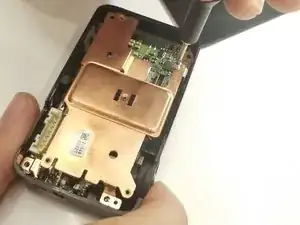
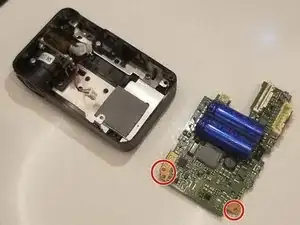
Remove the two screws from the corners of the wide end of the motherboard using a Phillips #0 screwdriver.
-
Lift the motherboard up and out of the device.
-
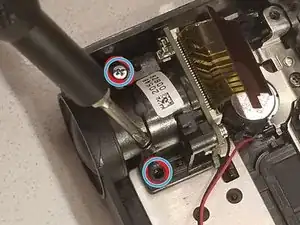
Remove the two 4mm Phillips #0 screws from the camera.
-
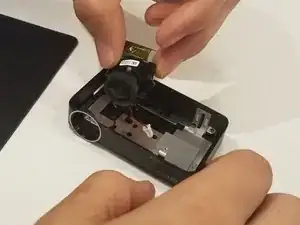
Lift the camera out from the device.
-
By the end of this guide you will be able to know how to replace your camera dashcam. For any other questions ,please refer to the troubleshooting page.
Again, you’re not following the appropriate style for your circles/bullets. We discussed this with the first guide.
John Lamothe -