Einleitung
First of this is my first guide. Second: I am NOT responsible for ANY damage done to your device. Your warranty has been void.
Werkzeuge
Ersatzteile
-
-
To do this repair you will need Hot Air, a Philips screwdriver, a guitar pick. Philips Screwdriver and Guitar Pick are included in Pro Tech Toolkit. I don't have hot air so I will use the hairdryer.
-
-
-
Now comes the part where you need to turn off the device completely before we disassembly the tablet.
-
After that continue to the next step.
-
-
-
BE CAREFUL! Just like an iPod, there are clips around the borders and sides, so get your guitar pick and gently move. If you hear clicking sounds these are clips that are getting loose.
-
If all clips are loose from the bottom insert the guitar pick and the backplate will come out. There you're inside!
-
-
-
We are getting to disconnect the battery and our digitizer cable.
-
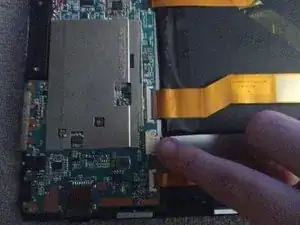
As on the photo (Where I'm showing my finger.) This is the battery plug. Remove the black tape that is covering. Save that for later if the adhesive is good.
-
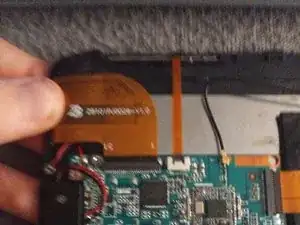
Also while we are the as I call "Rubbery cable city." The importance of this repair is disconnecting the digitizer cable. on the second photo on top, there is a big cable. Disconnect that. And here comes the hard part.
-
-
-
If you have hot air (I don't have it right now.) on bezels is where glue lives. It's 3M tape. So for a hairdryer that was a time-consuming process to have glue loose.
-
Insert the guitar pick in the bezel and make your side around.
-
BE CAREFUL! The glass that sits directly on display may break the display panel!
-
After you removed the digitizer, scrub off the remaining residue with vinegar or isopropyl alcohol. If the sides are clean continue to the next step!
-
-
-
First, before adhering the digitizer to the frame check at least it works. If your replacement part works then continue to the final step.
-
-
-
Now it's time to glue the panel to the frame. Some panels come with adhesive already on it. Peel off the strips of the tape.
-
And the final moment... Insert the cable to the top right corner to connect to the motherboard. Make the panel fit along with the rubber bezel. If you applied it successfully then congrats! To close the tablet read steps from the bottom of guide to top.
-
To reassemble your device, follow these instructions in reverse order.


