Einleitung
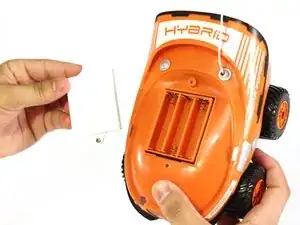
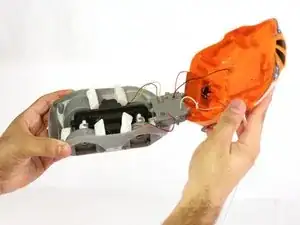
There are a few layers that you have to work through to get to the inside of the Kid Galaxy Explorer. There are screws on the top and bottom holding the Kid Galaxy Explorer together so if it is not coming apart do not pry it open; check for more screws.
Werkzeuge
-
-
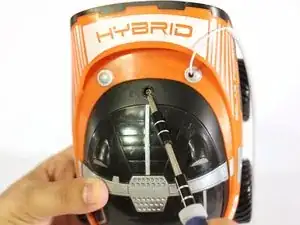
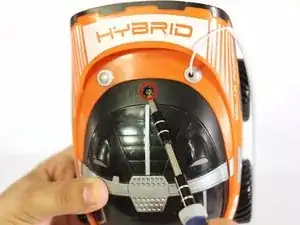
First, completely loosen the 9.6 mm Phillips #2 screw on top. There is a plastic washer that holds the screw to the top cover, so it will not need to be taken out.
-
-
-
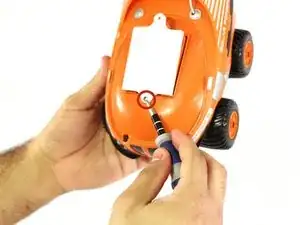
Completely loosen the 9.6 mm Phillips #2 screw from the battery cover. Once again, there is a plastic washer to hold the screw to the cover.
-
-
-
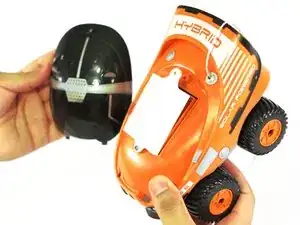
After the screw is loosened, lift the battery cover off the top cover to gain access to the batteries.
-
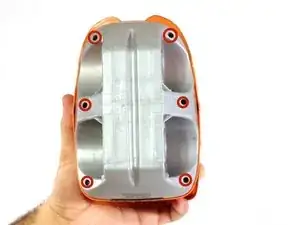
Turn the RC car over to reach the six screws on the bottom.
-
-
-
Remove the six 11.6 mm Phillips #2 screws on the bottom cover.
-
(Wheels are removed in this picture to clearly show screw location. They do not need to be removed for this step)
-
To reassemble your device, follow these instructions in reverse order.
Ein Kommentar
As i can see in the last image. There are some wires still connected with the outer cover. Could have shown couple more images how to get them off. Everything else looks great.
