Einleitung
You will need a small Phillips head screwdriver and a soldering device to complete this project.
Werkzeuge
-
-
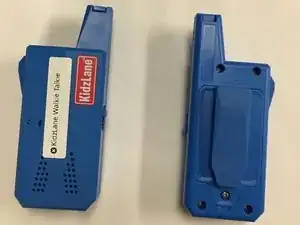
Place the Walkie-Talkie on a flat surface-preferably a table or a desk.
-
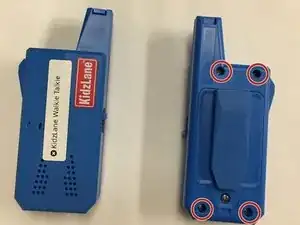
Flip the device over to where you see four screws in each corner.
-
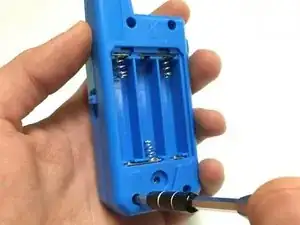
Make sure you take out the batteries before proceeding.
-
-
-
Once you have unscrewed all four corners, open the device so it will be in two parts.
-
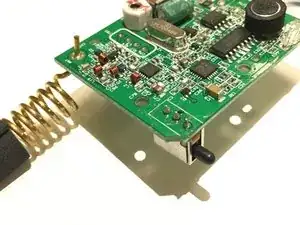
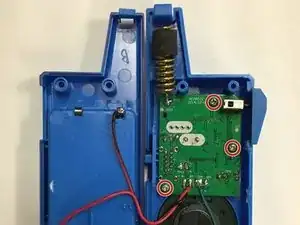
Taking the Phillips head screwdriver again, unscrew the three screws on the circuit board (green plate).
-
-
-
Take the circuit board out of the plastic casing.
-
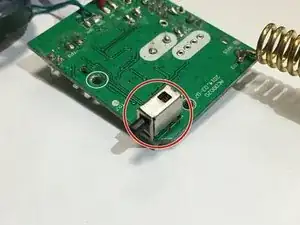
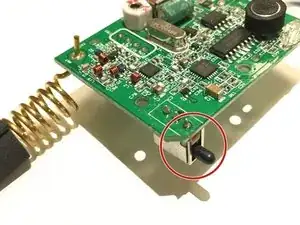
Use the soldering device to iron the silver box (press-to-speak button), and then remove it from the circuit board.
-
