Einleitung
Werkzeuge
Ersatzteile
-
-
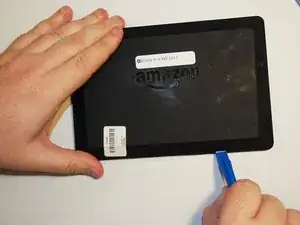
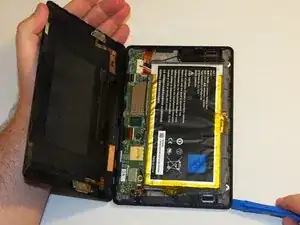
Open up the device by using a plastic opening tool in order to avoid damaging the device.
-
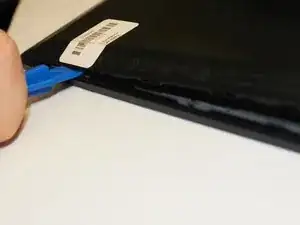
To do so, find the seam along the outer edge of the device and use the plastic tool to pry the back panel up. Doing so may take some force and patience.
-
-
-
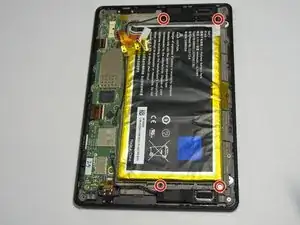
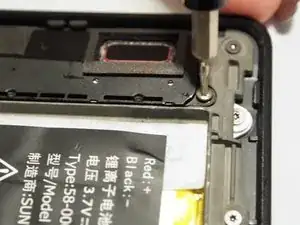
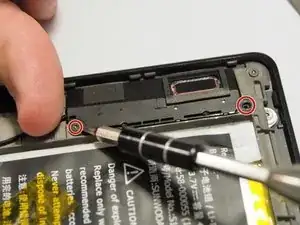
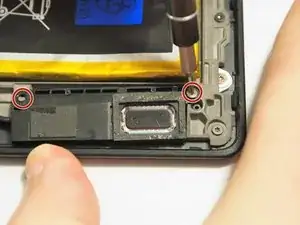
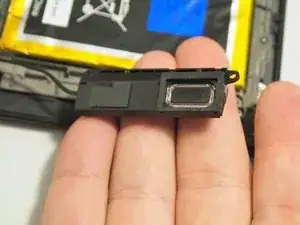
There are (4) 3mm T4 Torx screws between both speakers (two each). Remove the ones necessary for whichever speaker needs to be replaced.
-
-
-
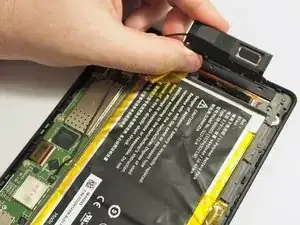
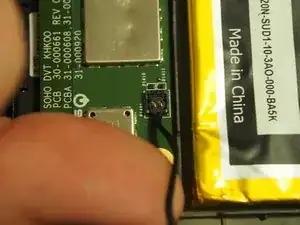
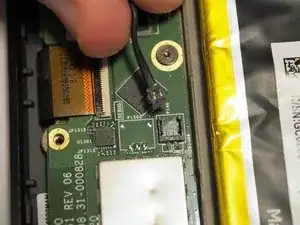
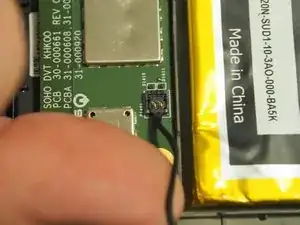
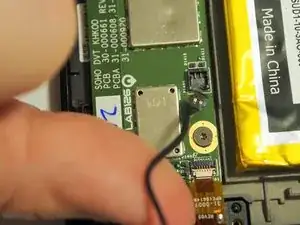
After the screws are removed, locate the wire, follow it to where it connects to the main device, and pull up gently until it disconnects.
-
-
-
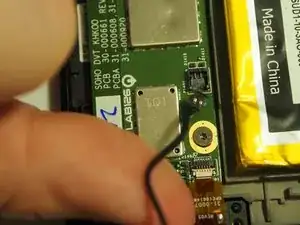
Same as Step 3, after the screws are removed, follow the wire to where it connects and pull up gently until it disconnects.
-
Abschluss
To reassemble your device, follow these instructions in reverse order.
