Einleitung
This guide demonstrates how to remove and install a headphone input for the Kindle Fire HD 8.9".
Werkzeuge
Ersatzteile
-
-
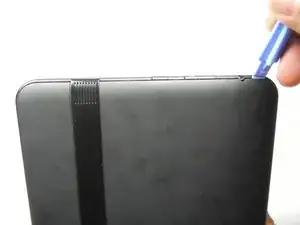
Insert a large plastic opening tool next to the Kindle's headphone jack.
-
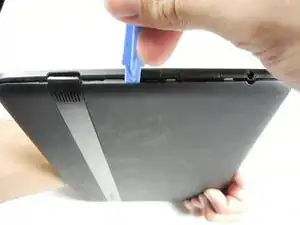
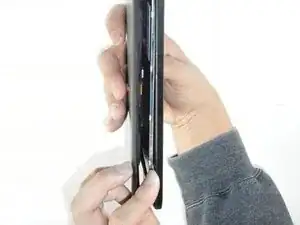
Move the plastic opening tool evenly around the Kindle, separating the two halves.
-
-
-
Set the Kindle down on the rear case.
-
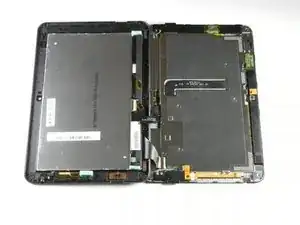
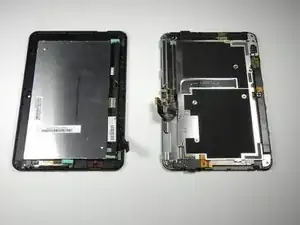
Holding the display assembly near the camera, carefully open the display assembly up to about 90 degrees from the rear case.
-
-
-
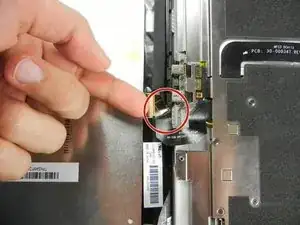
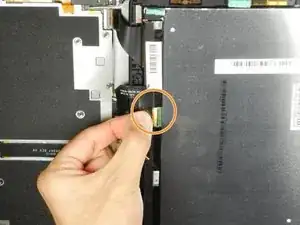
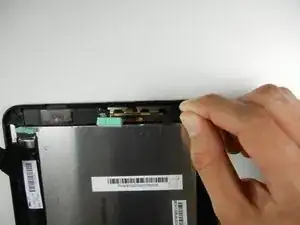
Lift the retaining flap on the ZIF connector of the upper flex cable.
-
Gently pull the cable out of its socket.
-
-
-
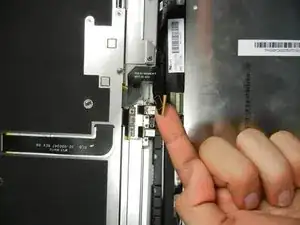
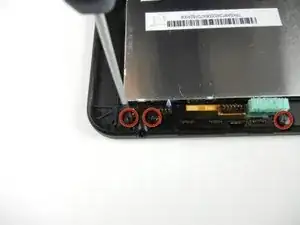
Unscrew the three 2.7mm Phillips #0 screws on the left and right sides of the headphone input.
-
-
-
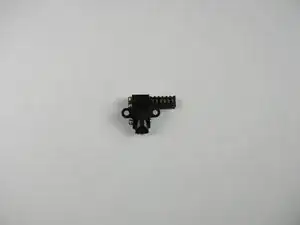
Gently grab the metal casing that covers the headphone input, being careful not to force or break anything, and lift upward.
-
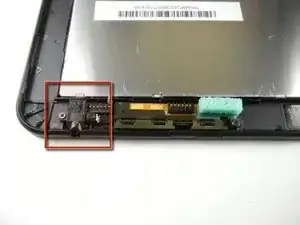
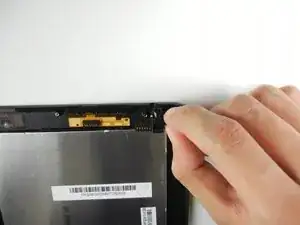
The power and volume buttons are boxed in the first picture.
-
To reassemble your device, follow these instructions in reverse order.
3 Kommentare
This guide was quite useful - until I came across it I had no idea it was feasible to replace the audio jack! There were a couple of areas where the instructions could be improved, namely:
* Overall - the description of "Easy" must be relative. Once you've done it once it might be easy, but although I've many years of experience tearing apart computers, as a newbie to opening a tablet device I found it quite tricky. Next time it may feel easy, but that is misleading for a newbie.
* Step 1
** On my device it took a LOT of force both to get the tool inserted and at various locations as I slide it along each side. Also, going around each corner to a new side was also tricky.
** Unsure what "Make sure to remove the lock key" meant. What "lock key"?
** Although there is no true hinge, the two ribbon cables imply one should treat the device as if hinged along the conventional "bottom" (where the USB and HDMI ports are).
* Steps 3 & 4 - It would help to mention that each connector has a movable locking mechanism and that the "black" item referred to is the movable part. Also that it is secured with yellowish transparent tape that must be pulled off prior to unlocking. Unlocking consists of flipping the black plastic piece up 90 to 180 degrees and locking is the inverse operation. Lastly you cannot get your finger under the black piece, but your fingernail might work. I was initially very confused, the only black thing I could get my finger under was the ribbon cable. I did in fact manage to pull the cable loose before realizing I should have removed the yellow tape and unlocked the connector.
* Step 7 - I'm not sure why the 3rd screw is mentioned. I did NOT need to unscrew it.
Hope this comment clarifies things for the next person (and thanks to the original author).
This was super easy. Instructions are well written and easy to follow. I purchased a new Kindle before I found the instructions. In the future, I will check here before buying anything new.
Getting the SIM card dummy plug out a real challenge. Broke off one end. Seems this part was never intended to be removed.
Bob Steger -