Einleitung
Amazon’s Kindle Paperwhite 3 ist mit einem 6" 300 PPI Display ausgestattet. Für die Reparatur muss das Gerät ausgeschaltet sein. Als Werkzeug benötigst du ein Plastiköffnungserkzeug, eine gewinkelte Pinzette und einen Kreuzschlitzschrauber PH000.
Werkzeuge
Ersatzteile
-
-
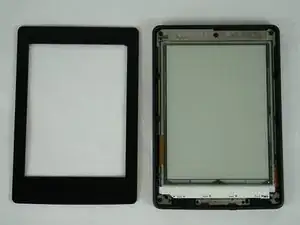
Heble die Blende mit einem Plastiköffnungswerkzeug vorsichtig ab. Beginne an den Ecken und schiebe das Werkzeug um die Kanten herum, bis du wieder am Ausgangspunkt angelangt bist.
-
-
-
Klappe den Sicherungsbügel mit einem Plastiköffnungswerkzeug hoch. Ziehe dann vorsichtig das orangene Flachbandkabel heraus.
-
-
-
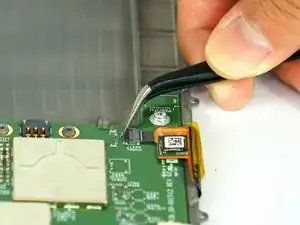
Klappe die kleine schmutzigweiße Lasche mit einer gewinkelten Pinzette in Richtung des Akkus.
-
Ziehe das orangene Flachbandkabel vorsichtig heraus.
-
-
-
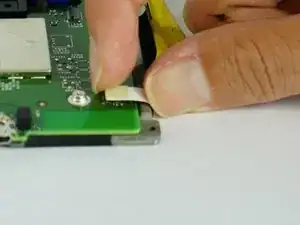
Löse das orangene Flachbandkabel nahe am Akku ab.
-
Klappe die kleine schwarze Lasche mit der gewinkelten Pinzette zur nahen Gehäusekante hin.
-
-
-
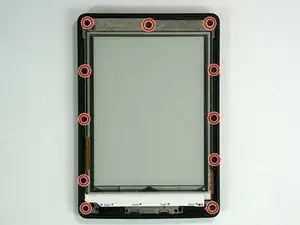
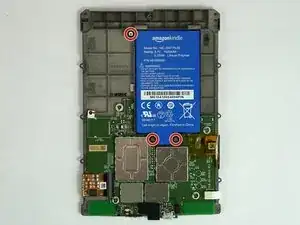
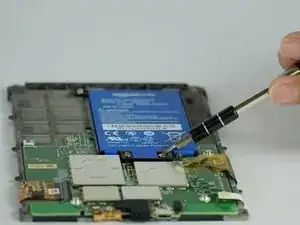
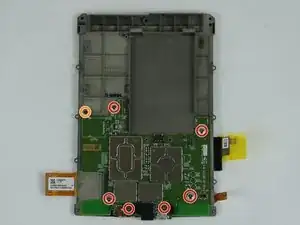
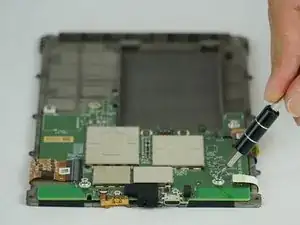
Entferne sechs 3,0 mm Kreuzschlitzschrauben #000, welche die Hauptplatine befestigen
-
Entferne die einzelne 2,5 mm Kreuzschlitzschraube #000
-
Um dein Gerät wieder zusammenzusetzen, folge den Schritten in umgekehrter Reihenfolge.
14 Kommentare
hi there thank youfor your helping tutorial.
i just bought some used Kindle in order to buy at my shop. but i have a problem with some Kindle that i disassembled in order to have some spare parts and especially with the screen.
even after removing the screen it will stay frozen, even if i change the motherboard with a new one it will stay on the last screen shown.
Might you give me any explanation about the issue? and is that a way to reset the screen in order to use it as spare parts for other kindles?
charbel -
Thank you so much for this tutorial! Thanks to it I was able to replace a (physically) broken display. I un-assembled the entire device, let it rest until the shipment from China arrived and re-assembled it. It works flawlessly again and looks like new. One word of caution, though: The new display came without frame and removing the old display from the frame (both are pretty tightly glued together) resulted in quite some patient work and many pieces of broken glass (even with having it all heated). Anyway it worked out like a charm at the end!
Hello, where I can but a replacement screen for Kindle Paperwhite 300 ppi?? Thanks!!

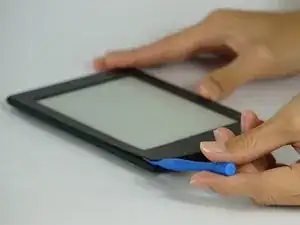
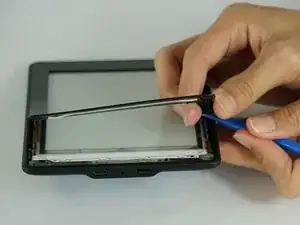
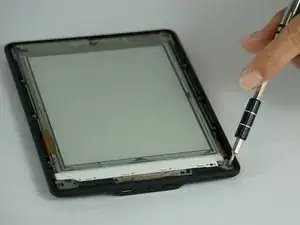
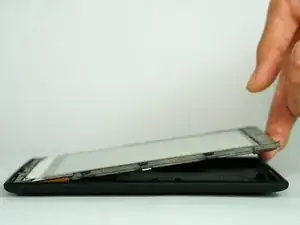
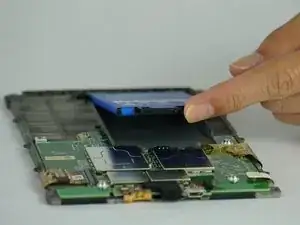
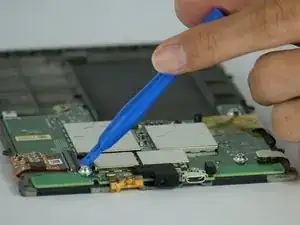
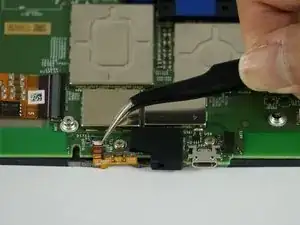
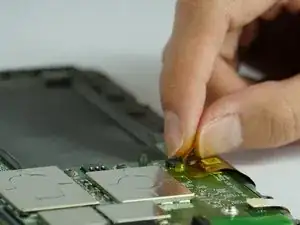
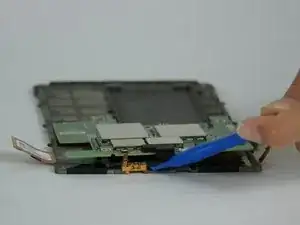
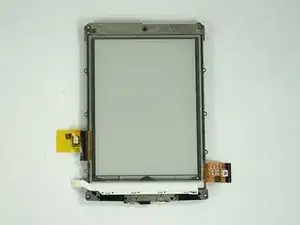

Be very careful along the lower left side, where the cable to the touchscreen can be easily cut with a plastic spudger.
John Kenny -
Be careful at the top of the 3G version. The wifi and cell antennas are located along here.
James Sullivan -
I can’t get my spudger in to start lifting. Any advice?
Davey -
it takes a bit of force to first insert the spudger into the crack
bonjoukhadar -
Be careful inserting the spudger too quickly. The glue holding the screen pulled loose in two spots along the side before the bezel did and there are lines along the border of my screen now.
Nick -
I made my own version of Nick’s error: I inserted a pick too far under the bezel, and very slightly separated the screen, leaving a small shadow in a corner. Easy does it!
Other than that, battery replacement was super-easy and successful.
Brad Compton -