Einleitung
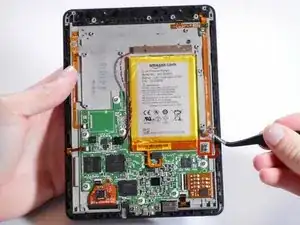
The ambient light sensor is what lets you read in less-than-ideal lighting situations. It is attached to the motherboard near the battery and again at the top where it actually can get light from outside of the device.
Werkzeuge
-
-
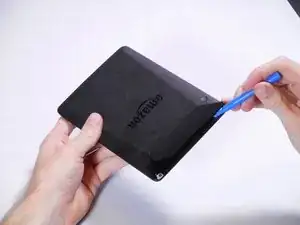
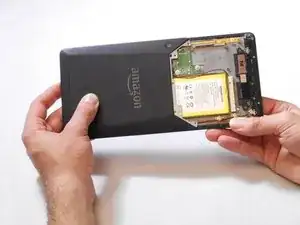
Insert a plastic opening tool between the plastic panel shown on the device.
-
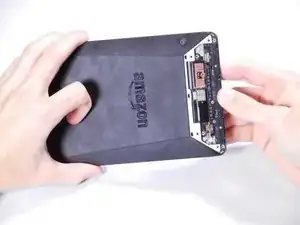
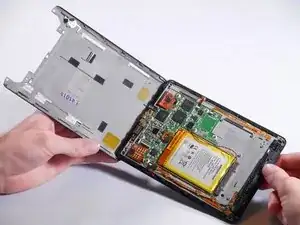
Use the tool to pry the plastic away from the device.
-
-
-
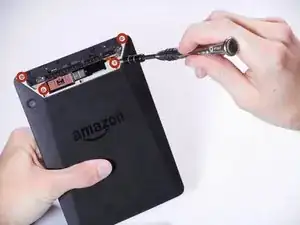
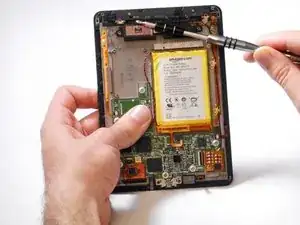
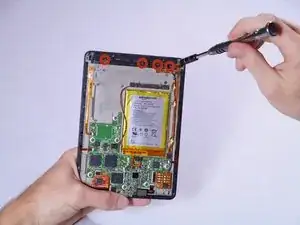
Use an aluminum driver attached with a Phillips head size #00 to remove the four 3mm screws shown in the picture. For reassembly, note that the top two and bottom two screws are different sizes.
-
-
-
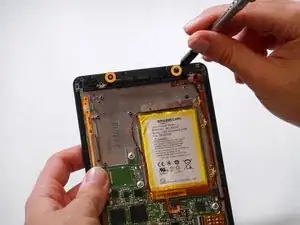
Use an aluminum driver with Phillips head #00 to remove the four 3 mm screws shown in the picture.
-
Use the same driver to remove the two 2.5 mm screws.
-
-
-
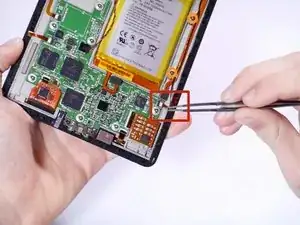
Using the tweezers, undo the attached clip.
-
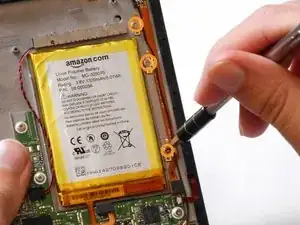
Remove the three 3 mm screws holding down the rest of the antenna with an aluminum driver and the Phillips #00 head.
-
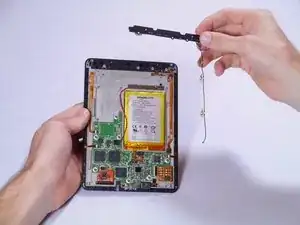
You should now be able to simply take the WiFi bar off of the device.
-
-
-
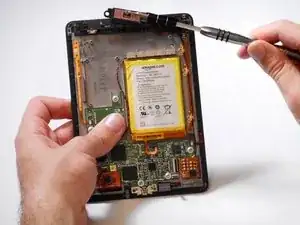
Gently remove the connector to the motherboard using tweezers.
-
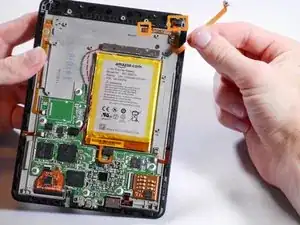
Continue to carefully pull the rest of the connector from the adhesive connecting it to the Voyage.
-
Detach sensor from the top using fingers
-
To reassemble your device, follow these instructions in reverse order.
Ein Kommentar
If i do this wiithout putting the lightsensor back on, can i then use the kindle without light ?
Best regards
Lasse
Beck -

This is not the best way to do this. The plastic panel snaps in on the lower/center part and slides into notches in the top. When you do as this instructs it breaks the tabs that connect on the top. If you can slide a few of the guitar picks into the lower part and get all the glue disconnected and get it to get past the snaps on the bottom you can then slide it upward and remove it without damaging the panel.
sam -
Thank you for a very helpful hint
baggins -
Definitely agree with this, and would clarify a bit. If the piece to be removed is at the top of the Kindle, the only purchase for the Opener Tool is the seam along the top edge. Start at either corner, and pry just enough to insert a pick, and repeat the process to work your way along the slanted edge towards the bottom edge; the adhesive releases easily. Continue along the bottom edge, then lift the bottom edge clear of its retainers. The whole piece can then easily be slid off.
gring40 -